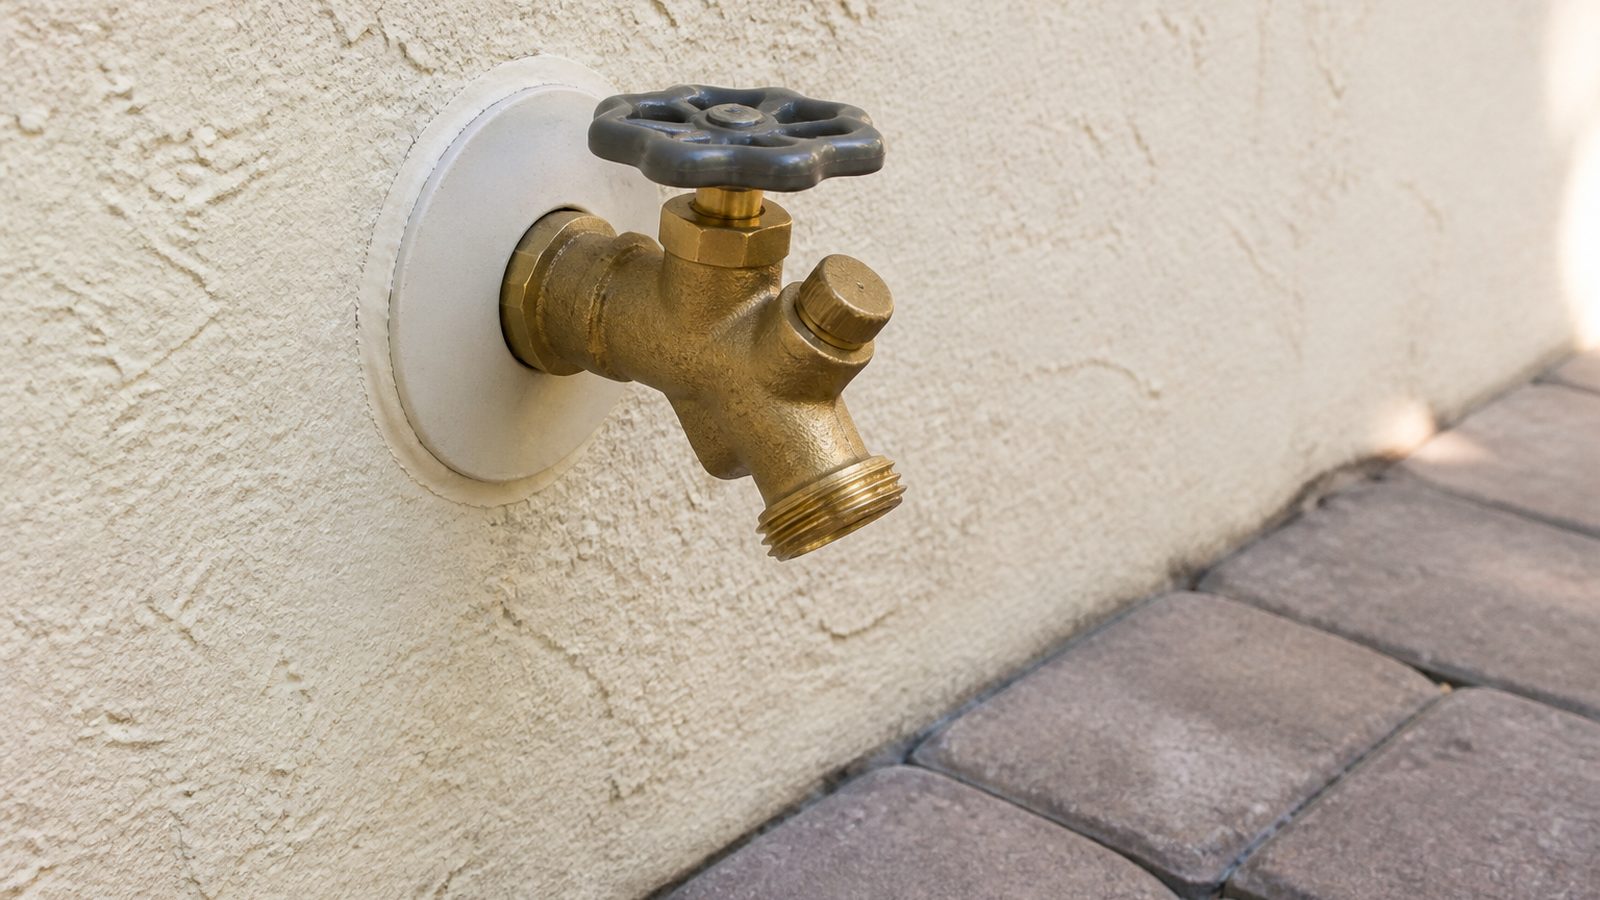
A leaking or corroded outdoor hose bib is one of those repairs Jacksonville homeowners tend to put off until a small drip turns into a water-stained wall or a spike on the water bill. The good news is that a straightforward spigot swap is one of the more manageable plumbing tasks you can handle yourself — provided you know what type of bib fits your setup, whether a permit is required, and how Jacksonville's specific conditions affect material selection. This guide walks through everything you need before you pick up a wrench.
When You Need a Permit in Jacksonville
A like-for-like replacement — swapping the old spigot for the same type at the same location — generally does not require a permit through the City of Jacksonville Building Inspection Division. You are replacing a fixture in kind, not altering the plumbing system.
You will need a permit if you are running a new supply line to a location that does not already have one, relocating the existing stub-out, or installing a dedicated irrigation tie-in with a new backflow preventer assembly. Florida Plumbing Code requires an approved backflow preventer or vacuum breaker on any hose bib that could contact a chemical source, pool, or irrigation system. A simple anti-siphon vacuum breaker screwed onto the spigot outlet satisfies this requirement for most residential applications and does not trigger a permit. If you are adding a reduced-pressure zone (RPZ) backflow preventer on an irrigation line, that does require inspection.
When in doubt, a quick call to the City of Jacksonville Building Inspection Division at (904) 255-8500 takes about five minutes and removes the guesswork.
Tools and Materials
Tools:
- Adjustable wrench or pipe wrench (10–14 inch)
- Utility knife or pipe cutter (for sweat connections)
- Teflon thread tape (PTFE)
- Propane torch and solder (if removing a soldered copper connection)
- Fire-resistant cloth or heat shield
- Bucket and rags
- Drill with bit (if adding a new wall escutcheon plate)
Materials — choose based on your situation:
- Frost-free sillcock (recommended over standard in Jacksonville — more on this below)
- Replacement bib sized to match your pipe diameter (most residential is 1/2 inch or 3/4 inch)
- Connection type to match existing: threaded (easiest), sweat/solder (copper supply), or push-to-connect/SharkBite (no torch needed, faster)
- Escutcheon plate to seal around the wall penetration
- Anti-siphon vacuum breaker (code-compliant for hose bib use)
- Pipe joint compound or PTFE tape
For slab homes, the supply line typically runs through the exterior wall from an interior shutoff. For homes on a crawlspace or pier-and-beam, you may have more accessible copper runs beneath the floor — confirm before you start so you know what shutoff to use.
Step-by-Step
- Locate and close the supply shutoff. Most homes have an individual shutoff for each exterior bib inside the wall or in a utility room. If yours does not, shut off the main house valve at the meter. Have a bucket ready.
- Open the hose bib to drain pressure. Turn the spigot handle to the open position and let water drain out. Leave it open while you work.
- Remove the old spigot. For a threaded connection, grip the pipe stub with one wrench to hold it steady and use a second wrench to turn the bib counterclockwise. For a sweat connection, use a torch to heat the fitting until the solder melts, then pull the bib free. Wipe the stub clean of old solder with a rag before it cools.
- Inspect the stub-out. Look for corrosion, mineral buildup, or damage to the threads. If threads are stripped or the copper is pitted, this is the point where you cut back to clean pipe. SharkBite-style fittings let you reconnect without soldering if the pipe is in good condition past the damage.
- Prepare the connection. For threaded: wrap male threads with two to three layers of PTFE tape, clockwise as you face the end of the pipe. For sweat: clean the pipe with emery cloth, apply flux, and prepare your solder. For SharkBite: deburr the pipe end and confirm it is fully seated to the depth mark on the fitting.
- Install the new frost-free sillcock. Thread, solder, or push-connect the new bib per your connection type. Hand-tighten first, then wrench-snug — do not overtighten threaded connections or you risk cracking the bib body.
- Attach the anti-siphon vacuum breaker to the outlet threads of the new bib. These devices thread on with hand pressure and a quarter turn with pliers.
- Restore water and check for leaks. Slowly reopen the shutoff, close the spigot handle, and inspect every joint. A drip at the wall threads usually means one more quarter-turn. A leak inside the wall requires immediate attention before you close everything up.
Jacksonville Climate Considerations
Jacksonville sits on the edge of USDA hardiness zone 9a, which means it rarely freezes — but "rarely" is not "never." Hard freezes in January have caught homeowners off guard and split unprotected outdoor bibs and supply lines. A frost-free sillcock (also called a freezeless sillcock) has its valve seat located 4–12 inches inside the wall, where the temperature stays above freezing even when the exterior is in the mid-20s. For any exterior location that loses afternoon sun in winter, the frost-free design is worth the modest price premium.
Humidity is a second factor that shortens spigot life here more than in dry climates. Brass bibs corrode slower than galvanized in Northeast Florida's brackish air — especially on properties within a few miles of the Intracoastal or St. Johns River. If you are replacing a bib that corroded out faster than expected, switch to a brass or chrome-plated brass body rather than a zinc-alloy casting.
Homes with in-ground irrigation systems are common in Jacksonville's sandy-soil neighborhoods. If your hose bib doubles as an irrigation connection, confirm that the vacuum breaker rating matches the backflow risk of your system. Lawn irrigation is a cross-connection category under Florida Plumbing Code, and a simple hose-bib vacuum breaker may not satisfy the requirement if you have a dedicated irrigation zone feeding the same outlet.
What It Costs in Jacksonville (DIY vs. Hiring a Pro)
| Scenario | Estimated Cost |
|---|---|
| DIY — frost-free bib + materials | $30 – $65 |
| DIY — SharkBite fitting (no torch) | $55 – $90 |
| Plumber — simple swap, no complications | $150 – $275 |
| Plumber — new line or wall opening required | $350 – $700+ |
| Permit (if required by scope) | $75 – $150 |
Prices reflect general Jacksonville-area ranges and will vary by contractor, material grade, and job complexity. Get two quotes if the scope goes beyond a simple swap.
When to Call JK Prestige
If water is already inside the wall when you remove the old bib — stained drywall, soft framing, mold odor — you are dealing with a leak that predates the spigot failure. Continuing the swap without assessing the damage will trap moisture behind a new repair. JK Prestige handles the full scope: opening the wall, drying and treating affected framing, and restoring the exterior correctly so the new bib is sealed and the wall is watertight. The same applies when the supply stub-out is cracked at the slab or embedded in concrete — repairs in those locations require trade coordination that goes beyond a homeowner plumbing fix.
No call center. No coordinator. A JK principal reviews every inquiry and replies with a real number, not a range, not a follow-up form.
Request Free Estimate →