If water is showing up on the ceiling below your bathroom, or the grout line where the shower floor meets the wall keeps cracking no matter how many times you recaulk it, the shower pan underneath the tile has likely failed. In a Jacksonville home that failure rarely stays small, because our humidity keeps a wet subfloor from ever fully drying between showers. This guide covers what a proper shower pan replacement involves, the two common waterproofing approaches, the flood test, and what to do if you pull up the old pan and find rotted wood underneath.
When You Need a Permit in Jacksonville
Because a shower pan replacement means disconnecting and resetting the drain, the City of Jacksonville and Duval County generally treat this as permitted plumbing work, not a cosmetic tile refresh. If you are hiring it out, Florida law requires a licensed plumbing contractor when the work is sold to a homeowner as a service. If you own and occupy the home yourself, Florida's owner-builder provisions let you pull the permit and do the work under a narrower exemption, but you take on the liability and inspection responsibility a licensed contractor would otherwise carry.
The inspection that matters most is the shower pan flood test, a real, scheduled inspection in Florida, not a formality. The inspector wants to see the liner or membrane in place, the drain properly flashed and clamped into it, and the pan holding water at a measured depth for the required period, all before any mud bed, backer board, or tile goes over it. Covering the pan before that sign-off is one of the fastest ways to end up opening the floor back up. If your property sits in Nassau, Clay, or St. Johns County rather than Duval, permitting runs through that county's own building department, so confirm requirements there rather than assume Duval's process applies.
Tools and Materials
- Pry bar, cold chisel, small sledgehammer for demo
- Angle grinder with diamond blade, shop vacuum
- New drain assembly matched to your waterproofing method (clamping-style for a liner or membrane, threaded for some acrylic bases)
- Either: a prefabricated acrylic or fiberglass base sized to your rough opening, OR a CPE or PVC liner (typically 40 mil) plus deck mud for a mud bed, OR a liquid or sheet-applied bonded membrane rated for wet areas
- Cement backer board or foam shower board
- Pre-slope mortar mix for the sub-pan under a liner
- Waterproofing seam tape and pipe boots for penetrations
- Test plug (drain test ball) for the flood test
- Level, tape measure, notched trowel
- New tile, thinset, and grout if the finish is being redone
Step-by-Step
- Shut off water to the shower and remove the showerhead, valve trim, and drain cover.
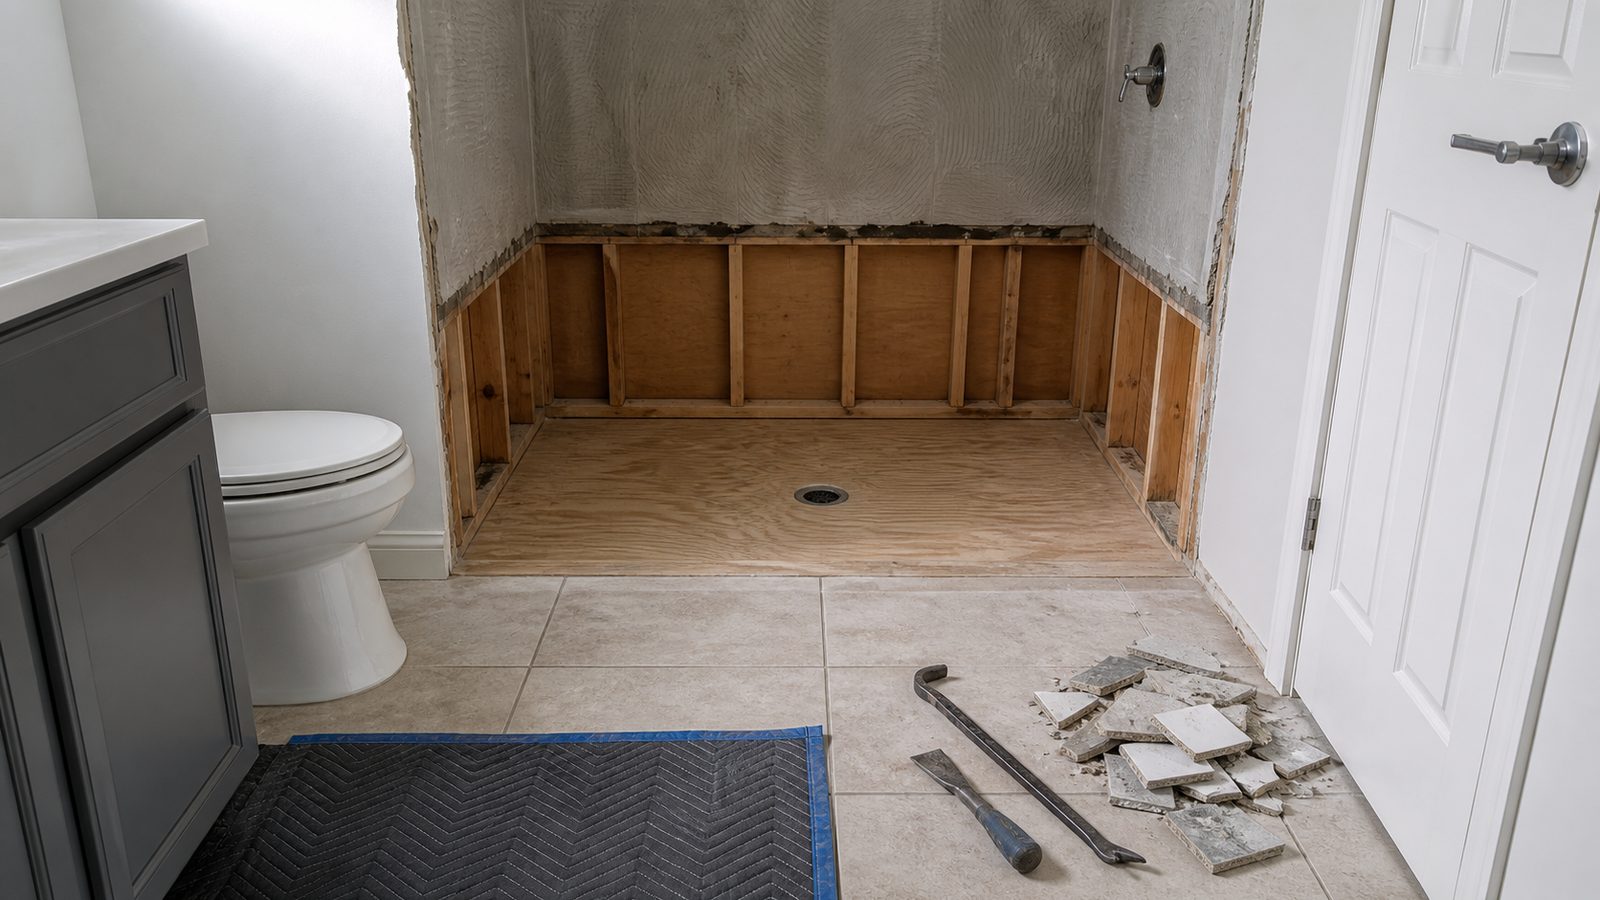
- Demo the existing tile, mud bed or pan, and wall material down to the studs and subfloor.
- Inspect the subfloor and framing for soft spots, staining, or rot before doing anything else.
- Confirm the drain rough-in height and set a new clamping or threaded drain body rated for your chosen system.
- Choose a waterproofing method: prefabricated acrylic for a faster, more predictable install, or a liner-and-mud-bed or bonded membrane for a custom size or curbless design.
- If using acrylic, set the base in mortar or approved adhesive, level it, and connect the drain per the manufacturer's instructions.
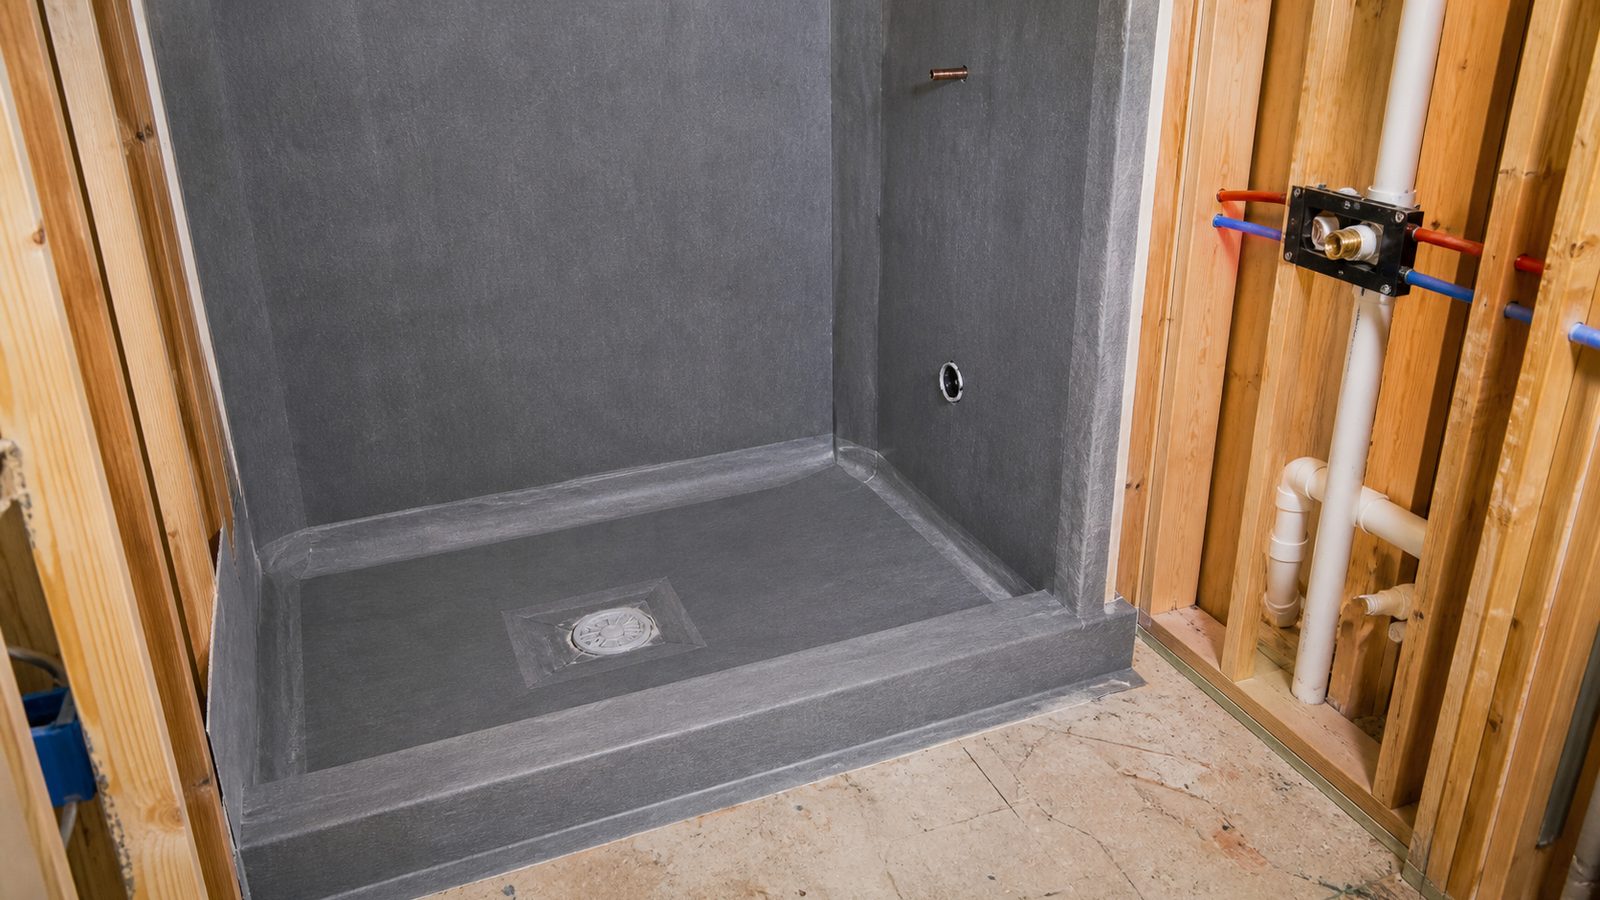
- If using a mud bed, pour and slope the pre-slope mortar to the drain weep holes, install the CPE or PVC liner up the walls and over the curb, seal all seams and corners, then pour the finished mud bed over the liner.
- If using a bonded membrane instead of a liner, apply the sheet or liquid membrane directly over a sloped mortar bed or foam shower pan, sealing every seam, corner, and drain penetration per the product's instructions.
- Install cement backer board or foam shower board on the walls, taped and sealed at every seam.
- Run the 24-hour flood test: plug the drain, fill to roughly 2 inches deep, mark the water line, and let it sit undisturbed for a full 24 hours, checking for any drop in level or ceiling moisture below.
- Once the pan passes, call for the plumbing inspection before covering anything.
- Waterproof the wall-to-floor transition and any remaining seams with a compatible sealant or membrane strip.
- Install tile on the walls and floor, sloping the floor tile to the drain.
- Grout, caulk the movement joints and the floor-to-wall line with flexible sealant, and reinstall the valve trim and showerhead.
Common Mistakes to Avoid
- Skipping the 24-hour flood test or shortening it to save a day
- Treating caulk or grout as waterproofing instead of a cosmetic finish over a properly sealed pan
- Reusing an old drain body that does not match the new system's clamping method
- Sloping the pre-slope mortar incorrectly, which traps water against the liner instead of the weep holes
- Skimping on wall waterproofing above the pan, since splashing above the curb needs the same protection as the floor
- Covering the pan before the inspector signs off on the flood test
Jacksonville Climate Considerations
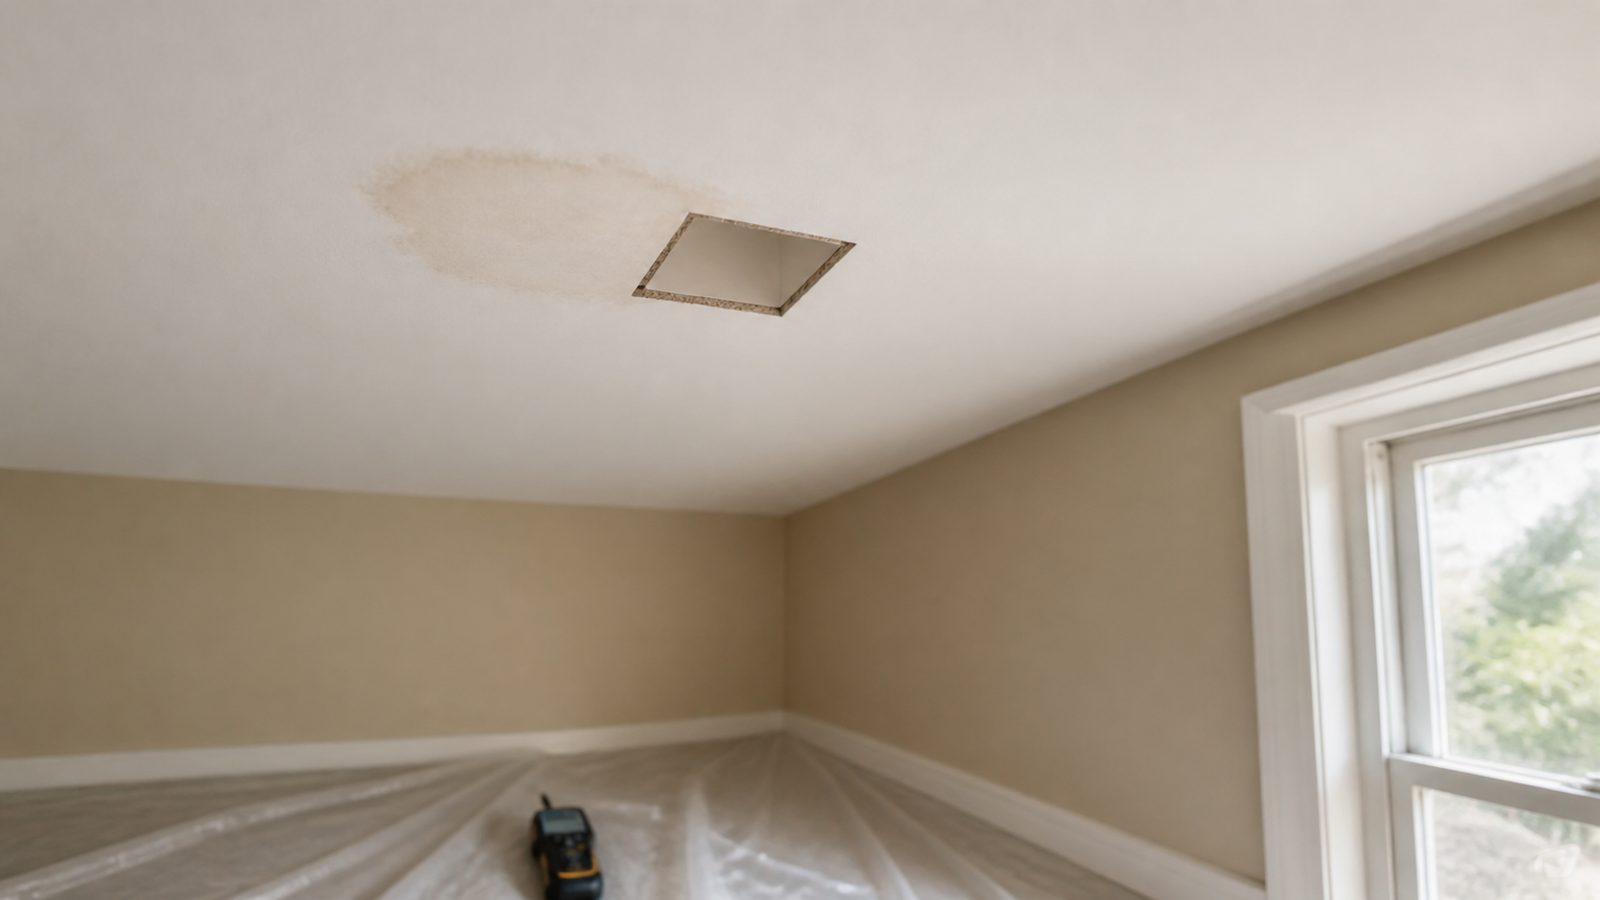
Northeast Florida's sustained humidity means a wet wall cavity or subfloor rarely gets a chance to dry out between uses, which is exactly the environment mold needs to get established. A slab-on-grade home, the most common foundation type around Jacksonville, tends to hide a slow shower pan leak longer because water can travel under the slab before it shows as a stain, while a home with a raised wood floor usually reveals a leak faster as ceiling staining or sagging below. Running the bathroom exhaust fan through every shower and after helps, but cannot compensate for a pan that is actually leaking. A subfloor that stays chronically damp is also an easy target for termites and other wood-destroying organisms, active year-round here, so rotted wood found during demo should be treated as a pest inspection trigger, not just a carpentry problem.
What It Costs in Jacksonville (DIY vs. Hiring a Pro)
| Approach | Typical Cost Range | Notes |
|---|---|---|
| DIY, acrylic base | $400 to $900 | Materials plus permit fee |
| DIY, liner or membrane and mud bed | $600 to $1,200 | More skill required, custom sizing possible |
| Licensed pro, acrylic base | $1,800 to $3,500 | Demo, drain reset, inspection included |
| Licensed pro, mud bed or membrane | $2,800 to $5,500 | Often paired with new tile |
| Add: rotted subfloor repair | $500 to $2,500+ | Depends on joist involvement |
When to Call JK Prestige
If demo has already turned up soft or discolored subfloor, or you would rather not gamble a bathroom remodel on a single flood test, JK Prestige handles shower pan replacements in Jacksonville from permit through final inspection, and can help decide whether acrylic or a mud bed and membrane system fits your layout and budget before tile comes off the wall.
No call center. No coordinator. A JK principal reviews every inquiry and replies with a real number, not a range, not a follow-up form.
Request Free Estimate →