If your shower handle is hard to turn, drips after you shut it off, or the hot and cold water won't mix right anymore, the cartridge inside the valve body is almost always the culprit. It's one of the most common repairs Jacksonville homeowners ask us about, and it's also one of the more approachable DIY plumbing jobs, as long as you know what you're doing before you open up the wall. This guide covers permit rules, tools, and the actual steps, with notes specific to living in Northeast Florida.
When You Need a Permit in Jacksonville
For a straight cartridge swap, in most cases you will not need a permit from the City of Jacksonville. Duval County follows the Florida Building Code, and routine repair of an existing fixture, replacing a worn internal part with the same type of part and not altering the supply piping, the valve body, or the rough-in behind the wall, is generally treated as maintenance rather than permitted plumbing work.
That changes once the job grows. Replacing the entire valve body, rerouting or resizing supply lines, cutting into the wall to relocate the shower head or valve, or doing this as part of a larger remodel typically requires a permit and a licensed plumber under the Florida Building Code's plumbing provisions. A cartridge corroded into the valve body, or a valve old enough that parts are no longer made, may mean a full valve replacement, which is the point to call a licensed plumber and check permit requirements. When in doubt, call the City of Jacksonville Building Inspection Division to confirm what your scope of work requires.
Tools and Materials
- Adjustable wrench and a set of hex keys
- Phillips and flathead screwdrivers
- Cartridge puller matched to your valve brand (Moen, Delta, Kohler, and American Standard each differ; many stores rent these)
- Replacement cartridge matching your exact valve brand and model
- Silicone plumber's grease for the new O-rings
- Penetrating oil, for a cartridge stuck from mineral buildup
- Small bucket or towel for residual water
- Flashlight or work light
- Painter's tape to protect tile and trim
Step-by-Step
- Shut off the water. Most single-handle shower valves have no dedicated stop, so shut off the main supply to the house, or a whole-bath shutoff if you have one. Turn on a low faucet elsewhere afterward to confirm the water is off and relieve pressure in the lines.
- Remove the handle. Pop off the decorative cap to expose a set screw, back it out with a hex key, and pull the handle straight off.
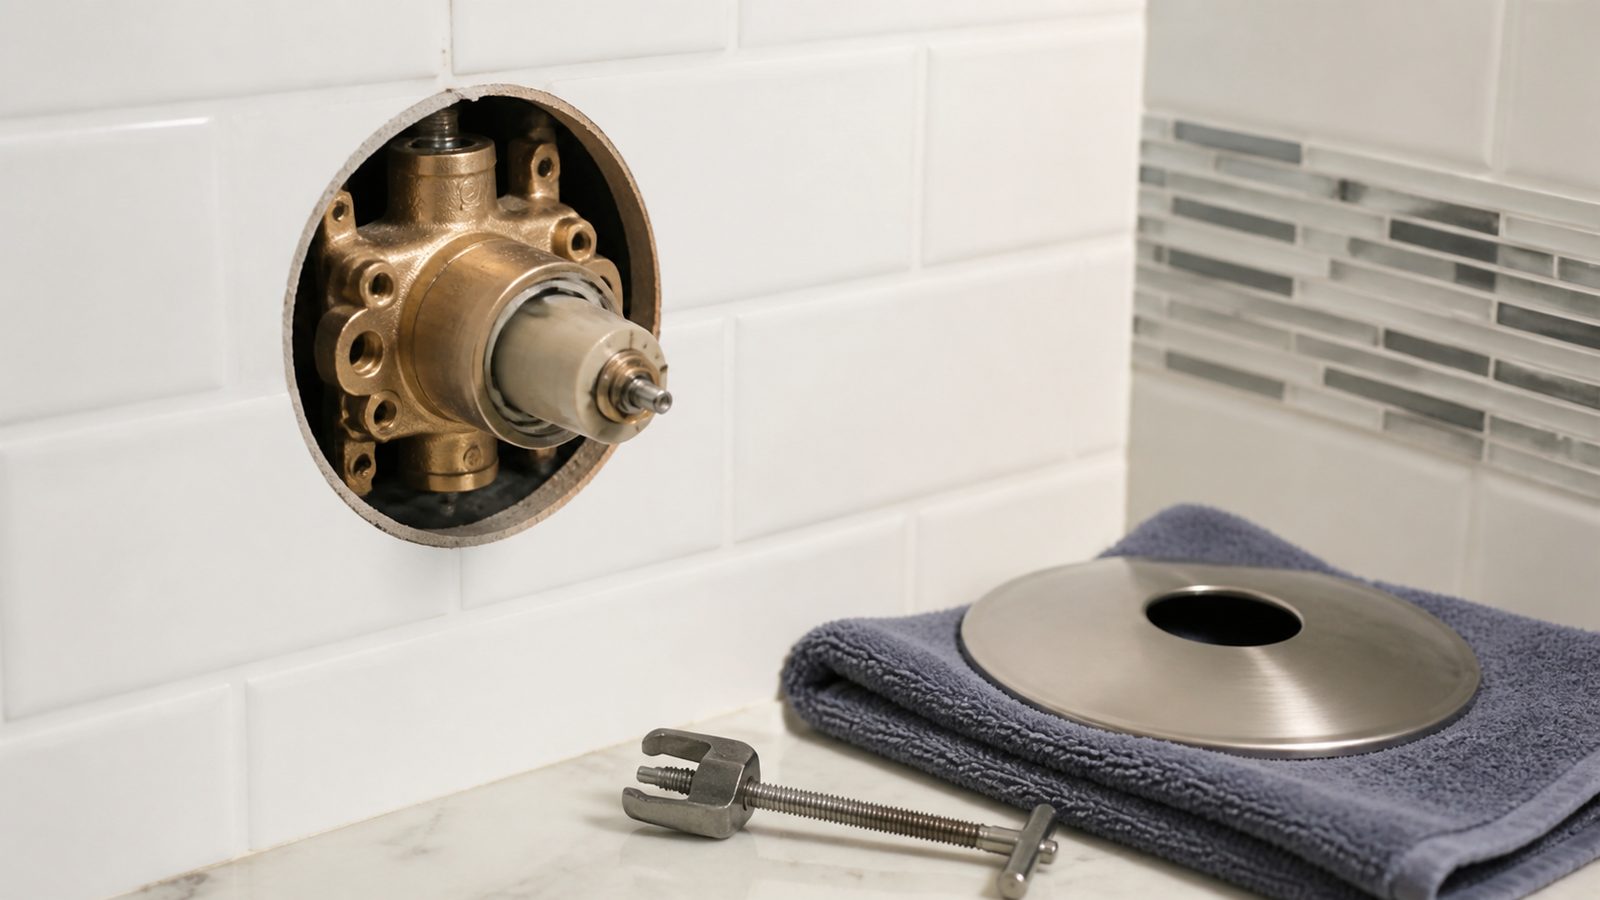
- Remove the trim sleeve and escutcheon. Unscrew or pull off the sleeve covering the valve stem, then remove the escutcheon (wall plate) to expose the valve body.
- Remove the retaining clip or bonnet nut. Depending on the brand, the cartridge is held in with a metal retaining clip (pull it out with pliers) or a threaded bonnet nut (unscrew with an adjustable wrench). Keep this piece, you'll need it for the new cartridge.
- Pull the old cartridge. Grip the exposed stem and pull straight out. Don't force it sideways, since that can crack the valve body. Use a brand-specific puller for an even pull, and add penetrating oil around the sleeve if mineral scale has it locked in place.
- Match the new cartridge before you buy it. Bring the old cartridge to the supply house, or take a clear photo of the brand stamp on the valve body. Installing the wrong cartridge is the most common mistake on this job, since cartridges are rarely interchangeable across brands.
- Grease and install the new cartridge. Coat the new O-rings lightly with silicone plumber's grease, then insert the cartridge in the same orientation as the one you removed. Most have a flat side or tab that lines up with a notch in the valve body.
- Reassemble in reverse. Retaining clip or bonnet nut, escutcheon, sleeve, then handle.
- Turn the water back on slowly and test. Run hot and cold separately, confirm the temperature mixes correctly, and check the valve and wall connections for drips before calling it done.
Jacksonville Climate Considerations
Northeast Florida's humidity is the main factor affecting bathroom plumbing over time. High indoor humidity, especially in bathrooms with weak exhaust fans, accelerates mineral scale buildup inside cartridges and corrosion on exposed metal parts, which is a big part of why cartridges here seize up and need force, or a puller tool, to remove. If you're near the coast, in neighborhoods like the Beaches, San Marco along the river, or anywhere with salt-laden air moving through an open window, that exposure can corrode trim, screws, and brass fittings faster than it would inland. Running your bathroom exhaust fan during and after every shower does more to protect valve hardware than almost anything else.
What It Costs in Jacksonville (DIY vs. Hiring a Pro)
These are estimate ranges based on typical Jacksonville-area material and labor pricing. Get a current quote before you budget a project around these numbers.
| Approach | Typical Cost Range | What's Included |
|---|---|---|
| DIY cartridge swap | $20 to $80 | Replacement cartridge, grease, minor tool purchases |
| DIY plus rented/purchased puller tool | $50 to $120 | Above, plus a brand-specific cartridge puller |
| Licensed plumber, cartridge replacement | $150 to $350 | Service call, labor, cartridge, and a warranty on the work |
| Licensed plumber, full valve replacement | $350 to $800+ | New valve body, cartridge, and any wall repair if access was cut |
When to Call JK Prestige
If the cartridge won't budge, the valve body is cracked or corroded, or you had to cut into a wall or ceiling for access, that's the point to bring in a professional. JK Prestige handles bathroom plumbing repairs and full renovations across Jacksonville, and we can tell you quickly on-site whether you're looking at a simple part swap or a bigger valve replacement. Reach out if you want a second opinion before buying parts, or if the DIY route has already turned into more than you bargained for.
No call center. No coordinator. A JK principal reviews every inquiry and replies with a real number, not a range, not a follow-up form.
Request Free Estimate →