This guide is for Jacksonville homeowners who want to replace a standard single-hung window. A single-hung window has a fixed upper sash and a lower sash that slides up to open. It is one of the most common window types in residential Jacksonville construction -- you will find them in just about every home built in Duval County from the 1950s onward. Difficulty: beginner to intermediate. Time estimate: 2 to 4 hours per window for a like-for-like replacement in a wood-frame wall. Total cost range: $200 to $900 per window installed, depending on size, glass specification, and material.
This guide covers a full-frame replacement, which is the right approach when the existing window frame is in poor condition, the weather seal has failed, or the window does not carry the correct Florida Product Approval for the current building code. A full-frame replacement pulls out the entire existing unit -- frame, sashes, and any brick mold -- and installs a new complete window unit.
In Jacksonville, window replacements must use a window with a valid Florida Product Approval for your wind zone. Duval County is in a 130 mph wind zone as of the current Florida Building Code cycle. Windows without the correct FPA cannot be legally installed and will fail inspection.
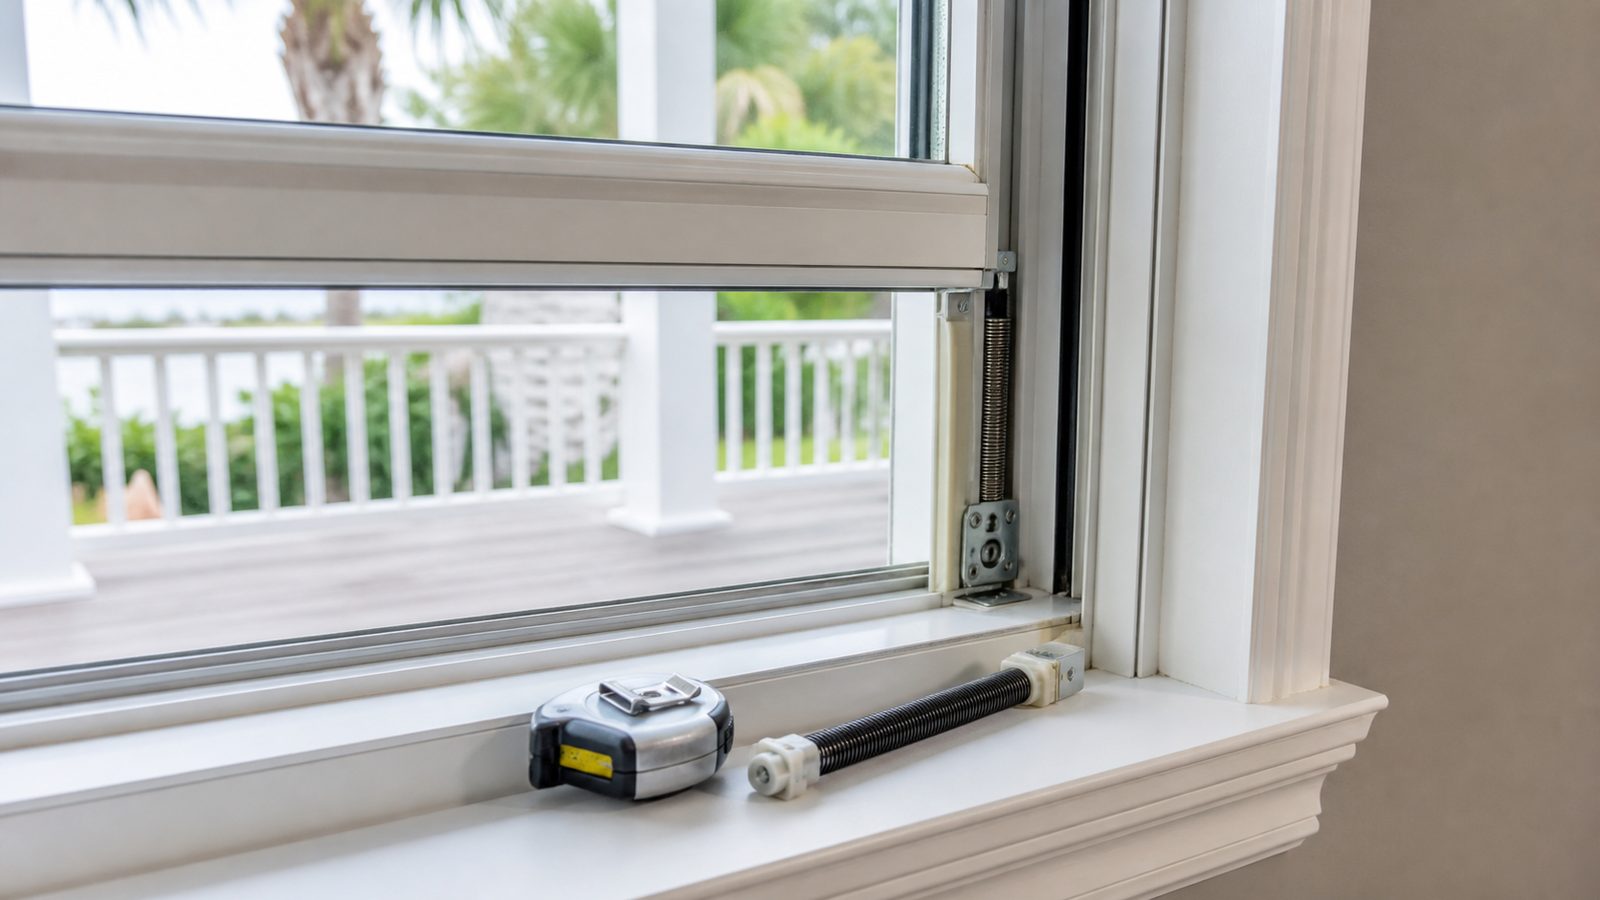
Tools You Need
- Pry bar set (flat bar, 12-inch and 18-inch)
- Hammer and nail set
- Oscillating multi-tool
- Utility knife
- 4-foot level
- Tape measure
- Drill and driver bits
- Caulking gun
- Safety glasses and work gloves
- Reciprocating saw (for cutting old fasteners)
- Circular saw or jigsaw (if trimming the rough opening)
Materials You Need
- Single-hung replacement window unit -- $150 to $700 depending on size, frame material, glass type, and FPA rating. Measure the rough opening before you order.
- Flashing tape (DOW Flexwrap NF or 3M 8067) -- $15 to $30 per roll
- Self-adhering flashing membrane for sill (if not using Flexwrap) -- $20
- Low-expansion window-and-door spray foam -- $8 per can
- Siliconized caulk, paintable exterior grade -- $8
- Composite shims -- one pack
- 2-1/2-inch and 3-inch exterior-grade screws
- Exterior trim/brick mold if replacing -- $20 to $50 per window
- Interior casing if replacing -- $15 to $40 per window
- Exterior paint to match -- $15 to $25
Frame material matters for Jacksonville. Vinyl windows are the most common choice in residential Jacksonville construction -- they do not corrode, they hold up well in humidity, and they require minimal maintenance. Aluminum frames are durable and common in older Jacksonville construction, but some older aluminum frames do not meet current energy code U-factor requirements. Fiberglass frames are the premium option -- dimensionally stable, strong, and energy-efficient -- but they cost more. Wood interior, fiberglass exterior composite windows are a quality mid-to-high choice for older homes in historic districts where wood window aesthetics matter.
Step-by-Step Instructions
Phase 1 -- Remove the existing window
- Remove the interior stop trim first. The interior stops are the thin strips of wood that hold the lower sash in place. Use a utility knife to score the paint line on each stop. Insert a putty knife or thin pry bar and work the stops free. Do this carefully if you plan to reuse them.
- Remove the interior casing trim. Score the paint line and pry the casing off. Set aside if reusing, discard if replacing.
- Remove the lower sash. With the stops out, the lower sash lifts out of the frame. Tilt the top of the sash toward you and lower it out. On older windows, the sash may be held by knotted sash cords -- cut them if present and remove the sash weights from the wall cavity if accessible.
- Remove the upper sash. The fixed upper sash is typically nailed or screwed into the frame. Remove any parting beads that separate the upper and lower sash channels. The upper sash should then lift out or tilt free.
- Remove the exterior trim and caulk. Go outside. Use a utility knife to score through the caulk line at the exterior edge of the window frame or brick mold. Pry off the exterior trim.
- Remove the window frame. Use a reciprocating saw to cut through any screws or nails holding the frame in the rough opening. Work the frame out. It will likely come out in sections -- the sill first, then the sides, then the head.
- Inspect the rough opening. This is the most important step. Check the sill of the rough opening for rot and soft wood. Press your thumb into the wood along the entire sill. Check the bottom corners and the lower sections of the jack studs. Water follows a window frame when it leaks, and it always ends up at the sill corners. If you find rot, repair the framing before proceeding.
Phase 2 -- Prepare and flash the rough opening
- Repair any rot or damage. Replace compromised framing before you flash. Treat exposed framing with a borate wood preservative. This is a critical step in Jacksonville's climate -- do not install a new window over damaged framing.
- Verify the rough opening dimensions. Check the manufacturer's rough opening specifications for the window you ordered. Most window manufacturers specify an opening 1/2 inch wider than the window unit width and 1/2 inch taller. Measure in at least three places -- top, middle, and bottom for width; left, center, and right for height. Use the smallest measurement.
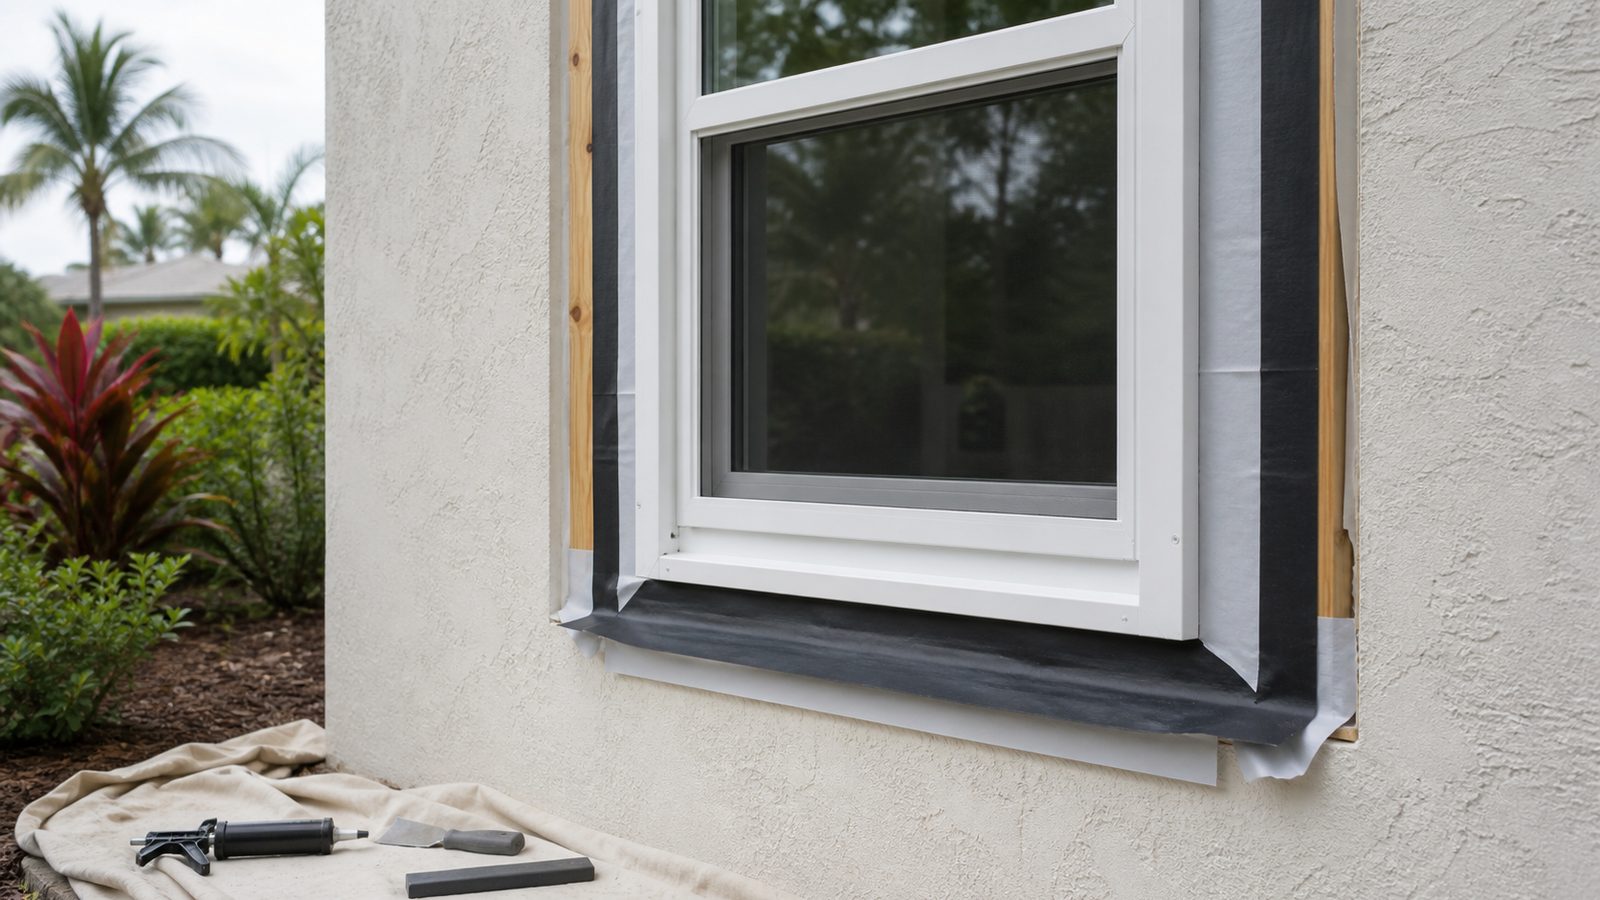
- Flash the rough opening in sequence. Apply flashing tape in the water-shedding order: sill first, then sides (overlapping the sill tape by 4 inches), then head (overlapping the side tapes). This is the most important technical step in the installation.
For the sill, use DOW Flexwrap or a self-adhering flexible flashing that can form around the corners without wrinkling. Press it firmly into the corners. Run it up the sides of the rough opening at least 6 inches. For the sides and head, use a stiff flashing tape (3M 8067 or equivalent). Lap tape onto the face of the framing minimum 2 inches, and onto the interior side of the rough opening minimum 2 inches as well.
- Check the sill for level. Set your level across the sill of the rough opening. If the sill is out of level, shim it before setting the window. An unlevel sill means an unlevel window, which affects both operation and appearance.
Phase 3 -- Set the new window unit
- Apply a sealant bead. Before setting the window, run a bead of siliconized caulk along the sill of the rough opening where the window frame will sit. This is the secondary seal behind the flashing.
- Set the window unit in the rough opening from the exterior side. Have a helper hold the unit in place from the exterior. Center it in the rough opening side to side.
- Check level and plumb. Set your level on the sill of the window frame -- it must be level. Check the side jambs for plumb. Adjust with shims as needed. On most residential windows, the adjustments are small -- shimming is a fine-tuning operation.
- Tack-nail or tack-screw to hold position. Drive a single fastener at the top corners of the nailing flange to hold the window while you confirm level, plumb, and reveal.
- Check the reveal and operation. Open and close the lower sash. It should slide smoothly without binding. If it binds, the frame is racked or out of plumb. Fix it before permanent fastening.
- Fasten the nailing flange. Drive fasteners through the nailing flange into the rough framing on all four sides, following the manufacturer's fastening schedule. On most residential single-hung windows, fasteners go every 6 to 8 inches along the flange.
Phase 4 -- Weatherproof the exterior
- Flash the nailing flange. After the window is fastened, apply flashing tape over the nailing flanges on the sides and head, lapping the tape from the rough opening framing face over the flange and onto the wall surface. This seals the back of the flange -- which is where water gets in if this step is skipped.
Sequence again: sides first, then head over the sides. The sill flange is not taped -- the sill needs to drain.
- Install the head drip cap. Install a metal drip cap at the head of the window, behind the exterior sheathing or weather-resistive barrier, lapping over the nailing flange. In Jacksonville's rain environment, this step matters.
- Install the exterior trim. Nail or fasten the brick mold or exterior casing over the flashing system. The trim face sits against the flashing tape.
- Caulk the exterior perimeter. Apply siliconized caulk at the joint between the exterior trim and the wall surface on the sides and head. Leave the sill bottom open for drainage -- do not caulk the bottom of the exterior trim where it meets the siding or wall.
Phase 5 -- Finish the interior
- Foam the interior gap. Use low-expansion window-and-door foam to air seal the gap between the window frame and the rough framing on the interior side. Fill from the bottom up on each side. Do not overfill -- foam that squeezes into the window frame channel can bind the sash.
- Install interior casing. Nail the casing to the window frame. Maintain a consistent reveal from the edge of the window frame. Caulk the joint between casing and drywall.
- Install the interior stop trim. If you saved the old stops, nail them back in place. If you are installing new stops, position them so the lower sash slides smoothly without excessive play.
- Paint or finish. Prime bare wood surfaces. Caulk all interior joints. Paint to match.
Common Mistakes to Avoid
- Flashing the head before the sides. Flashing must be installed in water-shedding sequence -- sill first, sides second, head last. Each layer overlaps the one below. Reversing the order creates a path for water to travel behind the flashing.
- Not checking the rough opening for rot before installing. Rot at the sill corners is common in Jacksonville windows that were not properly flashed. Installing a new window over soft wood will result in another failed window within a few years.
- Caulking the sill flange of the nailing flange. The sill needs to be able to drain. Caulking the bottom flange traps water in the frame system.
- Using the wrong spray foam. Standard expanding foam generates pressure that can bow a window frame. Always use window-and-door low-expansion formula.
- Not verifying the Florida Product Approval. A window without the correct FPA for your wind zone is not code-compliant. The inspector will fail it.
When to Hire a Pro Instead
Call a contractor when any of these apply:
- You find rot in the rough opening framing. Soft wood at the sill corners or jack studs means a carpentry repair before a new window will perform. The extent of the rot may not be clear until the framing is opened.
- The rough opening is the wrong size. Resizing a window rough opening in a framed wall may affect wall structure, depending on the opening location and wall type.
- You are replacing windows in a High-Velocity Hurricane Zone. HVHZ installations require impact-rated glazing, specific fastening patterns per the product approval drawings, and building department inspection. The margin for error is zero.
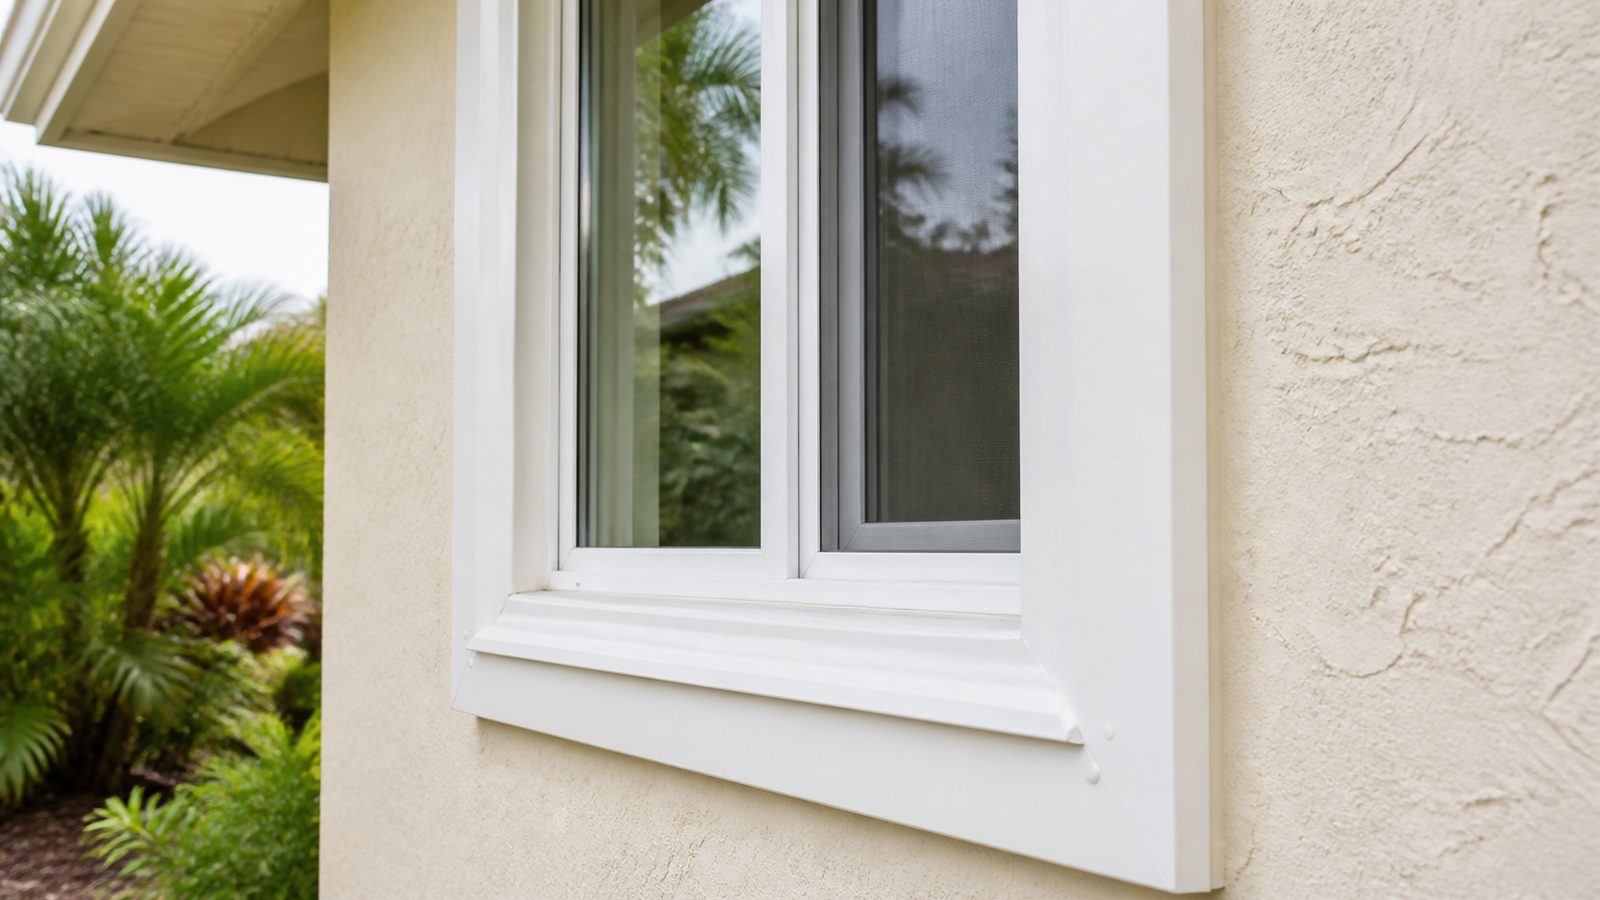
- The window is in a masonry or stucco wall. Masonry applications require different flashing details and often require removing and rebuilding the masonry window buck. This is not a standard nailing-flange installation.
- You are replacing multiple windows. A window replacement package -- five or more windows done together -- runs faster and cheaper when a crew handles it as a coordinated scope with proper staging and material delivery.
- You are replacing in a historic district. Duval County historic districts (Springfield, Riverside, Avondale) have design review requirements for window replacements that affect product selection.
Need a Jacksonville GC for this job? Get a 48-hour free fixed-price estimate from JK Prestige Constructor.
No call center. No coordinator. A JK principal reviews every inquiry and replies with a real number, not a range, not a follow-up form.
Request Free Estimate →