This guide is for Jacksonville homeowners replacing a horizontal sliding window -- the type where one or both sashes slide left and right to open, rather than up and down. Horizontal sliders are common in Florida residential construction, particularly in ranch-style homes from the 1960s through 1990s, and in rooms where an awning or casement window is not practical. Difficulty: beginner to intermediate. Time estimate: 2 to 4 hours per window for a like-for-like full-frame replacement. Total cost range: $200 to $900 per window installed, depending on size, glass type, and material.
This guide covers a full-frame replacement -- removing the entire existing window unit and installing a new factory-assembled unit in the rough opening. This is the right approach when the existing frame is deteriorated, the seal is failed, or the existing window does not carry a Florida Product Approval for the current wind code.
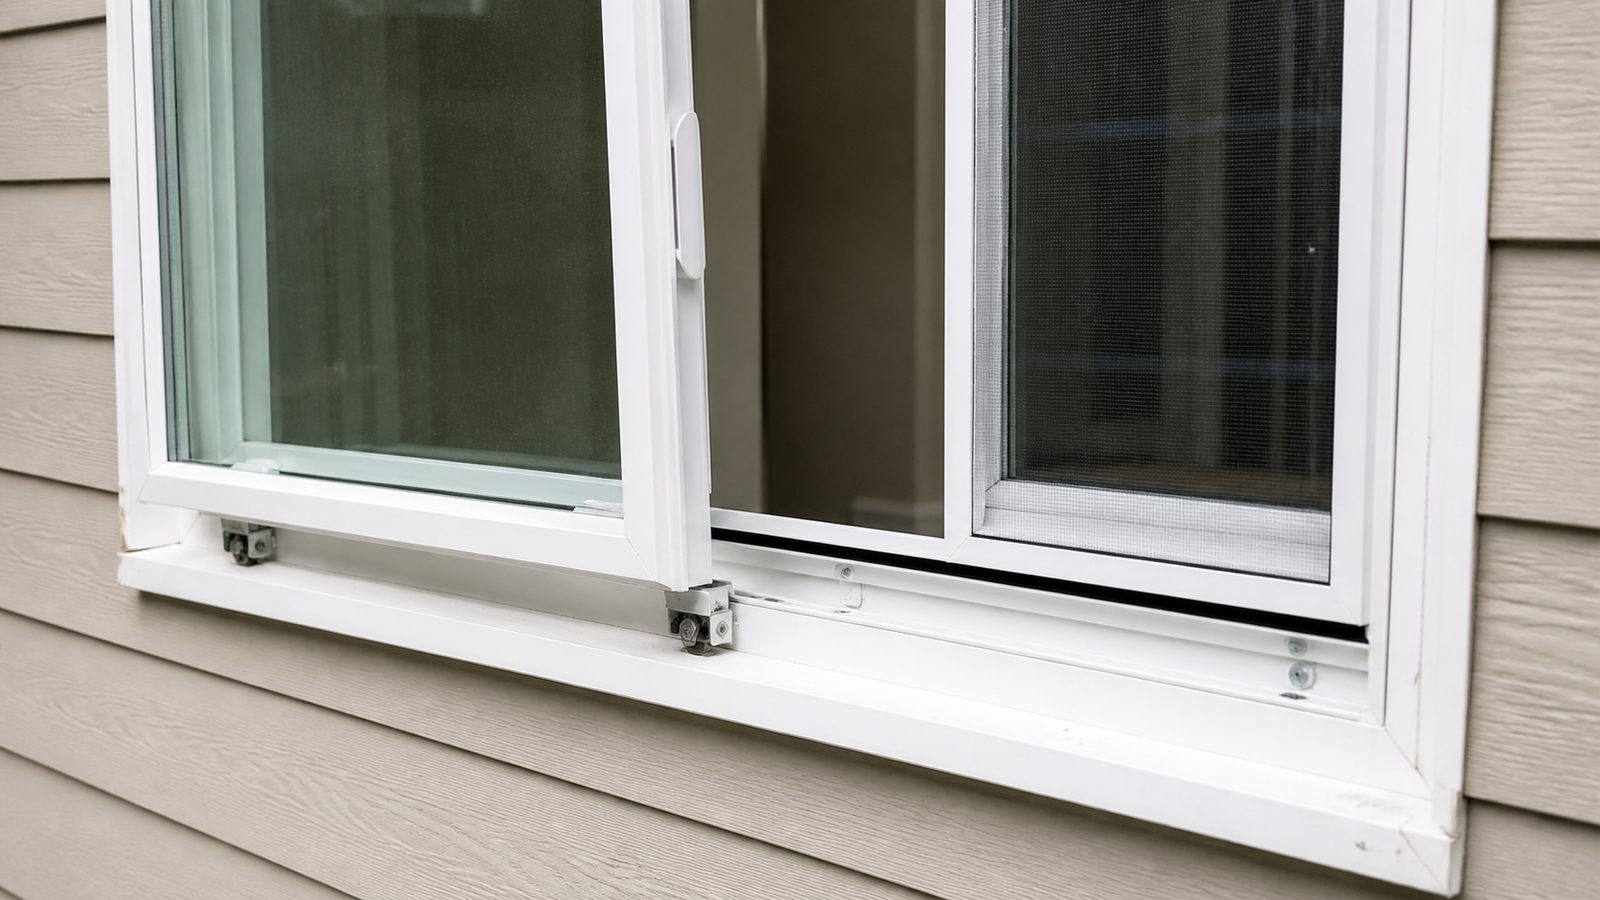
Sliding windows and single-hung windows have similar installation procedures. The key difference is orientation -- the operating sash moves horizontally, the track is at the sides and top, and water management at the sill is different from a vertical-sliding window. The sill track is a drainage channel in a horizontal slider, not a water barrier. Understanding that distinction is what keeps water out of your wall.
Tools You Need
- Pry bar set (12-inch and 18-inch flat bars)
- Hammer and nail set
- Oscillating multi-tool
- Utility knife
- 4-foot level
- Tape measure
- Drill and driver bits
- Caulking gun
- Safety glasses and work gloves
- Reciprocating saw
- Assistant for large units
Materials You Need
- Horizontal sliding window unit with Florida Product Approval -- $150 to $600 depending on size, frame material, and glass specification. Confirm the FPA before ordering.
- Flashing tape (DOW Flexwrap NF or 3M 8067) -- $15 to $30 per roll
- Low-expansion window-and-door spray foam -- $8 per can
- Siliconized caulk, paintable exterior grade -- $8
- Composite shims
- 2-1/2-inch and 3-inch exterior-grade screws
- Aluminum drip cap for head -- $10 to $15
- Exterior trim/brick mold if replacing -- $20 to $50 per window
- Interior casing if replacing -- $15 to $40 per window
- Paint to match existing -- $15
Window sizing note: horizontal sliding windows are typically sized as a fraction of the rough opening width. A 2/0-3/0 (two-over-three) designation means the unit is 2 feet wide by 3 feet tall. Measure your rough opening carefully -- horizontal sliders are often found in non-standard sizes in older Jacksonville construction, and getting the size wrong means ordering again.
Step-by-Step Instructions
Phase 1 -- Remove the existing window
- Remove the interior stop trim and interior casing. Score the paint lines with a utility knife. Pry the stops off carefully if reusing. Remove the interior casing trim.
- Remove the operating sash. Horizontal slider sashes typically lift straight up into the top channel and then swing the bottom outward to free them from the bottom track. Lift the sash as far as it will go, angle the bottom toward you, and lower it out. On older aluminum sliders, the sash may be warped or corroded in the track -- work carefully to avoid breaking the glass.
- Remove the stationary sash (if present). Some horizontal sliders have one fixed sash and one operating sash. The fixed sash is usually held by interior stop trim or screws through the frame. Remove the stop and tilt or slide the sash out.
- Remove the exterior trim and caulk. Go outside. Score through the caulk line at the exterior frame edge or brick mold with a utility knife. Pry off the exterior trim.
- Remove the window frame. Use a reciprocating saw to cut any fasteners holding the frame in the rough opening. Work the frame out in sections -- sill first, then sides, then head. The sill on a horizontal slider is typically a flat extrusion with a weep track -- it will come out as a unit.
- Inspect the rough opening thoroughly. The sill of a horizontal sliding window is a common water intrusion point in Florida because weep holes in older frames clog with debris and the track fills with water. Check the sill and the bottom corners of the rough opening for rot and soft wood. Press your thumb into the wood. If it gives, you have a framing repair before you have a window installation.
Phase 2 -- Repair and flash the rough opening
- Repair any damaged framing. Soft or rotted sill plate, jack studs, or sheathing must be replaced before you flash. Treat exposed framing lumber with borate wood preservative.
- Verify the rough opening dimensions. Check the manufacturer's specified rough opening for the unit you ordered. Measure in multiple locations -- top, middle, and bottom for width; left, center, and right for height. Use the smallest measurement in each direction. The rough opening for a horizontal slider is typically 1/2 inch wider than the unit width and 1/2 inch taller.
- Check the sill for level. A horizontal sliding window sill must be level so the operating sash rolls without drifting. Set your level across the full width of the sill. If it is out of level, shim the sill before setting the window.
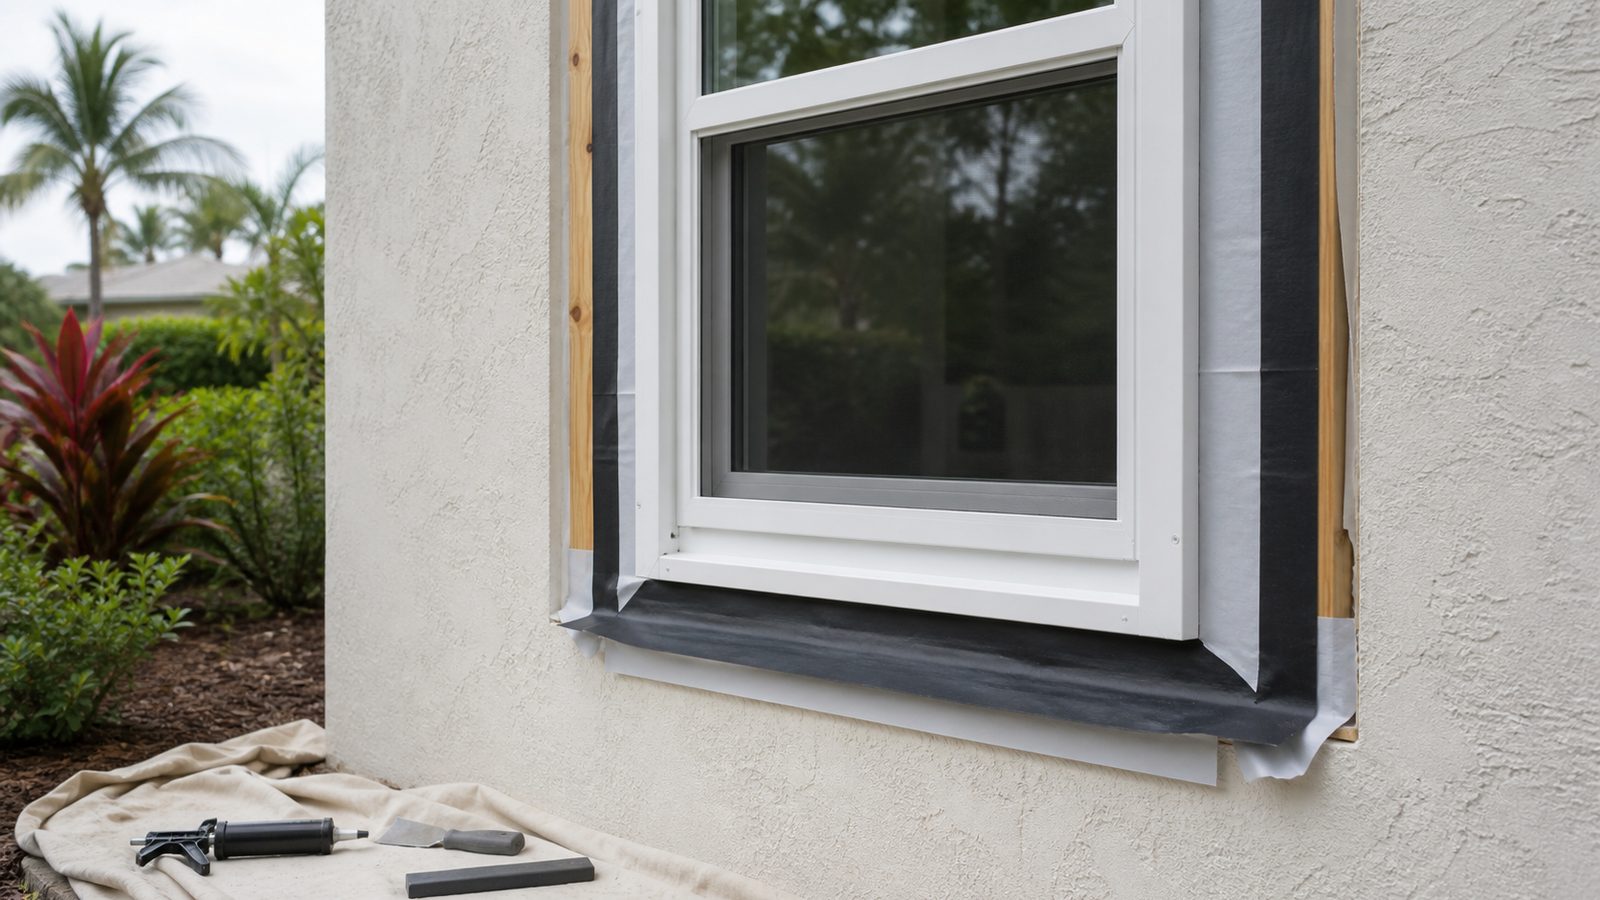
- Flash the rough opening in sequence. This is the most critical technical step. Apply flashing tape in water-shedding order: sill first, then sides, then head.
Sill: Use DOW Flexwrap or self-adhering flexible flashing membrane. This needs to fold down into the corners without bridging (bridging creates a void where water pools). Press it firmly into both sill corners. Run it up the sides of the rough opening at least 6 inches.
Sides: Apply stiff flashing tape (3M 8067) up each side jamb, overlapping the sill tape by 4 inches. Lap onto the framing face a minimum of 2 inches, and onto the interior side of the rough opening a minimum of 2 inches.
Head: Apply flashing tape across the head, overlapping both side tapes. The head tape is the last piece installed and overlaps everything below it.
- Apply a sealant bead to the sill. Run a bead of siliconized caulk along the rough sill where the window frame sill will sit. Secondary seal behind the flashing.
Phase 3 -- Set the new window unit
- Set the window unit in the rough opening from the exterior side. Center it side to side in the opening.
- Check level and plumb. Set your level on the sill of the window frame -- it must be level. Check both side jambs for plumb. Adjust with shims as needed. The adjustments should be minor if the rough opening was prepared correctly.
- Tack-fasten at the top corners to hold position. Drive a fastener at each top corner of the nailing flange to hold the unit while you confirm everything is right.
- Test the operating sash. Install the operating sash temporarily and slide it across the full travel. It should roll smoothly without binding or drifting when released. If it drifts toward one end, the sill is not level -- adjust before permanent fastening.
- Remove the sash and permanently fasten the frame. Drive fasteners through the nailing flange into the rough framing on all four sides, per the manufacturer's fastening schedule. On most residential windows, fasteners go every 6 to 8 inches.
Phase 4 -- Weatherproof the exterior
- Flash the nailing flanges. After the window is fastened, apply flashing tape over the nailing flanges on the sides and head. Tape runs from the rough opening framing face over the flange and onto the wall surface. Sequence: sides first, head second.
Do not tape the sill flange. The sill track has weep holes that drain to the exterior -- the sill needs to remain a drainage zone, not a sealed zone.
- Install the head drip cap. Slip a metal drip cap behind the sheathing or weather-resistive barrier above the window, lapping over the head nailing flange. In Jacksonville's rain environment, water gets behind trim at the head -- the drip cap is what routes it to the exterior.
- Install the exterior trim. Nail or fasten the brick mold or exterior casing over the flashing system.
- Caulk the exterior perimeter. Apply siliconized caulk at the joint between exterior trim and wall surface on the sides and head. Do not caulk the bottom of the exterior trim at the sill -- leave a drainage gap.
- Verify the weep holes are clear. Locate the weep holes in the sill track of the new window and confirm they are open. These holes drain any water that enters the sill track. If they are blocked, the track fills with water and eventually pushes it to the interior. Keep them clear.
Phase 5 -- Finish the interior
- Foam the interior gap. Apply low-expansion window-and-door foam to air seal the gap between the window frame and the rough framing. Work from the bottom up on each side. Do not overfill -- foam in the sash track binds the operating sash.
- Install interior casing. Nail trim to the window frame with a consistent reveal. Caulk the joint between casing and drywall.
- Reinstall interior stops. Position the stops so the operating sash slides smoothly. The stop should be tight enough to keep the sash in the track but not so tight that it drags.
- Prime and paint. Prime bare surfaces. Caulk all interior joints. Paint to match.
Common Mistakes to Avoid
- Caulking or blocking the sill track weep holes. The weep holes are the drainage system for the sill track. Block them and the track becomes a water reservoir that eventually soaks into the wall.
- Installing without checking sill level. An unlevel sill means the operating sash drifts open or closed on its own. Check level before you fasten anything.
- Skipping the Flexwrap at sill corners. Flat flashing tape bridges the corners -- it does not follow the corner profile. Flexwrap or a self-adhering flexible membrane is required at the sill corners to seal the right-angle transition.
- Flashing the head before the sides. Flashing sequence matters. Sill first, sides second, head last -- each layer overlaps the one below. Reverse the order and you create a water path behind the flashing.
- Ordering without confirming the Florida Product Approval. A window without the correct FPA for your wind zone is not code-compliant in Jacksonville. Verify before you order.
When to Hire a Pro Instead
Call a contractor when any of these apply:
- You find rot in the sill or rough opening framing. This is common in older Jacksonville sliding windows where weep holes clogged and water pooled at the sill for years. The extent of the rot is often not visible until you get into the framing. Have a contractor assess and repair before installing.
- You are in a High-Velocity Hurricane Zone. HVHZ window installations require impact-rated glazing, specific fastening per the product approval drawings, and building department inspection. This is not a standard DIY installation.
- The rough opening needs to be resized. Changing the rough opening size in a framed wall affects wall structure and may require a structural repair, depending on the opening location and wall type.
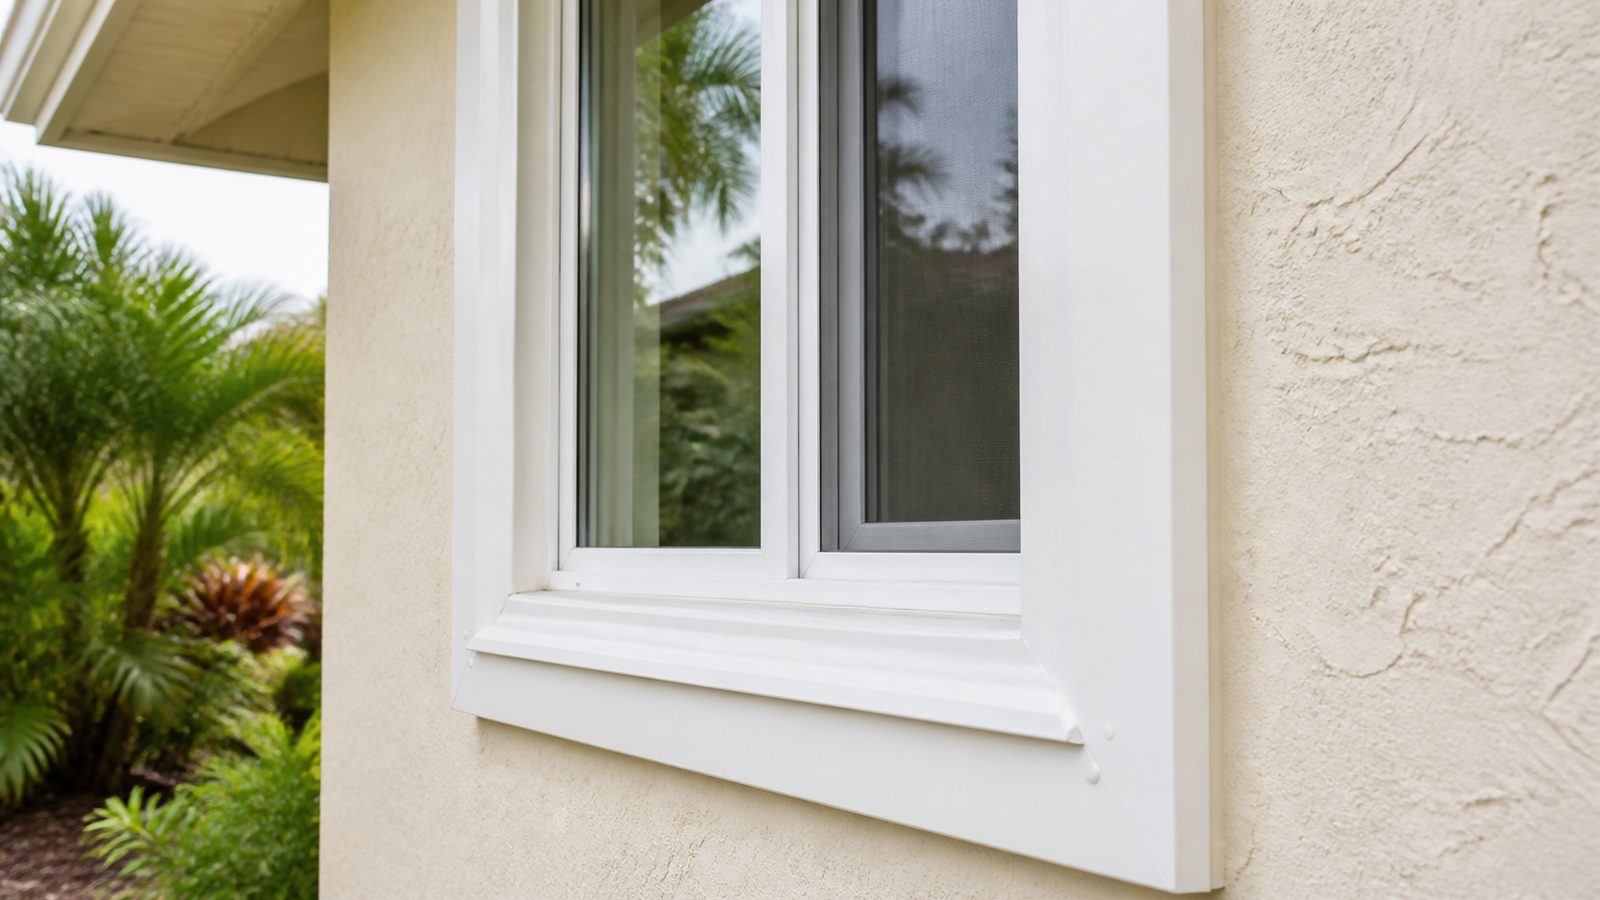
- The window is in a masonry or stucco wall. Masonry applications require different flashing details and often require removing and rebuilding the masonry window buck. The nailing flange approach used in wood-frame construction does not apply.
- You are doing a full house window replacement. A coordinated package of 10 to 20 windows is more efficiently managed as a contractor scope -- proper material staging, consistent installation quality, and a single warranty contact.
- The existing window opening is non-standard. Older Jacksonville construction sometimes has rough openings that do not match any standard window size. A custom or modified unit may require field adjustments that go beyond a standard installation.
Need a Jacksonville GC for this job? Get a 48-hour free fixed-price estimate from JK Prestige Constructor.
No call center. No coordinator. A JK principal reviews every inquiry and replies with a real number, not a range, not a follow-up form.
Request Free Estimate →