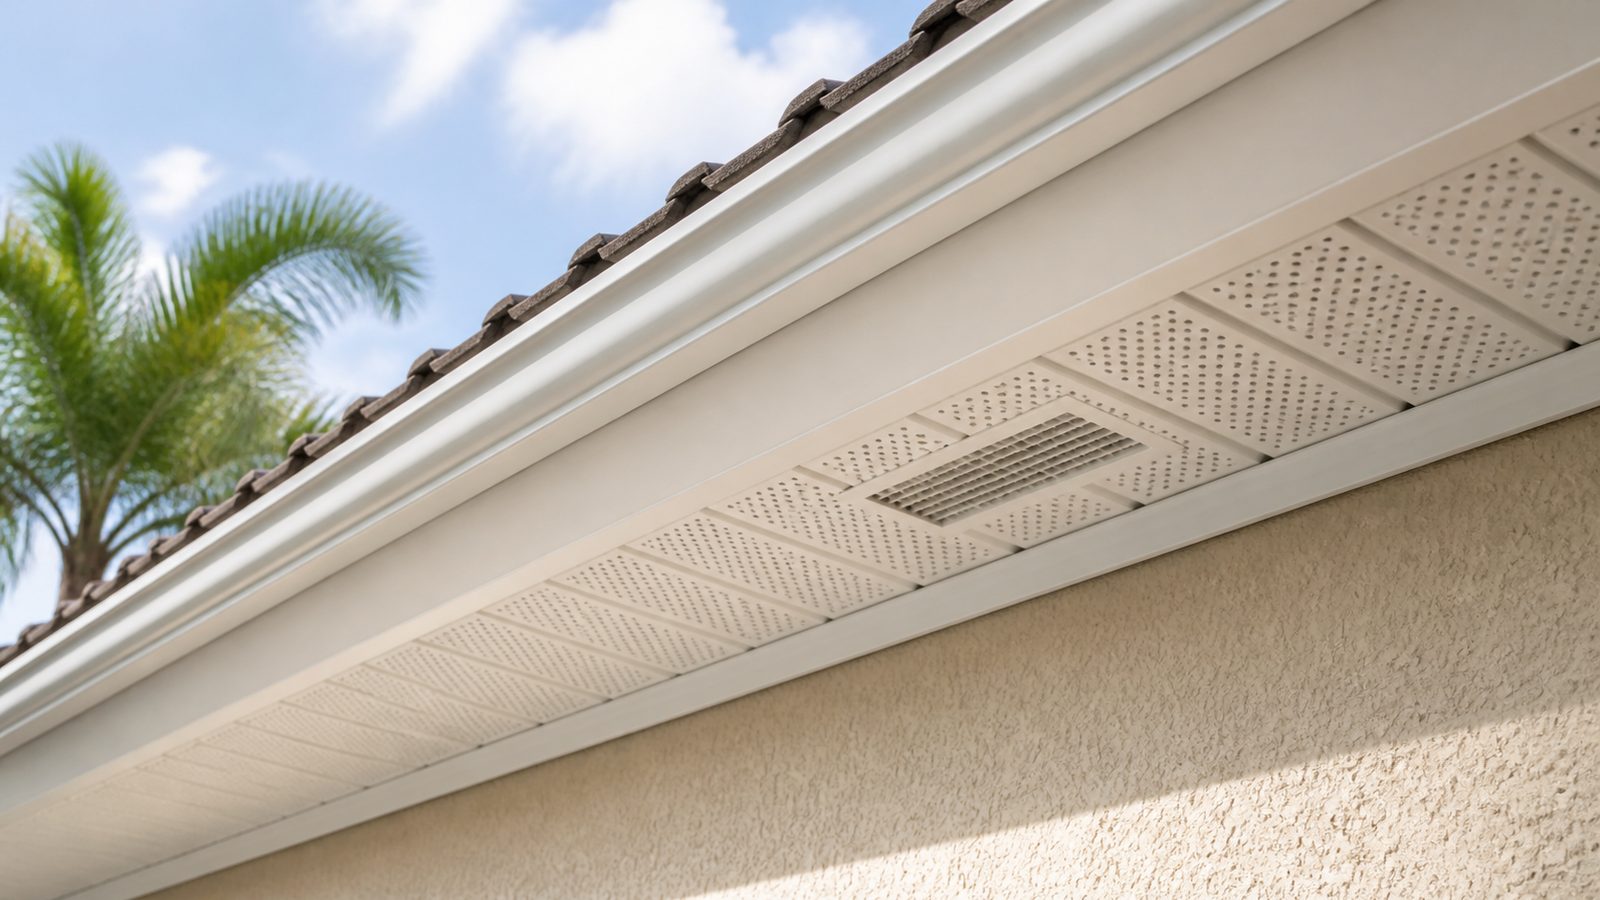
Soffit takes a beating in Jacksonville. Between salt-laden humidity from the St. Johns River corridor, summer heat that pushes attic temperatures above 140°F, and the occasional tropical storm, the vented panels beneath your roof's overhang are under constant stress. When soffit fails—warping, cracking, pulling away from the fascia, or showing signs of rot—your attic loses the balanced ventilation it depends on. Moisture backs up, mold follows, and pest pressure increases. Replacing vented soffit is a manageable project for skilled DIYers, but the details matter. Get the ventilation ratio wrong, skip a permit you needed, or choose the wrong material and you'll be back on the ladder within a few years.
When You Need a Permit in Jacksonville
Duval County falls under the City of Jacksonville's jurisdiction for building permits. For soffit replacement, the determining factor is scope. Direct like-for-like replacement of soffit panels—same material, same configuration, no structural framing changes—generally falls under routine maintenance and does not require a permit. However, if you are altering the ventilation configuration, changing the soffit width, replacing or repairing the fascia board or rafter tails, or combining the work with a re-roof, a permit is likely required under the Florida Building Code (FBC), Eighth Edition.
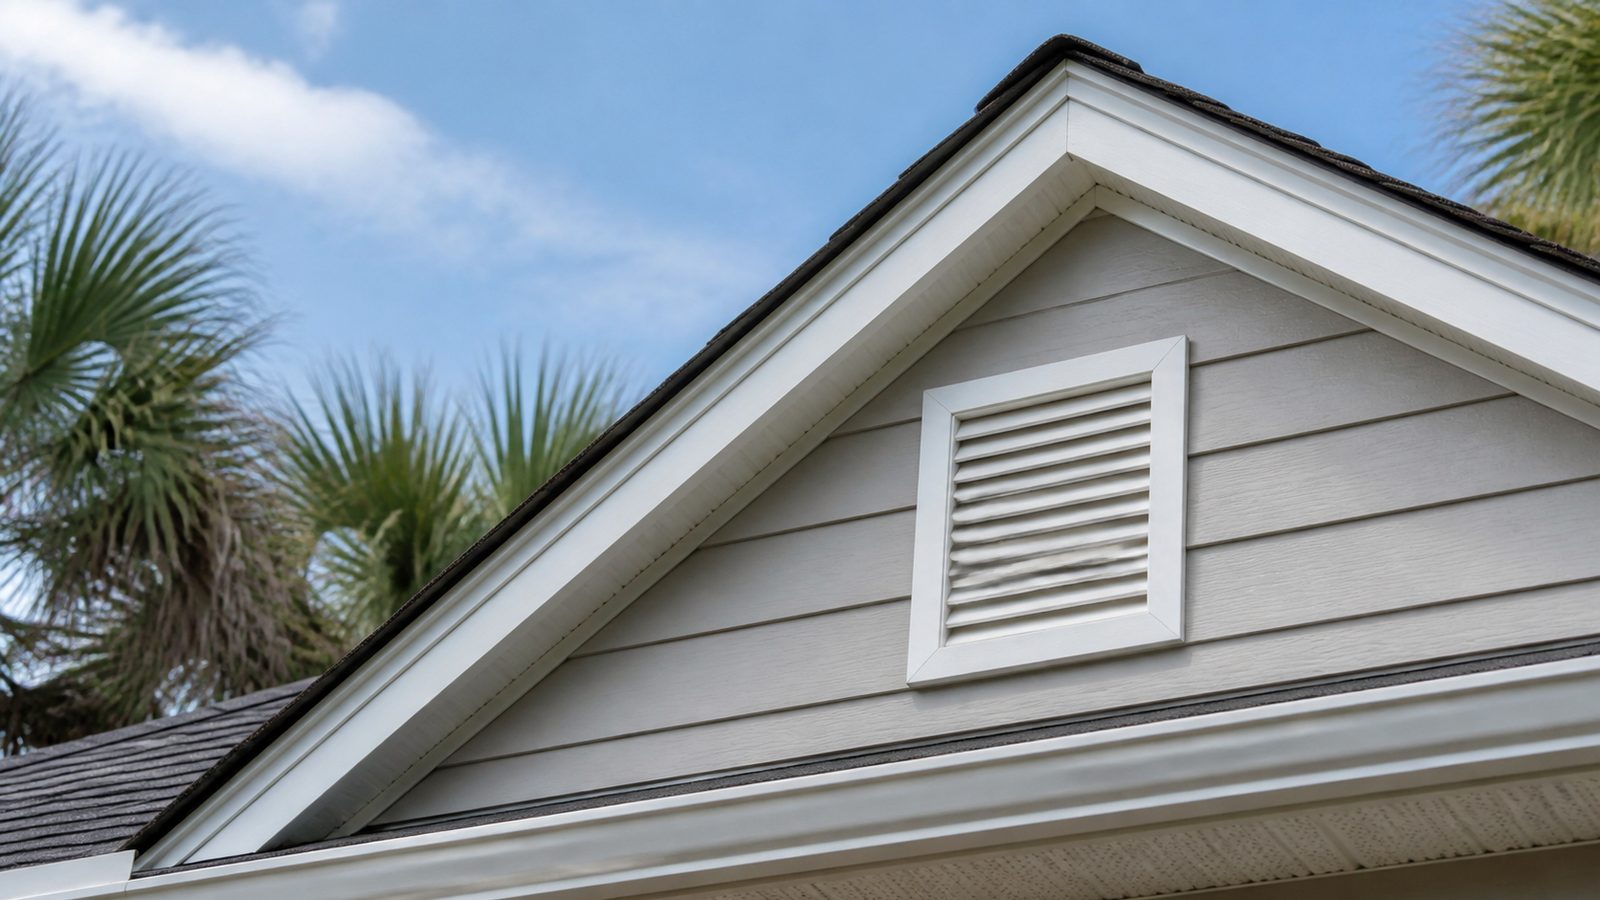
The FBC Section R806 governs attic ventilation and specifies a minimum net free vent area (NFVA) of 1 square foot per 150 square feet of attic floor space. This can be reduced to 1:300 if at least 40 percent of the required area is in the upper portion of the attic (ridge or gable vents) and the remainder is at the eave or cornice level. Jacksonville's humid subtropical climate makes undershooting this ratio a serious problem—inadequate intake ventilation is one of the leading contributors to premature roof deck failure in Florida.
When in doubt, call the City of Jacksonville's Building Inspection Division before you start. A permit that costs a few hundred dollars is far cheaper than a stop-work order or a failed inspection that forces you to tear out completed work.
Tools and Materials
- Pry bar and stiff putty knife (panel removal)
- Drill with Phillips and square-drive bits
- Tin snips (for aluminum) or utility knife (for vinyl)
- Tape measure and chalk line
- J-channel and F-channel (matching existing profile)
- Vented soffit panels (vinyl or aluminum, to match existing)
- Galvanized or stainless-steel screws appropriate for material
- Caulk and caulk gun (paintable, mold-resistant exterior grade)
- Ladders or scaffolding appropriate for working height
- Mesh pest screen (optional, for open rafter bays)
- Safety glasses and work gloves
Step-by-Step
- Photograph the existing soffit before removal. Note the panel width, channel profile, and whether panels run parallel or perpendicular to the house. Matching the profile matters for a watertight fit.
- Remove damaged panels by releasing them from the J-channel and F-channel. Avoid prying against fascia or the rafter tail ends—these are load-bearing connections you do not want to stress unnecessarily.
- Inspect the rafter tails and fascia board for rot. Press a screwdriver firmly into the wood. Soft spots mean rot has progressed. Rotted rafter tails require repair before new soffit goes up; this is where many DIY projects correctly escalate to a contractor.
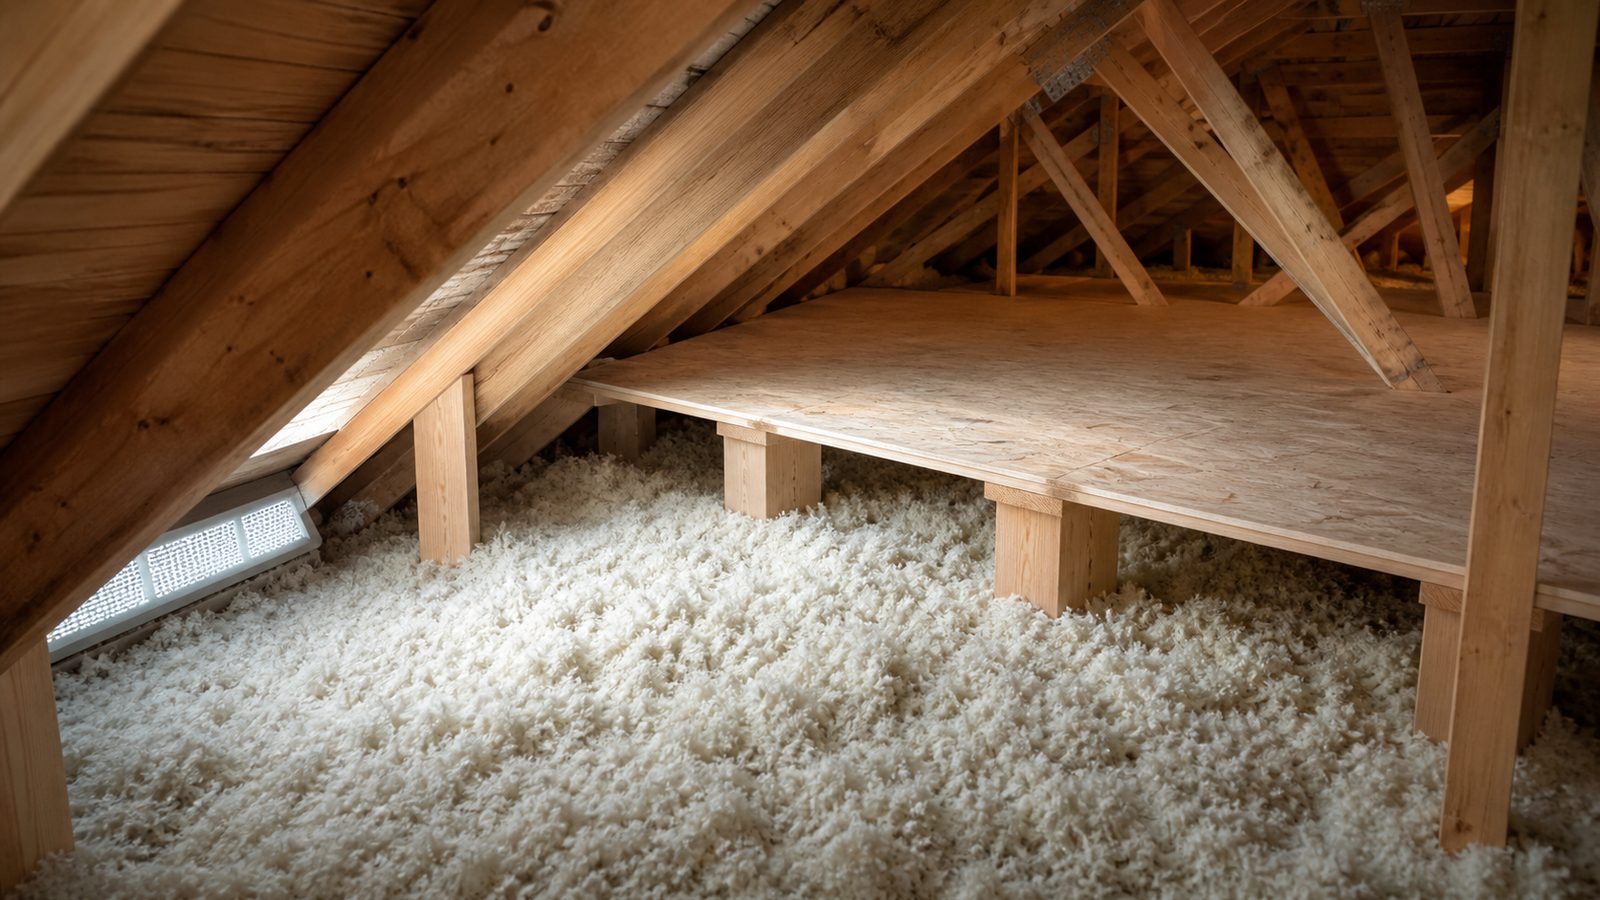
- Clear debris from the rafter bays. Wasp nests, old insulation blocking the eave, and accumulated dirt all reduce effective airflow. This is your one clean chance to address attic insulation that has crept too close to the eave—it should be held back at least 1 inch from the deck.
- Check and replace channels if damaged. F-channel sits against the fascia; J-channel is nailed to the exterior wall. Both must be level and securely fastened for panels to sit flat.
- Cut new panels to length. Vinyl is easy to cut with a utility knife; aluminum requires tin snips. For vented panels, the vent cutouts must face the attic side. Do not install solid panels in ventilation locations.
- Slide panels into channels without forcing them. Vinyl expands in Florida heat—leave a small gap (roughly 1/8 inch) at channel ends to prevent buckling in summer.
- Secure panels per manufacturer specs. Most vinyl systems are designed as a floating system with no fasteners through the panel face; aluminum systems often use screws.
- Install mesh pest screen behind open rafter bays before final panels go in. This is critical in Jacksonville—squirrels, wasps, and roof rats find unsecured soffit gaps within weeks.
- Seal the joint where the soffit meets the fascia with exterior-grade, paintable caulk. Do not caulk the vent perforations.
Jacksonville Climate Considerations
Jacksonville's climate creates conditions that accelerate soffit failure faster than most of the country. Summer attic temperatures regularly exceed 140°F, and relative humidity inside an inadequately ventilated attic can stay above 70 percent for weeks at a time. That combination breeds mold on roof sheathing and degrades adhesive in OSB panels.
Proper net free vent area is not optional here—it is infrastructure. Undersized intake at the soffit starves even high-quality ridge vents of the airflow they need. Calculate your attic floor area and verify your existing vented soffit provides enough NFVA before selecting replacement panels. Vent perforation patterns vary significantly by manufacturer; the actual NFVA per square foot of panel is listed on the product spec sheet, not the panel width.
Hurricane wind uplift is a secondary concern. Jacksonville sits in the Florida High Velocity Hurricane Zone boundary, and while Duval County does not fall under the full HVHZ provisions that apply south of Broward and Palm Beach counties, high-wind provisions in the FBC still apply. Soffit panels must be properly secured in channels and the channels must be fastened to solid structure—not just vinyl trim—so they do not pull away in storm conditions.
Finally, wasps and carpenter bees are not a minor nuisance. In Jacksonville's warm climate, stinging insects will colonize an open soffit cavity within a single season. Mesh pest screen is inexpensive insurance.
What It Costs in Jacksonville (DIY vs. Hiring a Pro)
| Scenario | Estimated Cost Range |
|---|---|
| DIY materials only (single elevation, ~100 linear ft) | $150–$350 |
| DIY with channel replacement and pest screening | $250–$550 |
| Licensed contractor, single elevation | $600–$1,200 |
| Licensed contractor, full house (all four elevations) | $1,800–$4,500 |
| Add rafter tail or fascia repair | $300–$900+ depending on scope |
Labor rates in the Jacksonville market have risen with demand from ongoing residential growth on the Westside, Northside, and St. Johns County border communities. Get at least two written estimates from licensed contractors. Verify licensure through the Florida Department of Business and Professional Regulation before signing anything.
When to Call JK Prestige
If your soffit inspection reveals rotted rafter tails, compromised fascia, or signs of water intrusion at the roof-to-wall junction, the project has moved beyond panel replacement into structural repair territory. JK Prestige is a principal-led general contracting firm based in Jacksonville. We handle the full scope—structural framing, fascia, soffit, and roofing coordination—under one contract, with a licensed principal involved in every project from estimate through final inspection.
No call center. No coordinator. A JK principal reviews every inquiry and replies with a real number, not a range, not a follow-up form.
Request Free Estimate →