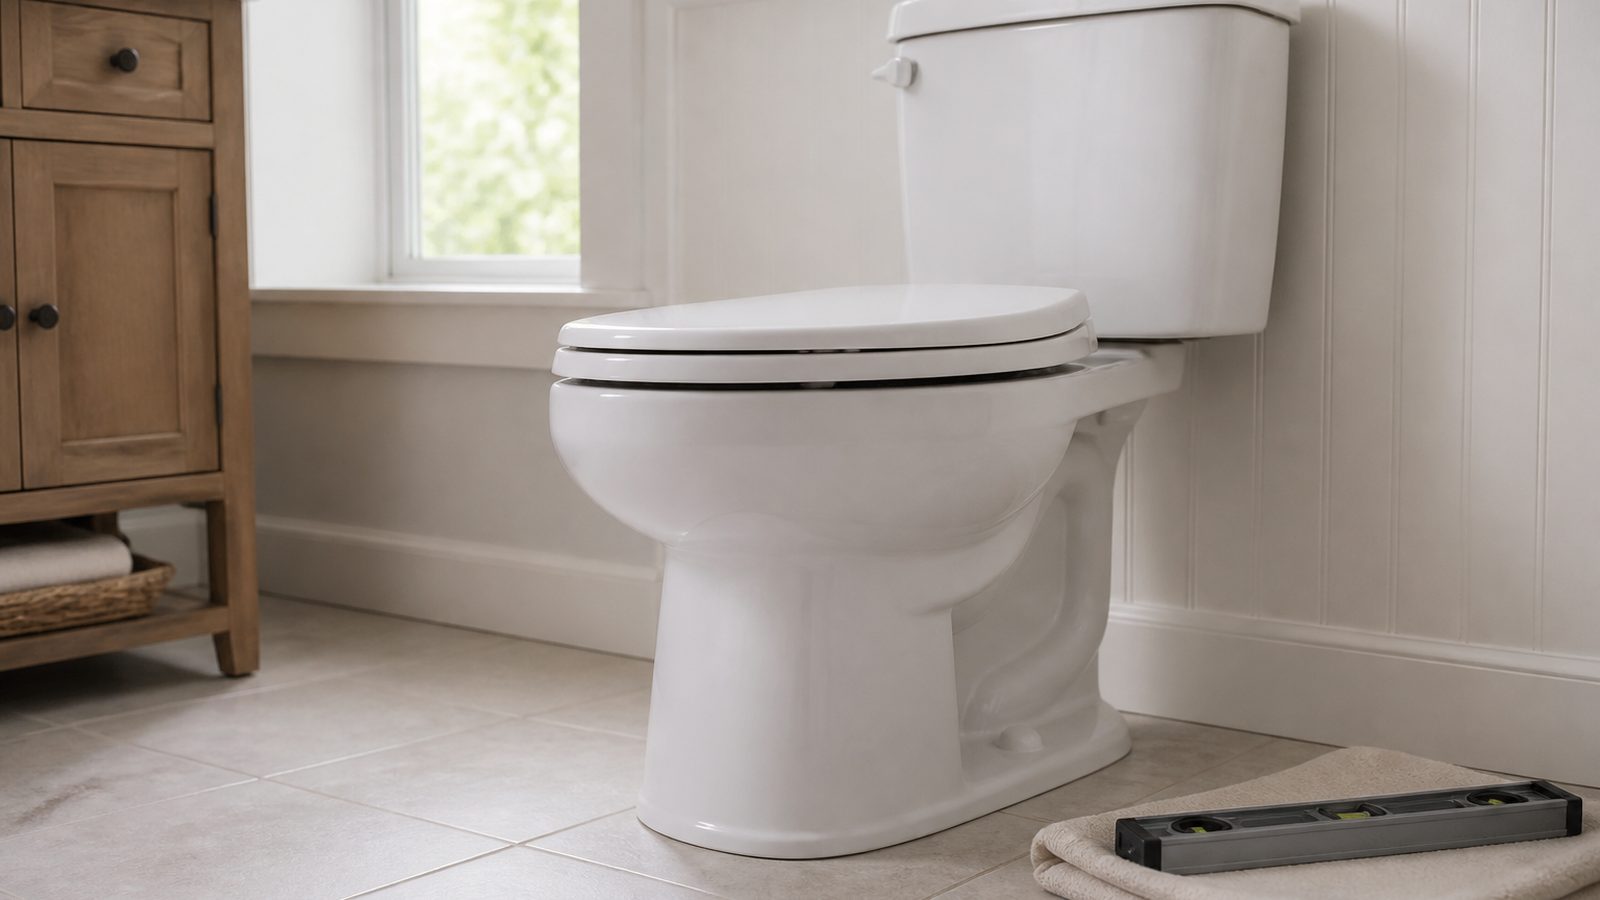
A running, cracked, or outdated toilet is one of the most common repair jobs in Jacksonville homes, especially in older neighborhoods like Riverside, Avondale, San Marco, and Springfield where original fixtures are still in place. Swapping a toilet is one of the more approachable DIY plumbing jobs, but Duval County's older housing stock, high water table, and humid climate add a few local wrinkles that homeowners in drier climates never have to think about. Here's what to know before you start, including when the City of Jacksonville wants a permit application and what the job typically costs if you'd rather hand it off to a pro.
When You Need a Permit in Jacksonville
Most straightforward toilet replacements in Jacksonville do not require a permit. If you're swapping a toilet for a new one in the exact same location, using the existing drain flange and existing water supply line, that's generally treated as routine fixture maintenance under the Florida Building Code and Florida Plumbing Code, and the City of Jacksonville's Building Inspection Division typically does not require a permit for that kind of like-for-like replacement.
The line moves, however, if the job goes beyond a simple swap. Relocating the toilet, moving or replacing the drain flange, altering the waste line, or changing the rough-in dimensions all count as plumbing alterations under the Florida Plumbing Code, and those typically require a permit and inspection through the City's Planning and Development Department. Older Duval County homes, particularly those built before the 1980s, often have cast iron flanges that have corroded or cracked, which can turn what looked like a simple swap into flange repair work that crosses into permit territory. If you're unsure whether your situation qualifies, a quick call to the City of Jacksonville permitting desk before you start will save you a headache later, especially if you plan to sell the home and need a clean permit history.
Tools and Materials
- New toilet (check the rough-in measurement, typically 12 inches from the wall)
- Wax ring or wax-free seal
- New closet bolts and caps
- Braided supply line
- Adjustable wrench
- Putty knife
- Small level
- Bucket, sponge, and old towels
- Rags or a shop vac for remaining water
- Silicone caulk (optional, for the base)
- Work gloves and safety glasses
Step-by-Step
- Turn off the water supply at the shutoff valve behind the toilet, then flush to drain the tank and bowl as much as possible.
- Disconnect the supply line from the tank and remove any remaining water with a sponge or shop vac.
- Remove the tank bolts if the tank is separate from the bowl, or skip this if it's a one-piece toilet.
- Remove the nuts on the closet bolts at the base of the toilet, then rock the bowl gently to break the wax seal.
- Lift the toilet straight up and set it on old towels. Have a helper if possible, since even a "comfort height" toilet is heavy and awkward.
- Stuff a rag into the drain opening temporarily to block sewer gas while you work.
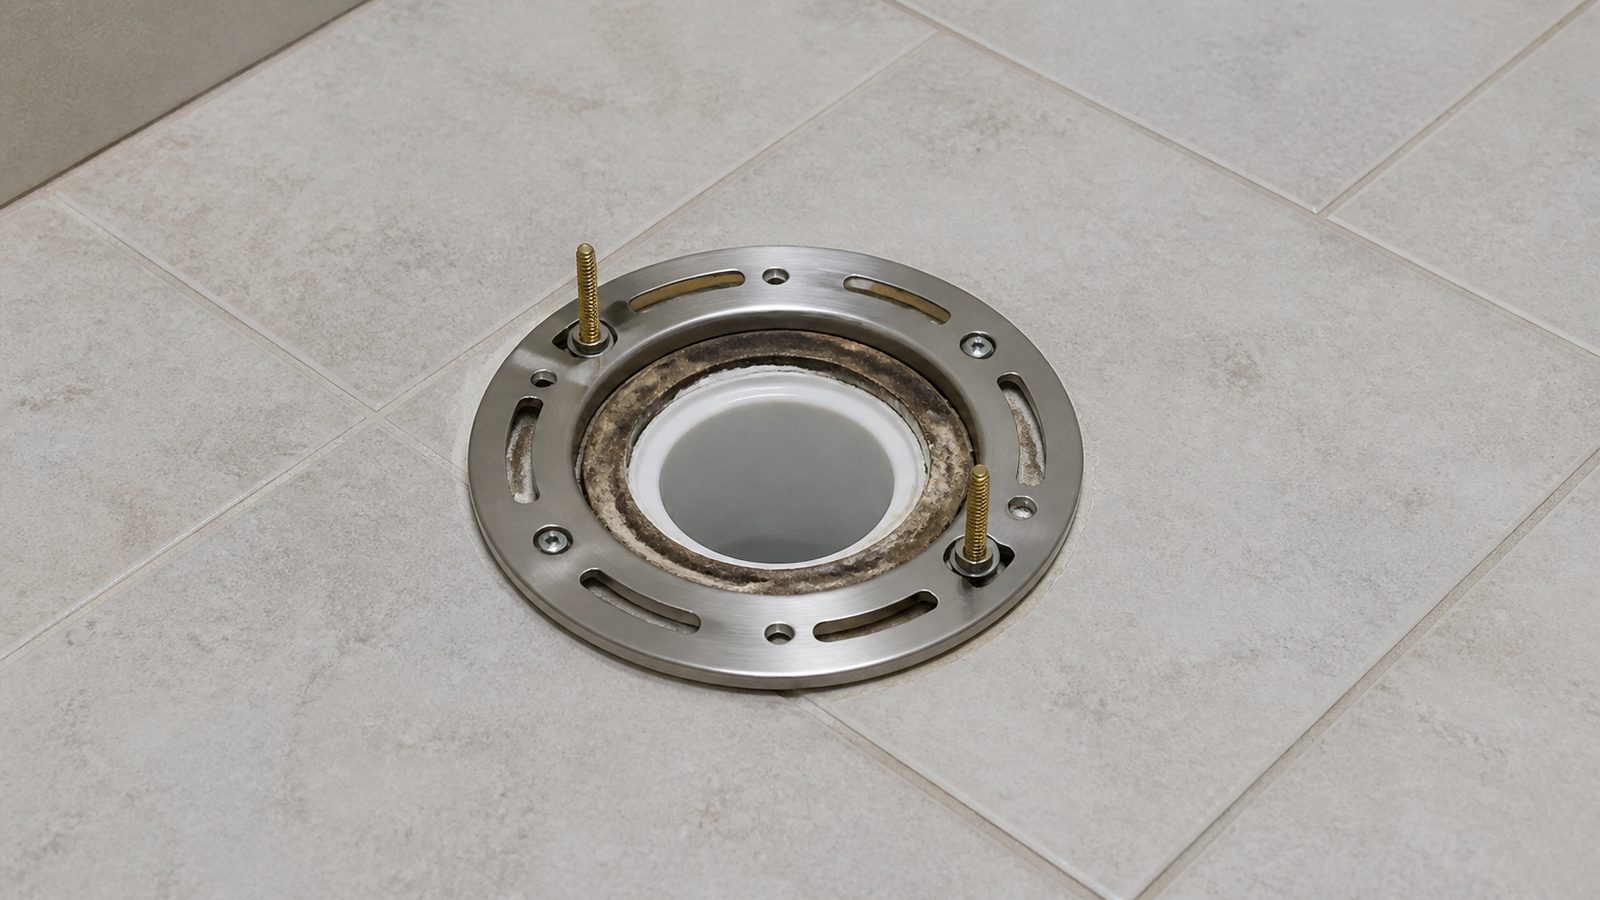
- Scrape off the old wax ring with a putty knife and inspect the flange. If it's cracked, corroded, or sitting below the finished floor, this is the point where the job may need a flange repair kit, and possibly a permit if the flange itself is being replaced.
- Set new closet bolts into the flange slots.
- Remove the rag, then place the new wax ring on the flange or on the underside of the new toilet, following the manufacturer's instructions.
- Lower the new toilet straight down over the bolts, aligning carefully, then press down firmly and evenly to seat the wax ring.
- Add washers and nuts to the closet bolts and tighten evenly, alternating sides, until the toilet is stable. Don't overtighten, since porcelain can crack.
- Check with a level and shim the base if the floor is uneven, which is common in older Jacksonville homes with settled foundations.
- Reattach the tank if separate, then connect the supply line and turn the water back on.
- Flush several times and check every connection for leaks, including around the base after 10 to 15 minutes.
- Caulk the base if desired, leaving a small gap at the back for leak detection.
Jacksonville Climate Considerations
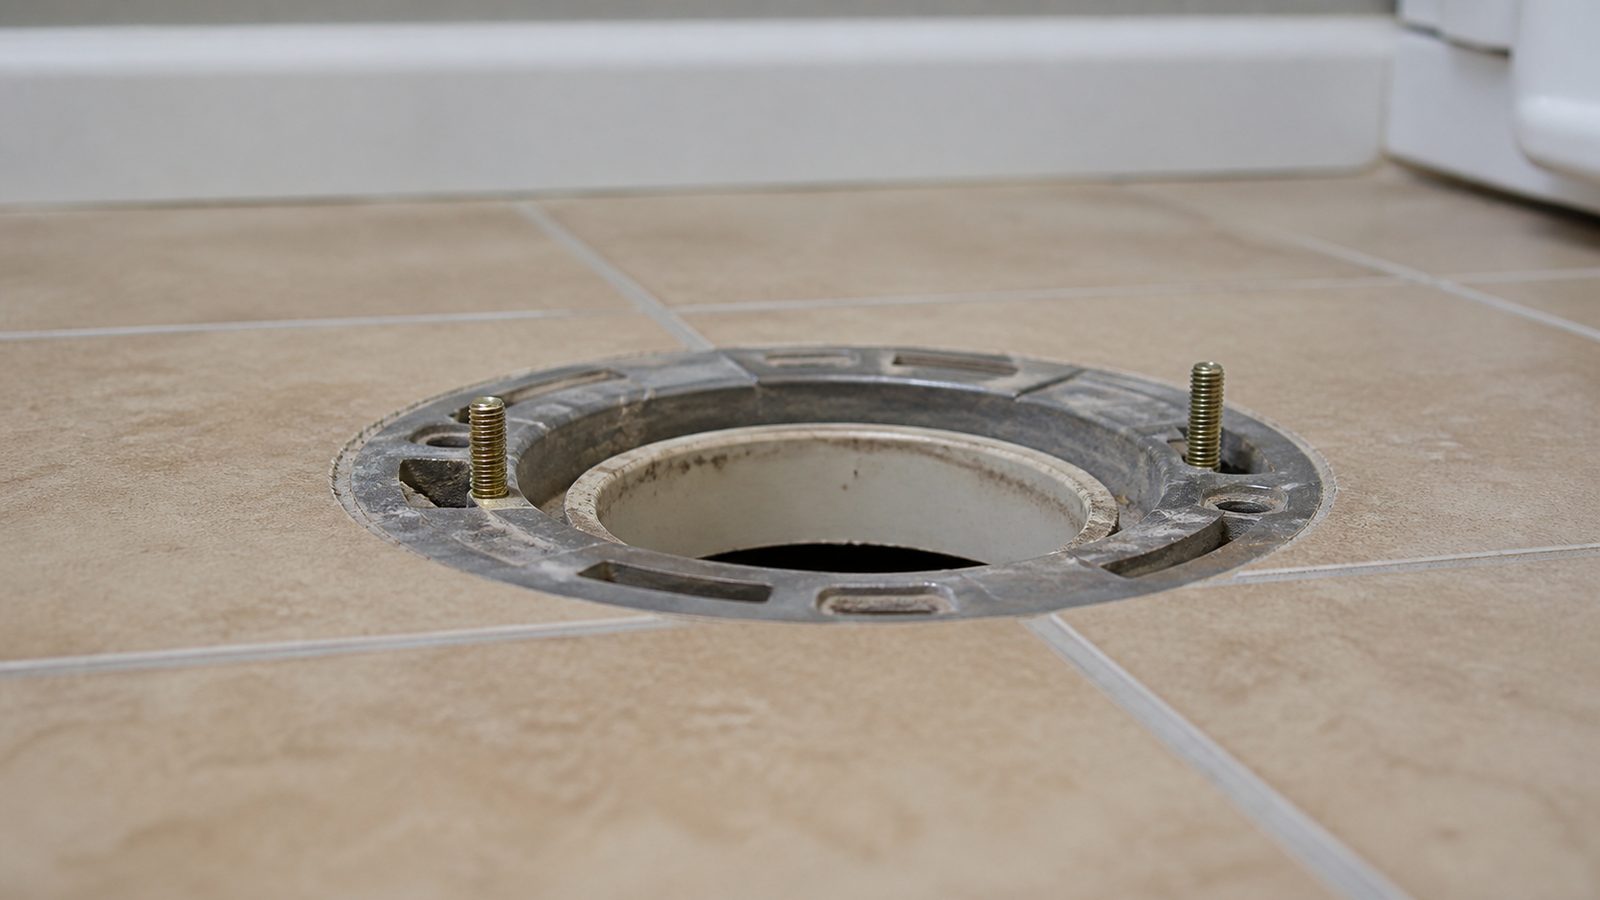
Jacksonville's humidity means subfloor moisture around toilets shows up faster than in drier regions, so a solid wax seal and a level installation matter more here than in a mild, dry climate. The area's water is moderately hard, which over years can contribute to mineral buildup inside tank components, so it's worth inspecting the fill valve and flapper while everything is already apart. Duval County's high water table can also mean subfloor rot around older toilets that have had slow leaks for years without anyone noticing, so if the subfloor feels soft or spongy when you remove the old toilet, stop and address that before installing anything new. And as noted above, homes built before the 1980s in older Jacksonville neighborhoods frequently still have cast iron flanges, which corrode differently than modern PVC and are more likely to need repair during a "simple" swap.
What It Costs in Jacksonville (DIY vs. Hiring a Pro)
| Approach | Typical Cost Range | Notes |
|---|---|---|
| DIY, standard toilet | $150 to $400 | Toilet plus wax ring, bolts, supply line |
| DIY, with flange repair | $250 to $550 | Add flange repair kit and extra time |
| Hiring a plumber, labor only | $150 to $350 | If you supply the toilet |
| Hiring a plumber, all-in | $350 to $700 | Toilet, labor, and disposal of the old unit |
| Flange replacement or relocation (may require permit) | $400 to $900+ | Higher if subfloor repair is needed |
When to Call JK Prestige
If you pull up the old toilet and find a cracked or corroded flange, soft subfloor, or signs the toilet was ever relocated without a permit, that's a good moment to call in a licensed contractor rather than push forward. JK Prestige handles both the plumbing correction and any subfloor or permitting work in one visit, which avoids the back-and-forth of hiring separate trades. We work across Duval County and know which older neighborhoods tend to have cast iron flanges and settled subfloors, so we can usually spot the real scope of the job before we even start.
No call center. No coordinator. A JK principal reviews every inquiry and replies with a real number, not a range, not a follow-up form.
Request Free Estimate →