One cracked or missing vinyl siding panel does not mean you need to re-side the house. Between summer thunderstorms, the occasional tropical system, and a stray lawnmower rock, it is common for a Jacksonville home to end up with one or two damaged panels while the rest of the siding is fine. Vinyl siding is built to be repaired panel by panel. With the right tool and some patience, most homeowners can pull a damaged section, snap in a replacement, and have it looking right again in an afternoon. Here is when you need a permit, what to buy, how the job goes, and how Jacksonville's climate changes it.
When You Need a Permit in Jacksonville
For most homeowners, replacing one or a few damaged vinyl siding panels counts as routine maintenance, and it does not require a permit from the City of Jacksonville. You are swapping existing material in the same spot with the same product, not changing the wall's structure.
That changes once the scope grows: re-siding an entire wall or house, work touching the structural sheathing or framing, changes to window or door openings and flashing, or work that has to demonstrate compliance with current wind load rules, which matters here because Duval County sits in a wind-borne debris region under the Florida Building Code.
Permit thresholds are not always obvious, and inspectors have discretion on borderline jobs. Do not treat this article as the final word. Before you start, especially if the damage covers more than a panel or two, call the City of Jacksonville Building Inspection Division and describe what you plan to do. A short call is cheaper than a stop-work order.
Tools and Materials
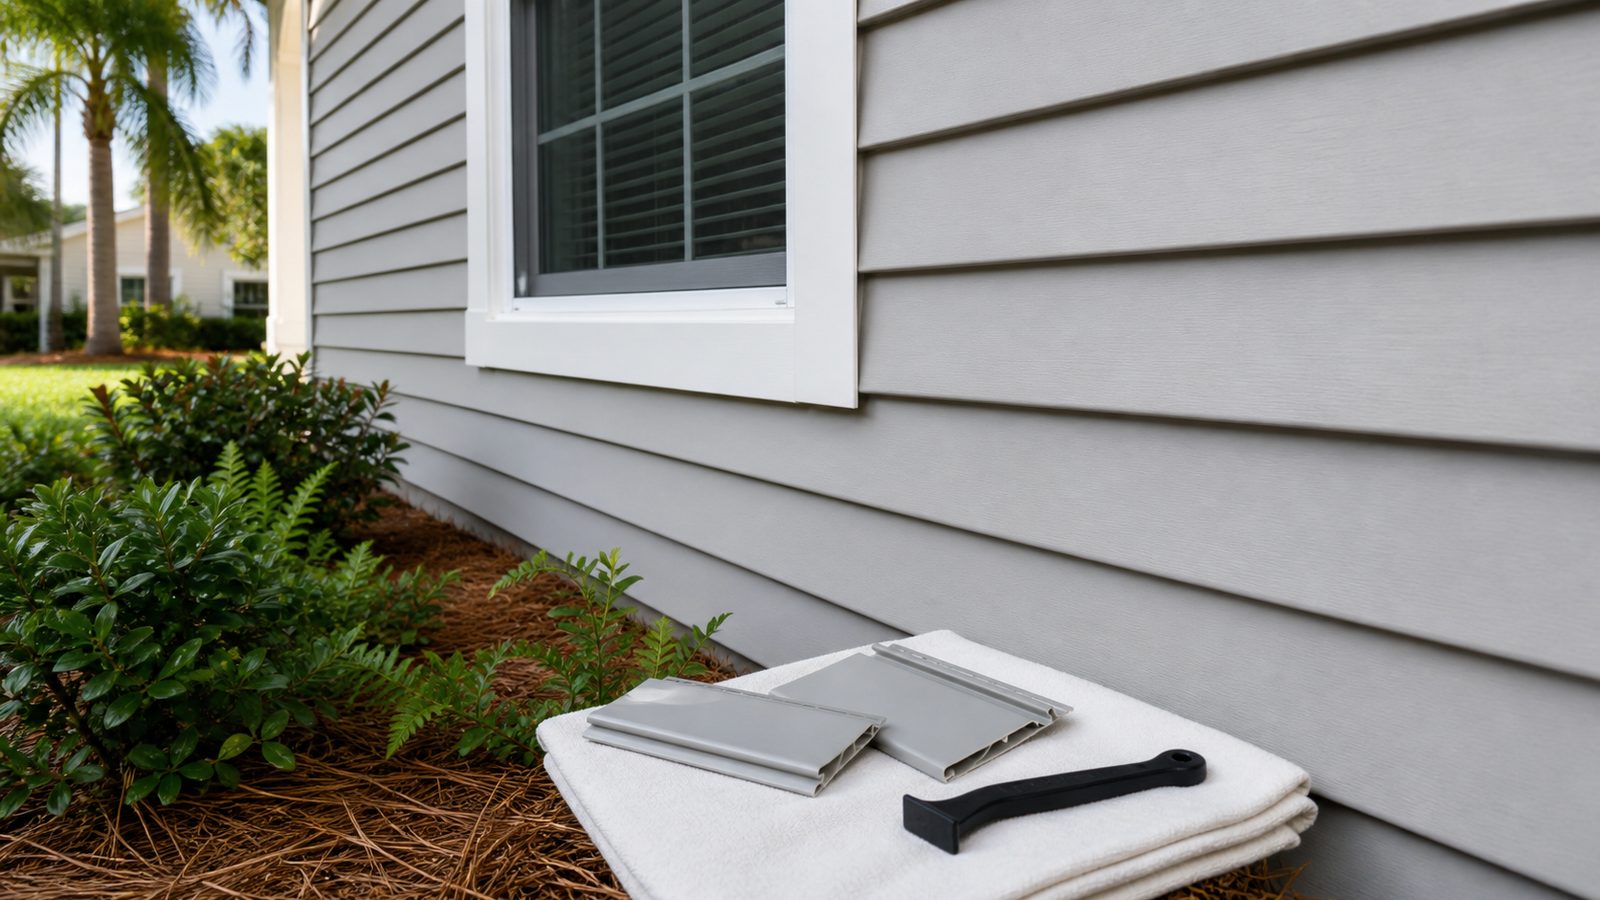
- Zip tool (siding removal tool): Unlocks the seam between panels so you can separate them without cracking the vinyl. The one item here you probably do not already own.
- Replacement panel: Matching profile, color, and exposure length to your existing siding.
- Tin snips or a utility knife: For trimming the panel to length.
- Flat pry bar: For working nails loose without gouging the panel above.
- Aluminum or stainless siding nails: Do not overdrive them; vinyl needs room to move.
- Tape measure, chalk line, and square: For clean, accurate cuts.
- Work gloves and safety glasses: Cut vinyl edges are sharp.
- Siding-colored exterior caulk: Only where the manufacturer calls for it. Vinyl sheds water on its own, and over-caulking can trap moisture behind the panel.
Step-by-Step
- Check for hidden damage. Look above and below the obvious crack for hairline cracks or dimples you might have missed.
- Unlock the panel above. Slide the zip tool along its bottom lock, working side to side to release the seam.
- Pull the fasteners. With the panel above held clear, remove the nails or screws on the damaged panel with your pry bar.
- Slide out the damaged panel. It unlocks from the panel below once the fasteners are gone.
- Cut the replacement to fit. Trim the new panel with tin snips, leaving the manufacturer's recommended gap at each end for thermal movement. Do not force it in flush.
- Lock the new panel in. Engage its bottom lock with the panel below, then nail it loosely enough that it can still shift side to side. Vinyl hangs, it is not pinned rigid.
- Relock the panel above. Press it down over the nailing flange until it clicks into place.
- Inspect in daylight. Check for even reveal lines, no buckling, and an honest color match, not just under shade or garage light.
Jacksonville Climate Considerations
- Intense UV exposure. Florida sun fades vinyl faster than cooler, cloudier climates. A panel bought a year or two after the original job may not match perfectly on the sun-facing side of the house.
- Salt air near the coast and the Intracoastal. Homes near the beaches, the St. Johns River, or the Intracoastal see faster wear on fasteners and hardware. Stick with stainless or coated fasteners.
- Wind-borne debris risk. Duval County sits in a wind-borne debris region, which is part of why loose or improperly locked panels are a real liability in tropical storms and hurricanes. A panel not fully engaged in its lock is often the first thing to peel off in high wind.
- Heavy, sudden summer rain. Any gap, buckle, or improperly caulked seam becomes a path for water behind the panel and into the wall.
- Thermal expansion. Vinyl moves noticeably between a hot afternoon and a cool morning. Fasteners driven too tight will crack the panel or cause it to buckle within a season.
What It Costs in Jacksonville (DIY vs. Hiring a Pro)
These are rough, non-official estimates. Get an actual quote before budgeting around them.
| Approach | Typical Cost Range | Notes |
|---|---|---|
| DIY, materials only | $15 to $40 per panel | If you already own basic hand tools |
| DIY, plus zip tool | $50 to $90 total | One-time tool cost, reusable later |
| Pro, single panel | $150 to $350 | Many carry a minimum service call charge |
| Pro, storm assessment | $300 to $800+ | Depends on access, matching, trim damage |
When to Call JK Prestige
A single accessible panel on a one-story wall is a fair DIY project. Call a professional when storm damage might be more than cosmetic, when the panel is hard to reach safely, when you cannot find a close color match and want an honest opinion, or when several panels across different walls are damaged at once, which often points to a bigger wind or water problem. JK Prestige Constructor Corp handles both the small panel swap and the larger storm-damage assessment, and we will tell you plainly if a repair is enough or if it is not.
No call center. No coordinator. A JK principal reviews every inquiry and replies with a real number, not a range, not a follow-up form.
Request Free Estimate →