After a tropical storm or a strong afternoon thunderstorm rolls through Jacksonville, pool cage and lanai screen damage is one of the most common calls general contractors receive. A torn panel here or a bowed frame section there might look like a quick weekend fix, but the scope of the job determines whether you are pulling out a spline roller or calling a licensed contractor with engineering drawings. This guide walks Duval County homeowners through the full picture — permits, materials, step-by-step process, local climate factors, realistic costs, and the point at which a re-screen becomes a structural repair.
When You Need a Permit in Jacksonville
Duval County follows the Florida Building Code, and the permit requirement hinges on how much of the enclosure you are touching. Replacing individual screen panels in an existing aluminum frame — what the industry calls a panel re-screen — generally does not require a building permit as long as no structural members are being altered or replaced. You are simply removing old screen material from the spline channel and installing new mesh.
The calculation changes the moment aluminum framing is involved. If a storm bent or broke any of the frame members, or if you are rebuilding more than a minor portion of the screen enclosure, the City of Jacksonville Building Inspection Division will require a permit. Full enclosure rebuilds or any work that replaces structural aluminum almost always requires engineering documentation for wind load compliance. Florida's wind exposure requirements are not optional, and a pool cage that fails inspection or was built without a permit creates real problems at the time of sale or insurance claim.
When in doubt, call the Duval County Building Inspection Division before you start. Permit fees are typically modest compared to the cost of having unpermitted work flagged later.
Tools and Materials
For a panel re-screen, the material list is straightforward. The labor is in the patience, not the equipment.
- Fiberglass screen mesh (18x14 standard or 20x20 no-see-um mesh — more on this below)
- Screen spline (round or flat — match the diameter your frame channels take; most aluminum enclosures use 0.140" or 0.160" round spline)
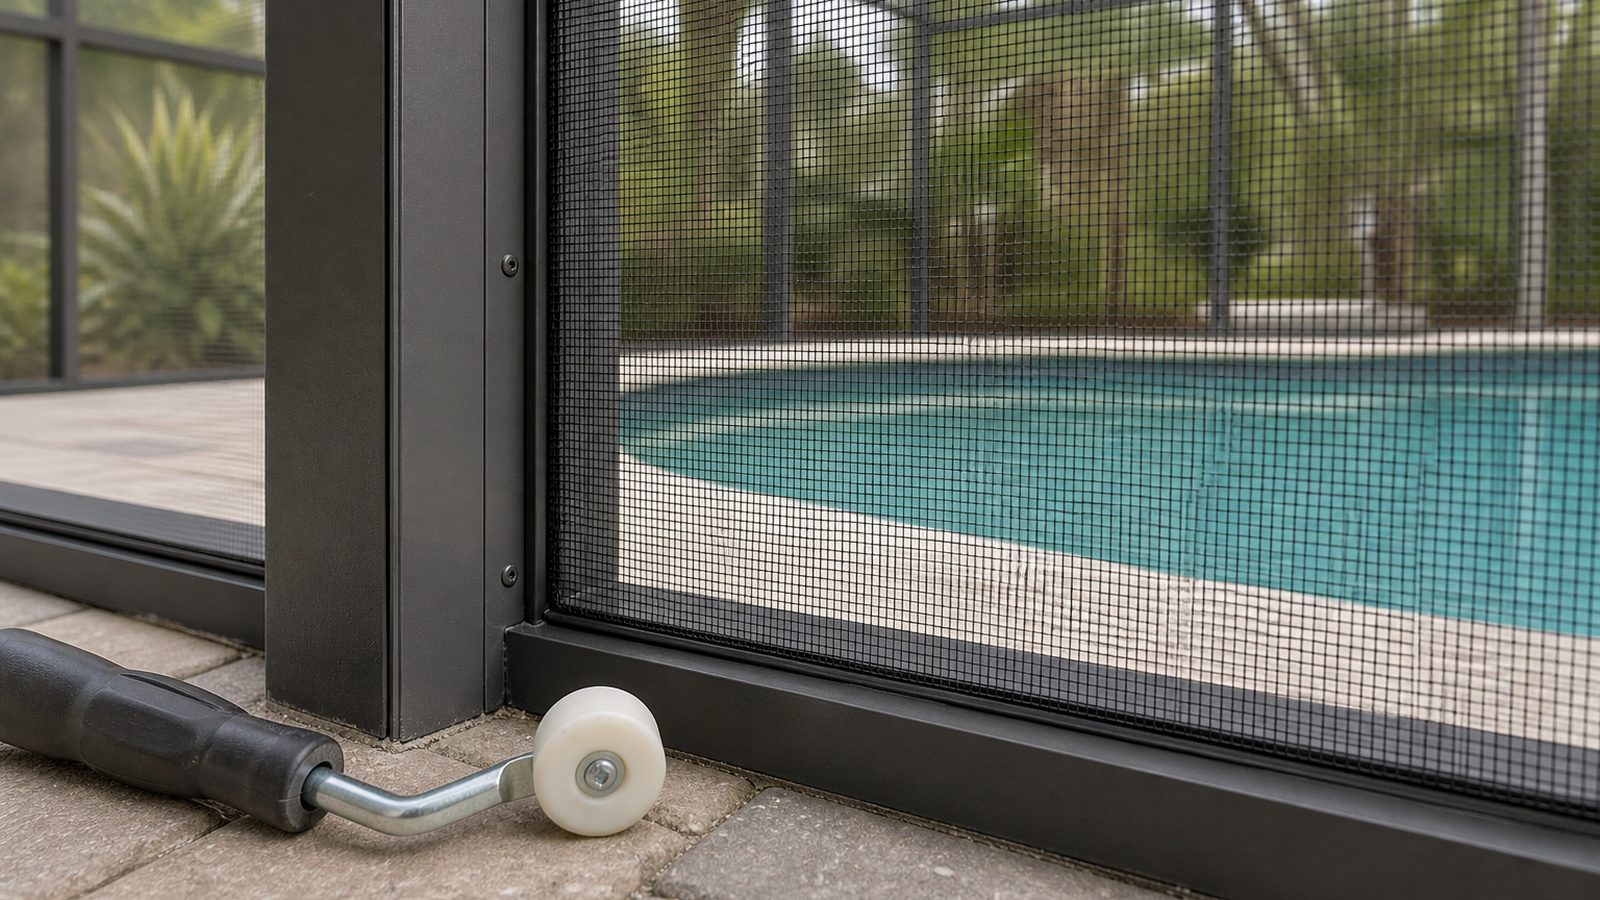
- Spline roller (a convex wheel for pushing spline into the channel)
- Utility knife or hook blade
- Awl or flathead screwdriver to remove old spline
- Measuring tape and scissors or a sharp straight edge
- Ladder rated for the height of your cage
- Work gloves (fiberglass mesh edges are sharp)
For large-span panels — anything taller than about eight feet — you will want a second person to help tension the mesh before pressing in the spline. Trying to hold tension and roll spline simultaneously on a tall panel produces wrinkles that cannot be removed without pulling it all back out.
Step-by-Step
- Assess each panel before ordering material. Measure every damaged bay and add 10 percent to your total screen roll order to account for cutting waste and any panels that look borderline but fail when you pull the old screen out.
- Remove the damaged screen by prying the old spline out of the channel with an awl or a flathead screwdriver. Work from a corner. The spline pulls out in one continuous piece if you go slowly; rushing tears it into fragments that are harder to clear.
- Clean the spline channel. Old spline leaves debris and occasionally adhesive residue. A dry rag and a flathead screwdriver handle most of it. The channel needs to seat the new spline cleanly or the screen will loosen prematurely.
- Cut the new screen several inches larger than the panel opening on all sides. You will trim the excess after the spline is set. Cutting it to exact size first almost always results in a panel that is short in one corner.
- Lay the screen over the panel opening and start the spline at a corner. Use the convex wheel of the spline roller to press the spline and screen into the channel simultaneously. Work one full side at a time, applying steady downward pressure.
- Tension opposing sides. After the first side is set, pull the screen taut across to the opposite side before pressing that spline in. This is where a second person is worth the time — one person holds tension from outside the cage while the other rolls the spline.
- Complete the remaining two sides and trim the excess screen flush with the frame using a utility knife. A hook blade gives cleaner cuts than a standard blade on fiberglass mesh.
- Inspect the finished panel from inside and outside. There should be no visible ripples or slack spots. Light hand pressure should produce a drum-like response, not a sag.
Jacksonville Climate Considerations
Jacksonville sits at the northern edge of Florida's subtropical zone, which creates a specific set of demands on pool cage screens that homeowners in cooler climates do not face.
Hurricane and tropical storm season runs June through November, and Northeast Florida sees direct hits and near-miss wind events more regularly than many assume. Screen panels are designed to be sacrificial — they are meant to give way before the aluminum frame does. A blown-out screen after a storm is often evidence the enclosure performed correctly; a bent frame means something absorbed force it was not designed to handle.
Sun degradation is a slower problem. UV exposure in Jacksonville's climate breaks down standard fiberglass screen in eight to twelve years under typical conditions. Screens on south and west exposures fail faster. If you are replacing storm damage and the remaining panels are more than eight years old, re-screening the entire cage at the same time avoids a patchwork appearance and a second mobilization cost within a few years.
No-see-ums are a real nuisance near the St. Johns River, intracoastal waterways, and in low-lying neighborhoods with standing water. Standard 18x14 mesh does not stop them. If biting midges are a problem at your property, upgrade to 20x20 no-see-um mesh. It reduces airflow slightly but eliminates the most common complaint about screened enclosures near water.
Mildew establishes on shaded panels quickly in Jacksonville's humidity. Dark green or black streaking on screen material that is otherwise structurally sound can usually be removed with a diluted bleach solution and a soft brush — this is maintenance, not a replacement trigger.
What It Costs in Jacksonville (DIY vs. Hiring a Pro)
Prices reflect current Northeast Florida market conditions and will vary based on cage size, screen type, and access difficulty.
| Scope | DIY Material Cost | Pro Installed |
|---|---|---|
| Single panel (up to 4x8 ft) | $15 – $35 | $75 – $150 |
| Small cage (up to 10 panels) | $100 – $200 | $500 – $900 |
| Full cage re-screen (20–40 panels) | $300 – $600 | $1,200 – $2,500 |
| Full cage rebuild (structural + screen) | Not DIY | $4,000 – $10,000+ |
No-see-um mesh adds approximately 20 to 30 percent to material cost over standard mesh. Permit and engineering fees for structural work are separate and vary based on project scope.
When to Call JK Prestige
Re-screening individual panels is a manageable DIY project for a patient homeowner with a free weekend. The job stops being DIY territory the moment aluminum is bent, a frame corner has separated, or the enclosure is noticeably out of square after a storm. Structural aluminum failure in a pool cage is a load-path problem — the fix is not tightening fasteners or adding a bracket, it is repairing or replacing the member with code-compliant material under the correct permit. JK Prestige handles the full scope: from single-panel re-screens to complete enclosure rebuilds with engineering and permit coordination. If your cage took structural damage and you are not sure what you are looking at, a walk-through from an experienced contractor costs nothing and tells you exactly what the repair requires.
No call center. No coordinator. A JK principal reviews every inquiry and replies with a real number, not a range, not a follow-up form.
Request Free Estimate →