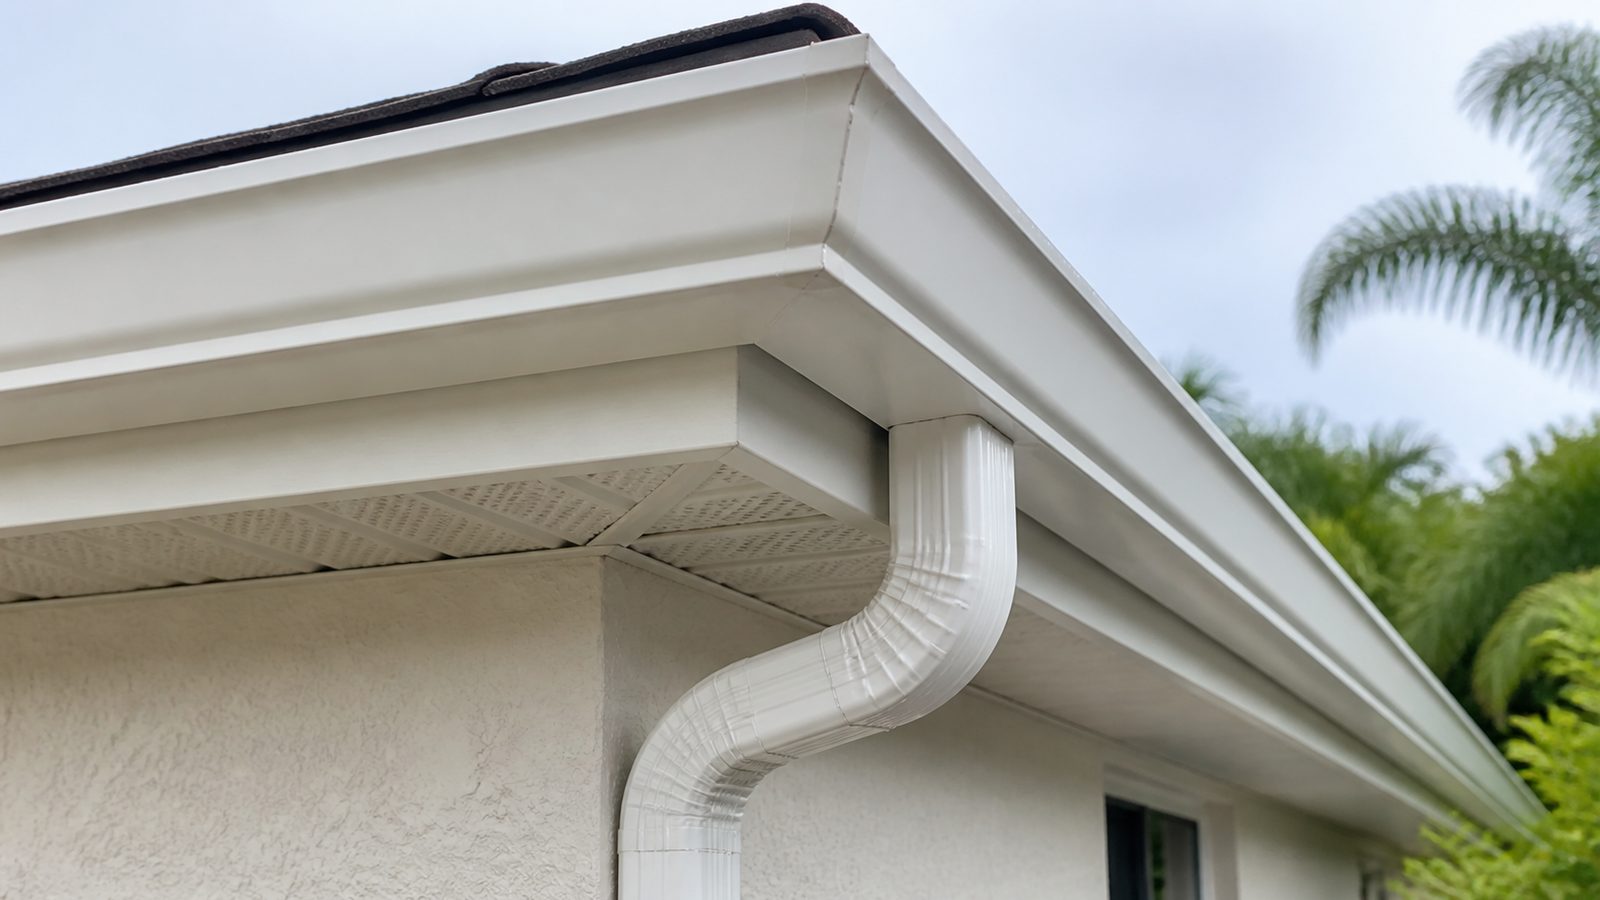
If water is streaming behind your gutters instead of through the downspout, the culprit is almost always a failed joint, not a whole system on its way out. Seams, end caps, and miters are sealed with caulk at installation, and that caulk has a lifespan measured in years, not decades, under Northeast Florida sun and rain. This guide walks a Jacksonville homeowner through diagnosing the leak and resealing it correctly, so the fix holds through the next thunderstorm season.
When You Need a Permit in Jacksonville
Resealing existing gutter seams, end caps, and miters is routine maintenance and does not require a permit from the City of Jacksonville's Building Inspection Division in Duval County. You are not altering the structure, the roof drainage path, or anything covered by the Florida Building Code's permitting thresholds, so a homeowner or a contractor can do this work without pulling paperwork.
That changes if the project grows bigger. Replacing an entire gutter run, changing the system's size or profile, or work tied into reroofing or fascia and soffit replacement can trigger a permit review, since those touch the building envelope and drainage design the Florida Building Code regulates. If you are planning a full replacement rather than a spot repair, call the building department to confirm whether your scope needs a permit before work starts.
If your home sits just outside Duval County, in Nassau, Clay, or St. Johns County, permitting is handled by that county's own building department, not Jacksonville's, so use the correct local office if you are near a county line.
Tools and Materials
- Ladder rated for your height, with standoff stabilizers
- Wire brush and a plastic putty knife for removing old sealant
- 120-grit sandpaper
- Denatured alcohol and clean rags
- Gutter and flashing sealant rated for exterior use (polyurethane or tripolymer, not general-purpose silicone)
- Caulk gun sized for the sealant tube
- Replacement end caps and stainless or galvanized self-tapping screws
- Garden hose for water-testing
- Safety glasses, work gloves, and a dust mask
Step-by-Step
- Pick a dry day with at least 24 hours of no rain forecast, since gutter sealant needs time to cure before it gets wet.
- Set up your ladder on level ground with stabilizers so you are not resting weight on the gutter lip.
- Run water from a hose through the gutter from the far end and mark every drip or stream with painter's tape.
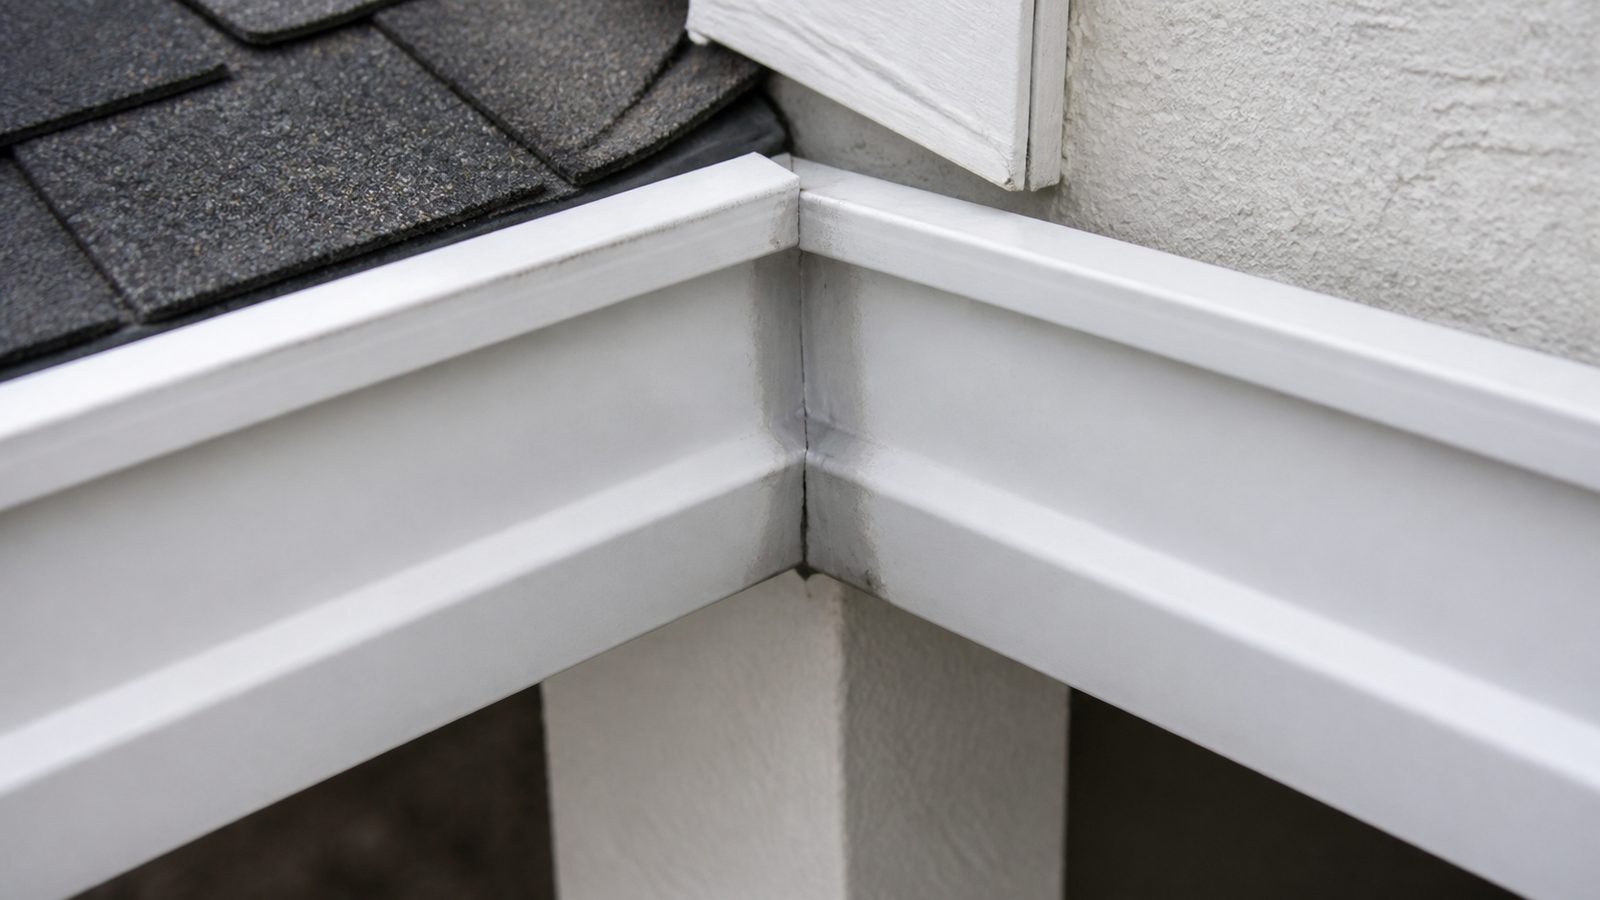
- At each marked spot, scrape out all old, cracked sealant from the seam, end cap, or miter with a wire brush and putty knife, down to bare metal or vinyl.
- Sand the joint lightly with 120-grit paper so the new sealant has something to grip.
- Wipe the joint with denatured alcohol and let it dry fully. Leftover dirt or old caulk residue is the most common reason a repair fails early.
- If an end cap is cracked, deformed, or corroded, remove the fasteners and replace the cap instead of sealing over the damage.
- Load the gutter sealant into the caulk gun and cut the tip at a shallow angle for a thin, controlled bead.
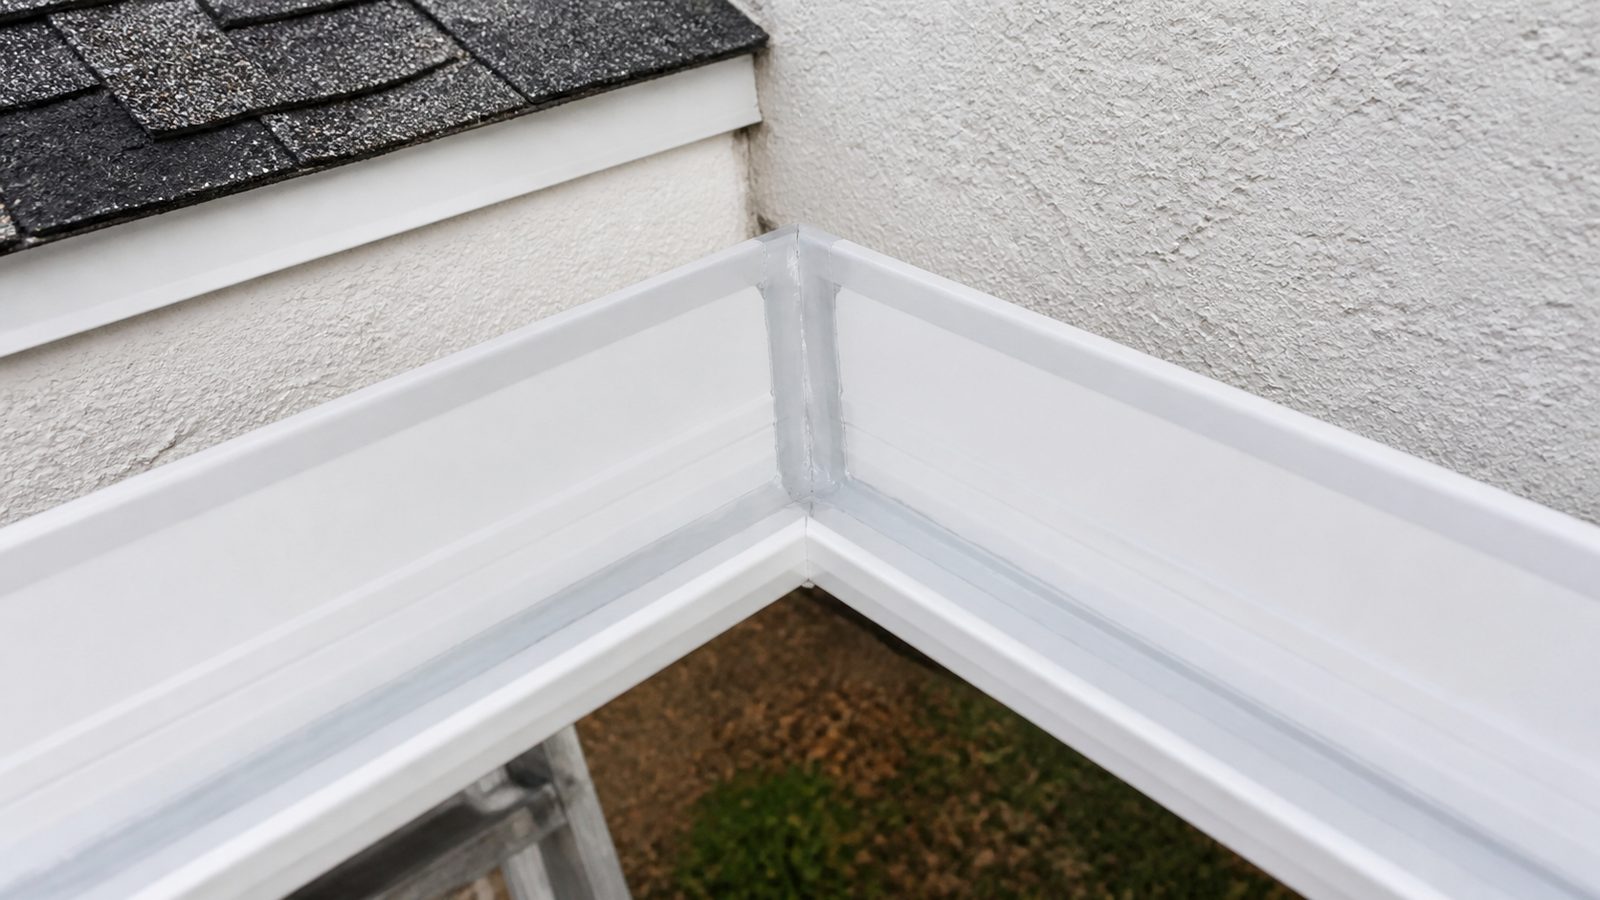
- Run a continuous bead along the seam, into the corner of each miter joint, and around the full perimeter where an end cap meets the trough.
- Smooth the bead with a gloved finger so it lays flat against both surfaces instead of sitting as a ridge.
- Press any replacement end caps into the wet sealant and secure with fasteners before it skins over.
- Let the sealant cure for the full time listed on the product label, typically 24 to 48 hours.
- Water-test the same sections again to confirm every leak has stopped.
- While you are up there, check that hangers are tight and the gutter still slopes toward the downspout, since a sagging section keeps pooling water at the seam no matter how well it is sealed.
Common Mistakes to Avoid
- Sealing over old, failed caulk instead of removing it, which peels off along with the old bead
- Using general-purpose silicone instead of a sealant formulated for gutters and metal flashing
- Working in high humidity or right before rain, which stops proper curing
- Ignoring a sagging hanger or negative slope and treating the symptom instead of the cause
- Applying too thick a bead, which skins over outside while staying uncured underneath
- Skipping the water test, so a leak that only shows under heavy rain goes unnoticed
Jacksonville Climate Considerations
Northeast Florida's humidity slows sealant cure times, so give a repair extra time before calling it finished, especially in summer. Afternoon thunderstorms dump a high volume of rain in a short window, stressing marginal seams that might hold up fine in lighter, steadier rain. Homes near the beaches communities or the Intracoastal Waterway deal with salt-laden air that accelerates fastener corrosion, so check hardware for rust when you reseal. During hurricane season, June through November, wind-driven rain finds every weak seam, which makes late spring a good time to fix these joints before storm season tests them. Constant UV exposure also breaks down lower-quality sealants faster, so choose a product rated for exterior and UV exposure.
What It Costs in Jacksonville (DIY vs. Hiring a Pro)
| Approach | Typical Cost | Notes |
|---|---|---|
| DIY materials only | $30 to $70 | Sealant, tools, a few end caps |
| Pro spot repair | $150 to $350 | Labor, inspection, cleanup |
| Pro full reseal (whole house) | $300 to $700 | Every seam, miter, and cap |
| Gutter section replacement | $800 to $2,500+ | If resealing is not enough |
When to Call JK Prestige
If you have already resealed a joint once or twice and it keeps leaking, or if the leak is paired with sagging, rust, or fascia damage, the problem has likely moved past a simple caulk fix. JK Prestige Constructor Corp inspects the full system, hangers, slope, and fascia condition included, so you get a repair that solves the actual cause rather than another temporary patch.
No call center. No coordinator. A JK principal reviews every inquiry and replies with a real number, not a range, not a follow-up form.
Request Free Estimate →