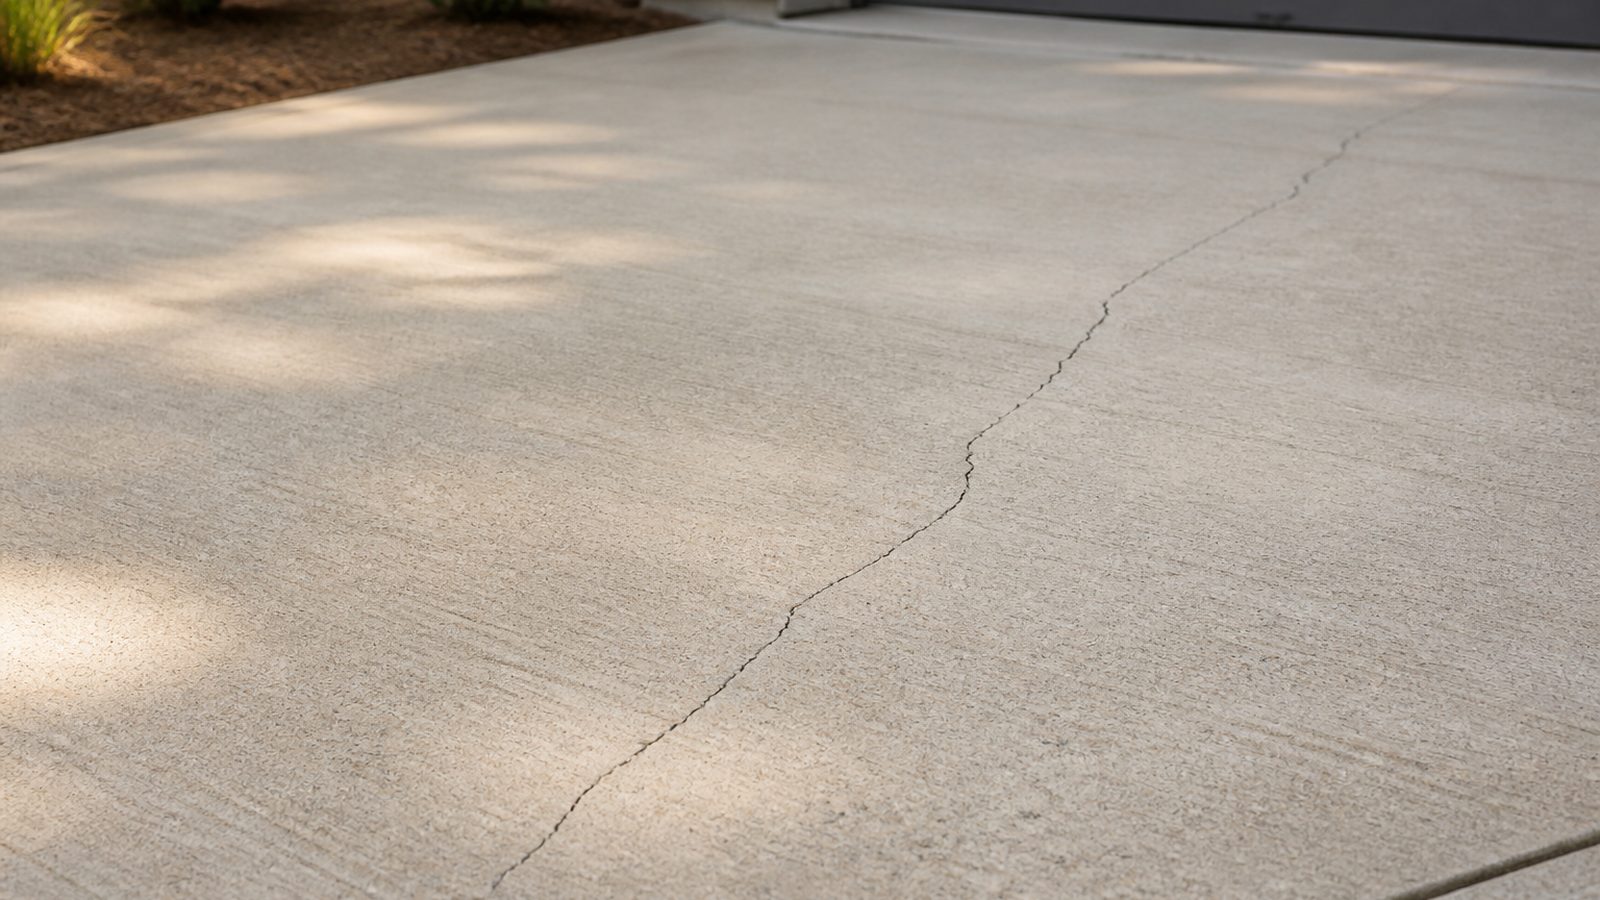
If you've noticed hairline cracks spreading across your driveway, you're not alone. Between the sandy soils common across Duval County and the heat cycles our slabs go through every summer, small cracks are one of the most common maintenance issues Jacksonville homeowners deal with. The good news is that most driveway cracks are a straightforward DIY fix if you catch them early, before water gets underneath and turns a hairline crack into a heaved or spalled section. Here's how to do it right, what it should cost, and when the problem is bigger than a tube of crack filler can handle.
When You Need a Permit in Jacksonville
Cleaning out and sealing existing cracks in a driveway is routine maintenance, not construction, so it does not require a permit from the City of Jacksonville or Duval County. The same is generally true for patching small spalled spots or applying a concrete resurfacer over an existing slab, as long as you are not changing the size, shape, or location of the driveway.
Where permitting comes into play is if you go beyond repair, such as tearing out and replacing the entire driveway, extending the driveway's footprint, or adding a new concrete or paver surface where there wasn't one before. Because Jacksonville consolidated its city and county government, driveway and impervious surface work is handled through the City of Jacksonville's Public Works and Development Services divisions. Any project that increases impervious surface area or touches the right-of-way apron connecting your driveway to the street can trigger a review for drainage and stormwater impact. If your project is limited to sealing and patching what's already there, you can skip the permit conversation entirely. If you're unsure where your project falls, it's worth a quick call before you start.
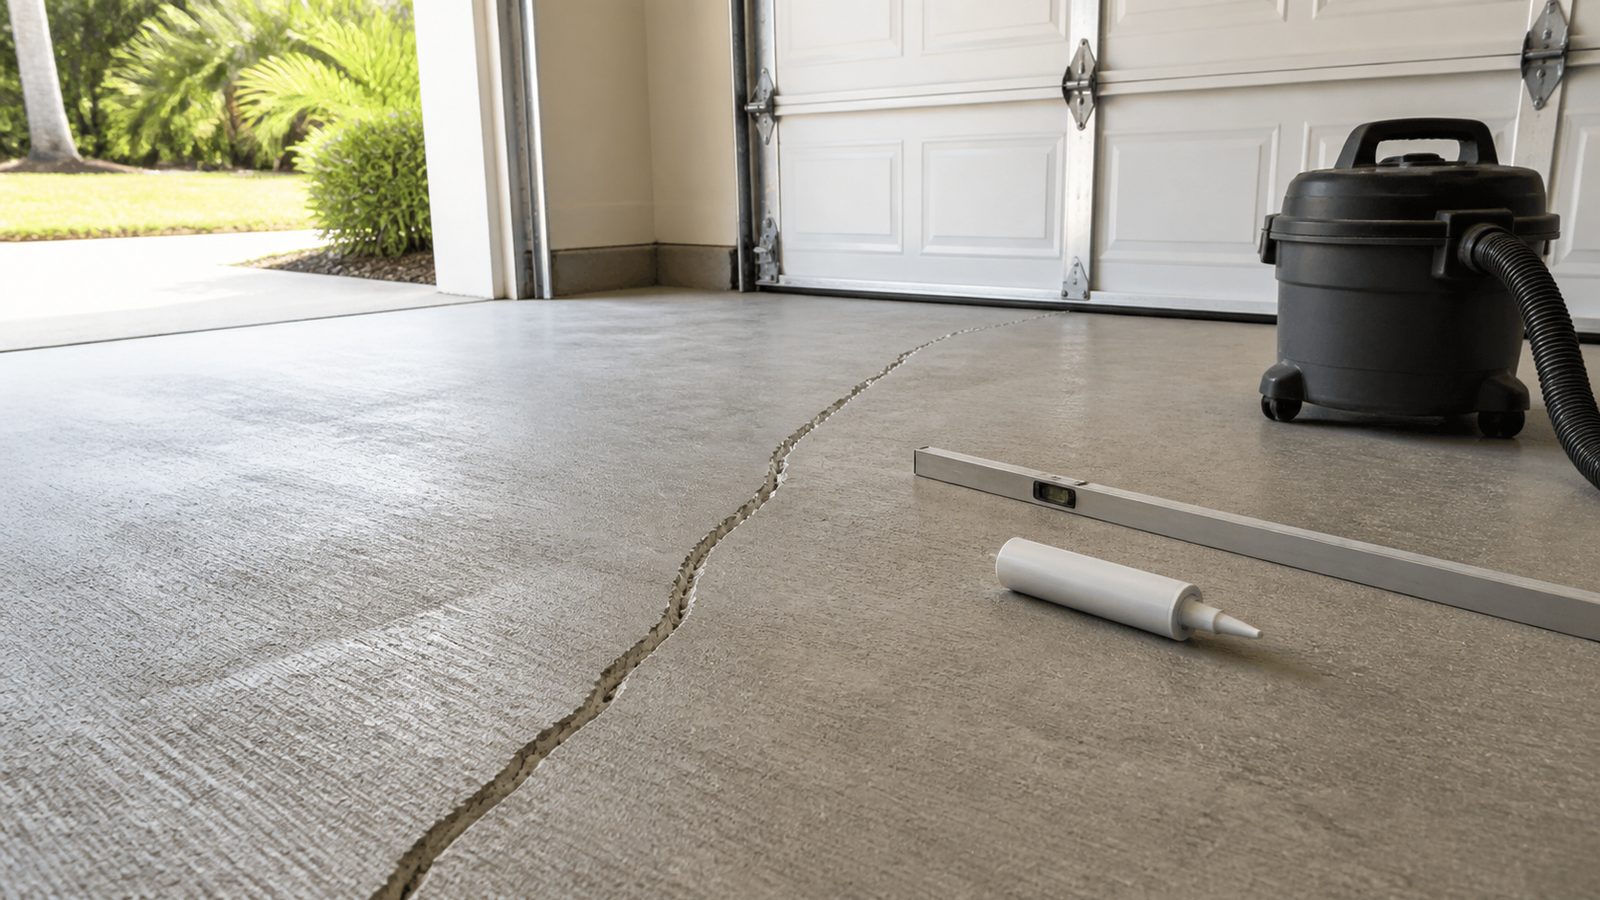
Tools and Materials
- Stiff wire brush or wire wheel attachment
- Shop vacuum or air compressor for blowing out debris
- Crack chaser blade or angle grinder (for cracks wider than about 1/4 inch)
- Caulking gun and polyurethane concrete crack filler (for cracks up to about 1/2 inch)
- Self-leveling concrete sealant (for wider, mostly horizontal cracks)
- Backer rod (for gaps deeper than 1/2 inch, so you're not wasting sealant filling depth)
- Concrete resurfacer or vinyl patching compound (for spalled or pitted areas, not just cracks)
- Pressure washer or garden hose
- Painter's tape and a putty knife or trowel
Step-by-Step
- Clean the crack thoroughly. Use the wire brush to scrape loose material, dust, and old sealant out of the crack, then blow it out with the shop vac or compressor. Any dirt or debris left behind will keep the new sealant from bonding.
- Rout wider or deeper cracks. For cracks wider than roughly 1/4 inch, run a crack chaser or angle grinder along the crack to widen and square off the edges slightly. This gives the filler more surface area to grip and keeps the repair from popping out later.
- Wash and let it dry completely. Rinse the crack and surrounding concrete, then give it at least 24 hours to dry fully, longer if it's been raining. Sealant applied over damp concrete will not bond properly and often fails within a season.
- Insert backer rod if needed. For cracks deeper than about 1/2 inch, press backer rod into the gap so you're not pouring sealant into a bottomless void.
- Apply the crack filler or sealant. Tape off either side of the crack for a clean line, then apply polyurethane crack filler with the caulking gun or pour self-leveling sealant directly into wider horizontal cracks. Tool it flush with a putty knife.
- Let it cure before traffic. Most products are dry to the touch within a few hours, but keep foot traffic off for at least 24 hours and vehicle traffic off for the full cure window listed on the product, often 48 to 72 hours.
- Address spalled or pitted areas separately. If sections of the slab are crumbling or pitted rather than just cracked, a crack filler won't fix that. Apply a concrete resurfacer over the whole panel for a uniform, durable finish.
Jacksonville Climate Considerations
Jacksonville's climate works against you in a few specific ways when it comes to driveway repair. Summer UV exposure here is intense, and cheap, unrated sealants can dry out, shrink, and crack again within a year or two if they're not UV-stabilized. Look for a product labeled for exterior or UV exposure rather than an interior-grade filler.
Timing matters just as much as product choice. From roughly May through September, afternoon thunderstorms roll in almost daily, and most crack sealants and resurfacers need a clear cure window of 24 to 48 hours without rain. Check the forecast before you start, and plan for a morning application so the product has the whole afternoon and overnight to set before the next storm system moves through.
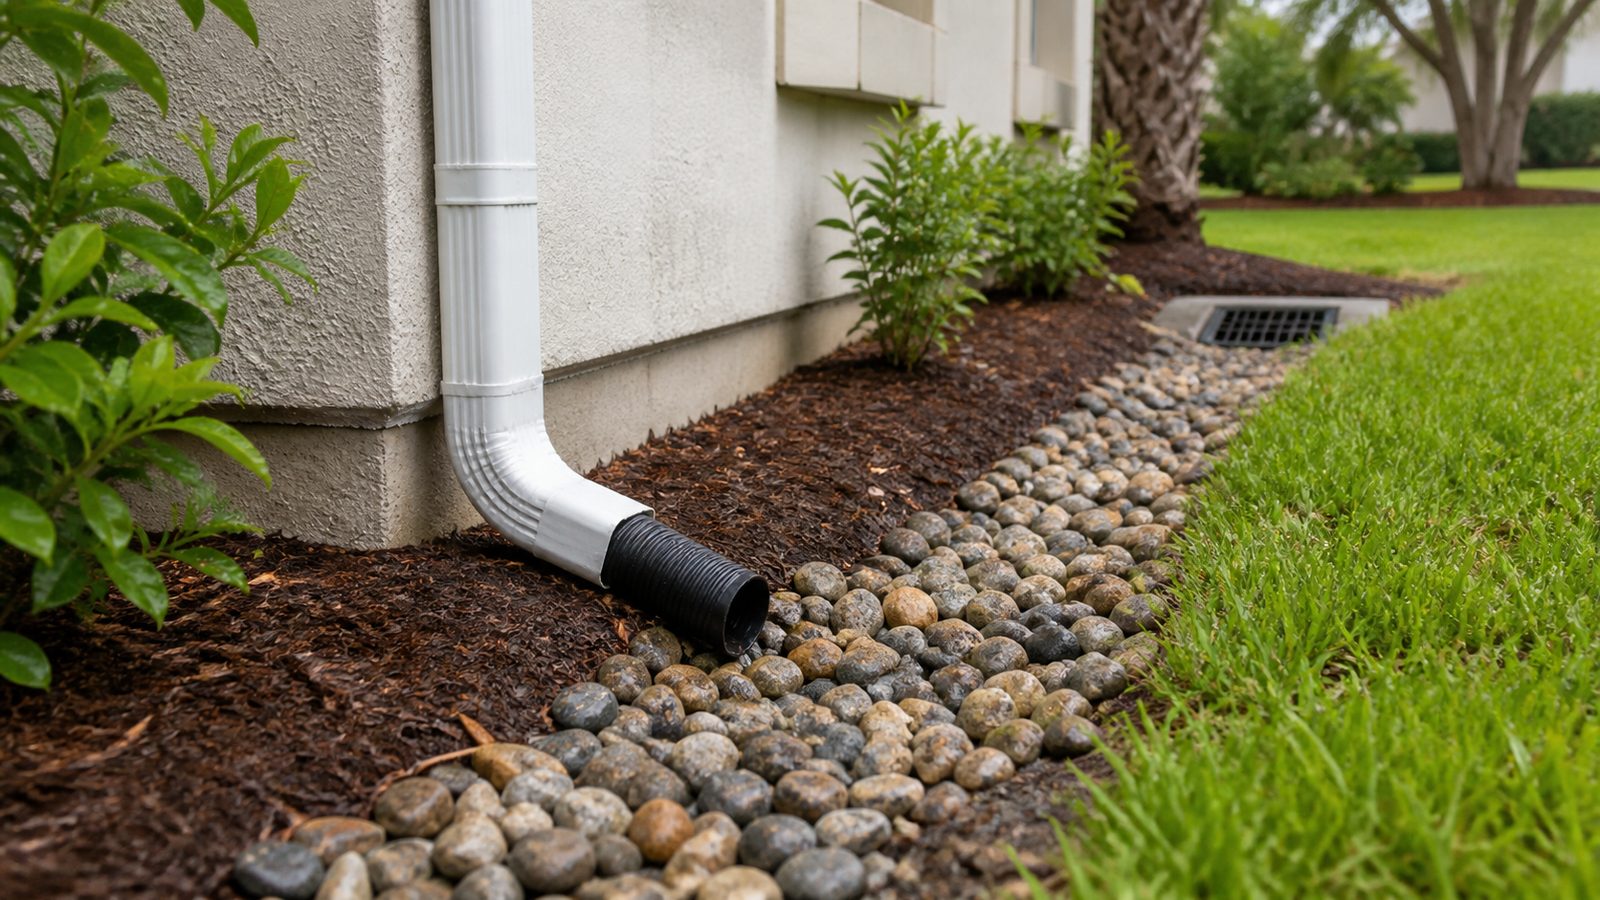
Soil matters too. Much of Duval County sits on sandy, well-draining soil, which is good news in the sense that standing water rarely pools under a slab for long, but sandy subgrade can also settle unevenly over time, especially if the original driveway wasn't compacted well when it was poured. If you notice a crack running along a section that's also sinking or tilting, that's a settlement issue, not just a surface crack, and sealant alone won't fix it.
What It Costs in Jacksonville (DIY vs. Hiring a Pro)
| Approach | Typical Cost | Notes |
|---|---|---|
| DIY crack filler (tubes) | $8 to $15 per tube | Covers a few linear feet each; fine for hairline to 1/4-inch cracks |
| DIY self-leveling sealant | $15 to $30 per quart | Better for wider, horizontal cracks |
| DIY concrete resurfacer | $20 to $35 per 40 lb bag | Covers roughly 100 to 150 sq ft at recommended thickness |
| Total DIY materials, average driveway | $30 to $100 | Assumes a handful of cracks, not full-slab damage |
| Hiring a pro for crack sealing | $150 to $400 | Depends on linear footage and number of cracks |
| Hiring a pro for full resurfacing | $3 to $7 per sq ft | For driveways with widespread spalling or multiple large cracks |
DIY makes the most sense for a handful of hairline to moderate cracks on a driveway that's otherwise in good shape. Once you're looking at more than a few cracks, visible settlement, or crumbling sections, the labor and equipment a contractor brings, proper routing tools, commercial-grade materials, and the experience to diagnose whether it's a surface issue or a subgrade issue, usually pays for itself in how long the fix actually lasts.
When to Call JK Prestige
If your driveway has multiple cracks, sections that are sinking or heaving, or damage that keeps coming back after a DIY repair, it's worth having a professional take a look before you spend more money on patch jobs. JK Prestige Construction has handled driveway and concrete work across Jacksonville long enough to know the difference between a cosmetic crack and a sign of a bigger subgrade problem. We're happy to give you a straight answer on which one you're dealing with.
No call center. No coordinator. A JK principal reviews every inquiry and replies with a real number, not a range, not a follow-up form.
Request Free Estimate →