Tiling a kitchen backsplash is one of the most approachable tile projects a homeowner can tackle. The area is small, it is at eye level so you can work comfortably, and the stakes are lower than a floor or shower. Done right, it takes a weekend. Done wrong, it looks wrong every time you walk into the kitchen.
This guide is for the homeowner who has done some basic home improvement work and is comfortable using a wet saw or tile cutter. Difficulty: moderate. Timeline: two days (set day one, grout day two). Total cost range: $300 to $1,500 for materials on a typical Jacksonville kitchen, depending on tile selection.
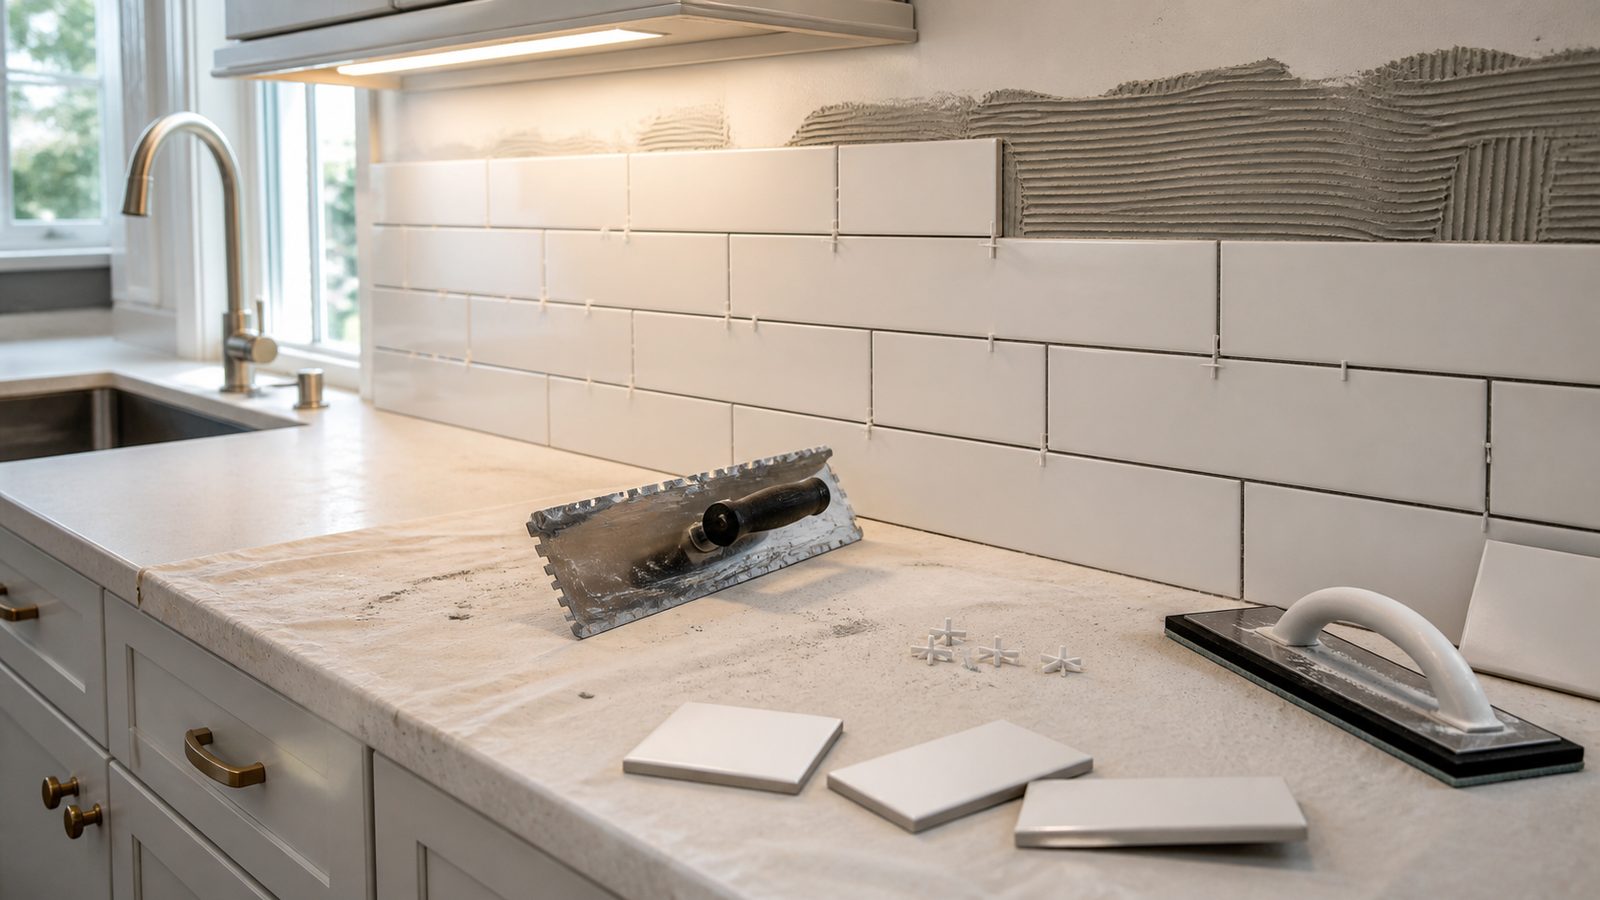
Tools You Need
- Notched trowel (3/16-inch V-notch for subway tile; 1/4-inch square notch for larger format)
- Wet tile saw or manual snap cutter (wet saw strongly recommended for precise cuts)
- Tile nippers (for small notch cuts around outlets)
- Rubber grout float
- Grout sponges (at least two)
- Buckets (two minimum — one for clean water, one for mixing)
- Drill with mixing paddle
- Tape measure
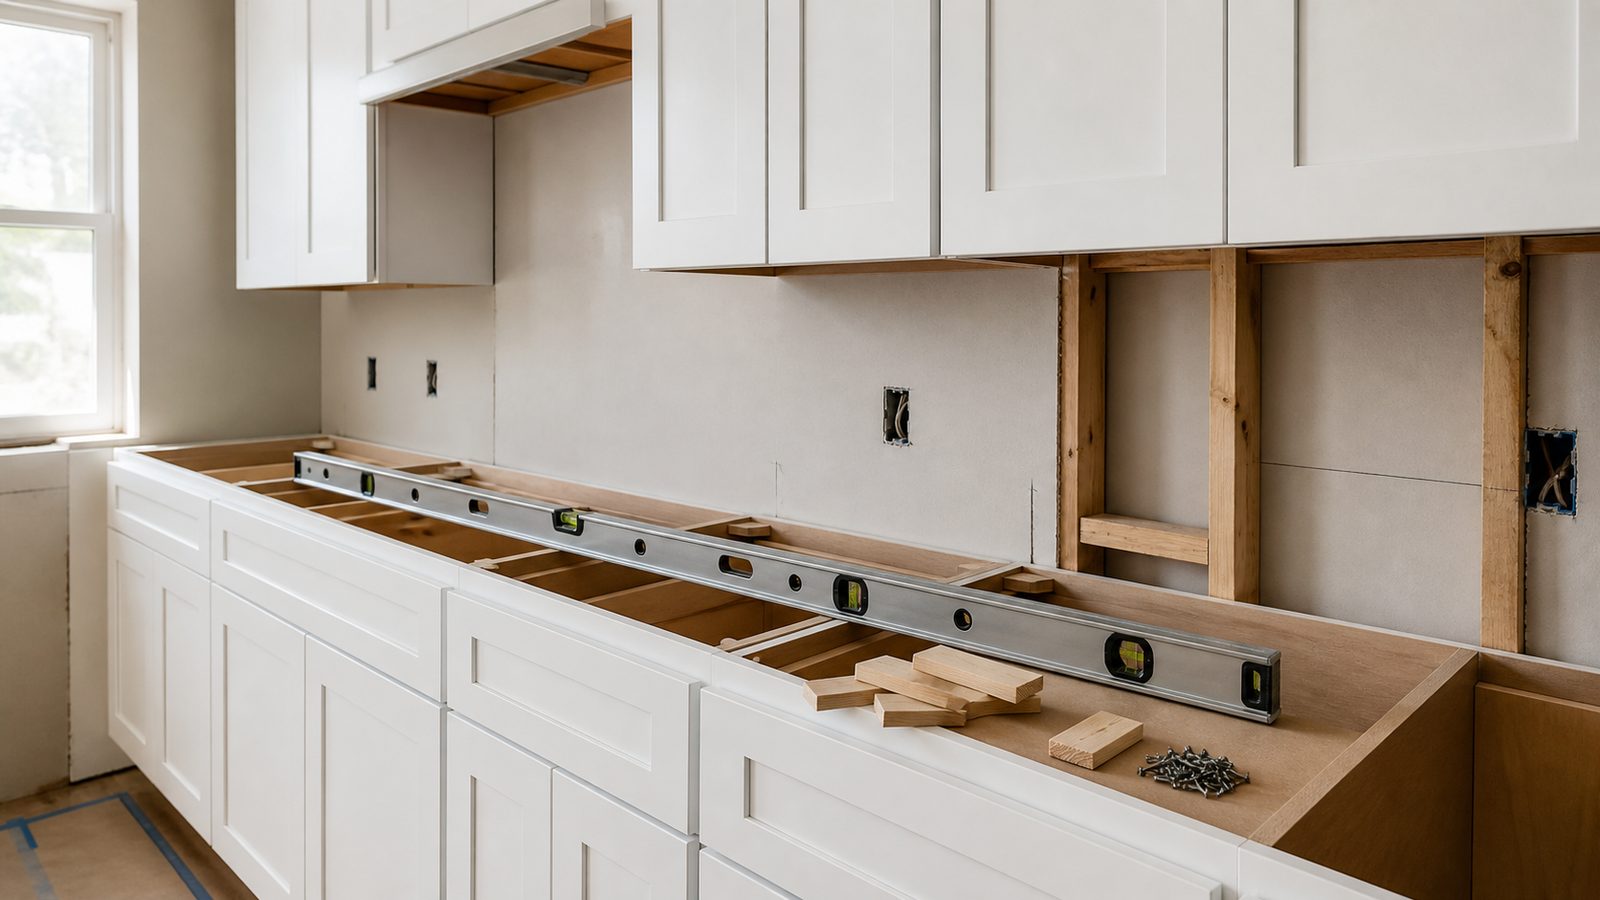
- Level (4-foot)
- Pencil and chalk line
- Painter's tape
- Plastic spacers or tile mesh gauge (if not using mosaic sheets)
- Safety glasses and gloves
Materials You Need
- Tile: measure square footage of the backsplash area, add 10 percent for cuts and breakage. $4 to $20 per square foot depending on material.
- Polymer-modified thinset mortar: one 50-lb bag covers approximately 40 to 50 square feet. $20 to $35 per bag.
- Grout (sanded for joints over 1/8 inch; unsanded for tighter joints): $15 to $30 per bag.
- Grout sealer (essential for natural stone; optional for ceramic): $10 to $20.
- Tile backer or cement board (if existing wall surface is not suitable): $15 to $20 per sheet.
- Caulk (color-matched silicone for corners and transitions): $8 to $12 per tube.
- Painter's tape: $6 to $10 per roll.
- Tile spacers (if not using mesh mosaic sheets): $5 to $10.
Step-by-Step Instructions
Phase 1: Surface Prep and Layout
Step 1: Prepare the wall surface.
Backsplash tile can go directly over smooth drywall, painted drywall, or cement board. It cannot go directly over wallpaper, glossy oil-based paint without scuffing, or crumbling surfaces.
Remove any existing backsplash material. If the drywall behind it is damaged, replace with a new piece of moisture-resistant drywall (greenboard or MR board) or cement board. Do not use standard drywall in the area directly behind the sink. Lightly sand glossy painted surfaces to give the thinset something to grip. Wipe the wall clean of dust and grease.
Turn off the power to the GFCI outlets along the backsplash at the breaker. Remove outlet covers and switch plates. You will tile up to these boxes and reinstall the covers after grouting.
Step 2: Plan your layout before mixing anything.
Lay your tile out dry on the counter first. Mark the center of the backsplash run and work outward from center so that cut tiles on both ends are equal in size. Nothing looks worse than a full tile on one end and a 1-inch sliver on the other.
For subway tile, a running bond (offset) pattern looks best when the grout joint between rows shifts by half a tile. Mark horizontal level lines on the wall with a chalk line or pencil and a long level. The counter surface is rarely perfectly level. Find the high point of the counter and use that as your baseline, shimming any low spots with tile if necessary.
Decide how you want to handle the top edge of the tile. Options are: bullnose tile (a finished edge tile), metal edge trim (a J-channel or pencil trim), or ending at a natural break like the bottom of upper cabinets.
Phase 2: Setting Tile
Step 3: Mix the thinset.
Add water to the bucket first, then pour in thinset powder. Mix with the paddle drill to a smooth, peanut butter consistency. It should hold a ridge from the notched trowel without slumping. Let it slake (rest) for five to ten minutes after initial mixing, then mix again briefly.
Do not mix more than you can use in 30 minutes. In Jacksonville's heat and humidity, working time can be shorter in summer months, especially if your kitchen is not air-conditioned during the project.
Step 4: Apply thinset and set the first row.
Spread thinset on the wall with the flat side of the trowel first to create a bond coat, then comb with the notched side at a consistent 45-degree angle. Cover about two to three square feet at a time. Do not spread more than you can tile before it skins over.
Press tile firmly into the thinset with a slight twisting motion to collapse the ridges and ensure full contact. Pull a tile back periodically to check for full coverage on the back — you want 95 percent contact. Set your level lines as you go. Check every two or three rows for plumb and level.
Step 5: Make cuts.
Use the wet saw for any straight cut along the edges of the field, along the counter surface, and at the top row. For outlet boxes, measure the box position relative to the tile and mark with a pencil. Use the wet saw to make two straight cuts forming an L or U shape. Use tile nippers to clean up the notch. The outlet cover plate will cover gaps up to about 1/4 inch, so these cuts do not need to be perfect.
Step 6: Set mosaic tile sheets (if applicable).
Mosaic tile on mesh backing follows the same process. Spread thinset, comb it, and press the sheet into place. Use a grout float or a piece of scrap wood over the sheet to press it firmly and evenly. Cut mesh sheets with scissors between tiles; use the wet saw for cuts within tile pieces.
Phase 3: Grouting and Finishing
Step 7: Let thinset cure before grouting.
Wait a minimum of 24 hours before grouting. In high humidity (common in Jacksonville summers), allow 48 hours. The thinset must be fully set or the grout will pull tiles out of position.
Step 8: Mix and apply grout.
Remove spacers before grouting. Mix grout to a thick paste consistency — it should hold its shape but not be stiff. Apply with a rubber grout float held at a 45-degree angle, pressing grout firmly into joints with diagonal strokes. Work in sections of about four to six square feet.
After filling the joints, hold the float at a steeper angle (about 75 degrees) and scrape off excess grout from the tile faces. Move diagonally to avoid dragging grout out of the joints.
Step 9: Clean the tile surface.
After 15 to 20 minutes (when the grout haze begins to firm up but is not fully hard), wring out a damp sponge thoroughly and wipe the tile surface in circular motions. Rinse the sponge constantly in clean water. Two or three passes removes most haze. Do not over-wet the grout joints — you will pull grout out.
Allow grout to cure 72 hours before sealing.
Step 10: Caulk corners and transitions.
Do not grout the corner where the backsplash meets a side wall, or where the backsplash meets the countertop. These are movement joints. Use color-matched silicone caulk. Grout cracks at these points; caulk flexes with the house.
Apply a thin bead of caulk with a caulk gun, tool it smooth with a wet finger, and let it cure 24 hours before getting it wet.
Step 11: Seal the grout (and stone if applicable).
Apply grout sealer with a small brush or applicator bottle, wiping off excess from the tile face within five minutes. One coat is usually enough for ceramic or porcelain tile. Natural stone (travertine, marble, slate) needs sealer on the tile surface before grouting and again after.
Reinstall outlet covers and switch plates. Restore power at the breaker.
Common Mistakes to Avoid
- Starting from a corner instead of center. You almost always end up with a small, awkward cut tile on one end.
- Applying thinset too far ahead and letting it skin over. Once thinset starts to dry, it loses its bond. If you press a tile and it does not stick immediately, scrape the wall and start fresh.
- Using the wrong notch size. A V-notch leaves too little thinset for large tiles; a large square notch wastes material on small mosaic. Match notch size to tile format.
- Grouting too soon. Thinset is not cured just because it looks dry. Twenty-four hours minimum.
- Skipping the caulk at corners and counter seams. Grout will crack here within a year. Caulk is the right material for movement joints.
When to Hire a Pro Instead
Call a licensed tile setter or GC for any of the following:
- The existing wall behind the backsplash has significant water damage or mold. This needs remediation before any tile goes on. In Jacksonville's humidity, wet wall cavities grow mold fast.
- You are tiling over a range hood surround or fireplace and need heat-rated materials. Standard thinset and grout are not rated for high-heat zones without modification.
- Your backsplash runs behind a gas cooktop and you need to disconnect and reconnect the gas supply. A licensed plumber handles all gas work in Florida.
- The tile pattern is complex (herringbone on a diagonal, custom medallion, large-format stone). These require precision layout, back-buttering technique, and experience with lippage control.
- You are unhappy with how the first section looks and want it to be right. Fresh tile is always easier to fix than set tile.
Need a Jacksonville GC for this job? Get a 48-hour free fixed-price estimate from JK Prestige Constructor.
No call center. No coordinator. A JK principal reviews every inquiry and replies with a real number, not a range, not a follow-up form.
Request Free Estimate →