A commercial fit-out in Jacksonville runs 10–14 weeks for a 2,000–5,000 sqft space from permit issuance to certificate of occupancy (CO) — if every step happens in order, every inspection passes on the first attempt, and decisions are made before construction creates the need for them. When the sequence is wrong, when inspections get stacked, or when decisions are made in the field instead of in preconstruction, the same project runs 18–22 weeks and generates change orders that were avoidable.
This article walks the full 16-step sequence of a commercial fit-out from a vanilla box or shell starting point, explains what happens at each stage, and identifies the decision points that have to be resolved before work starts.
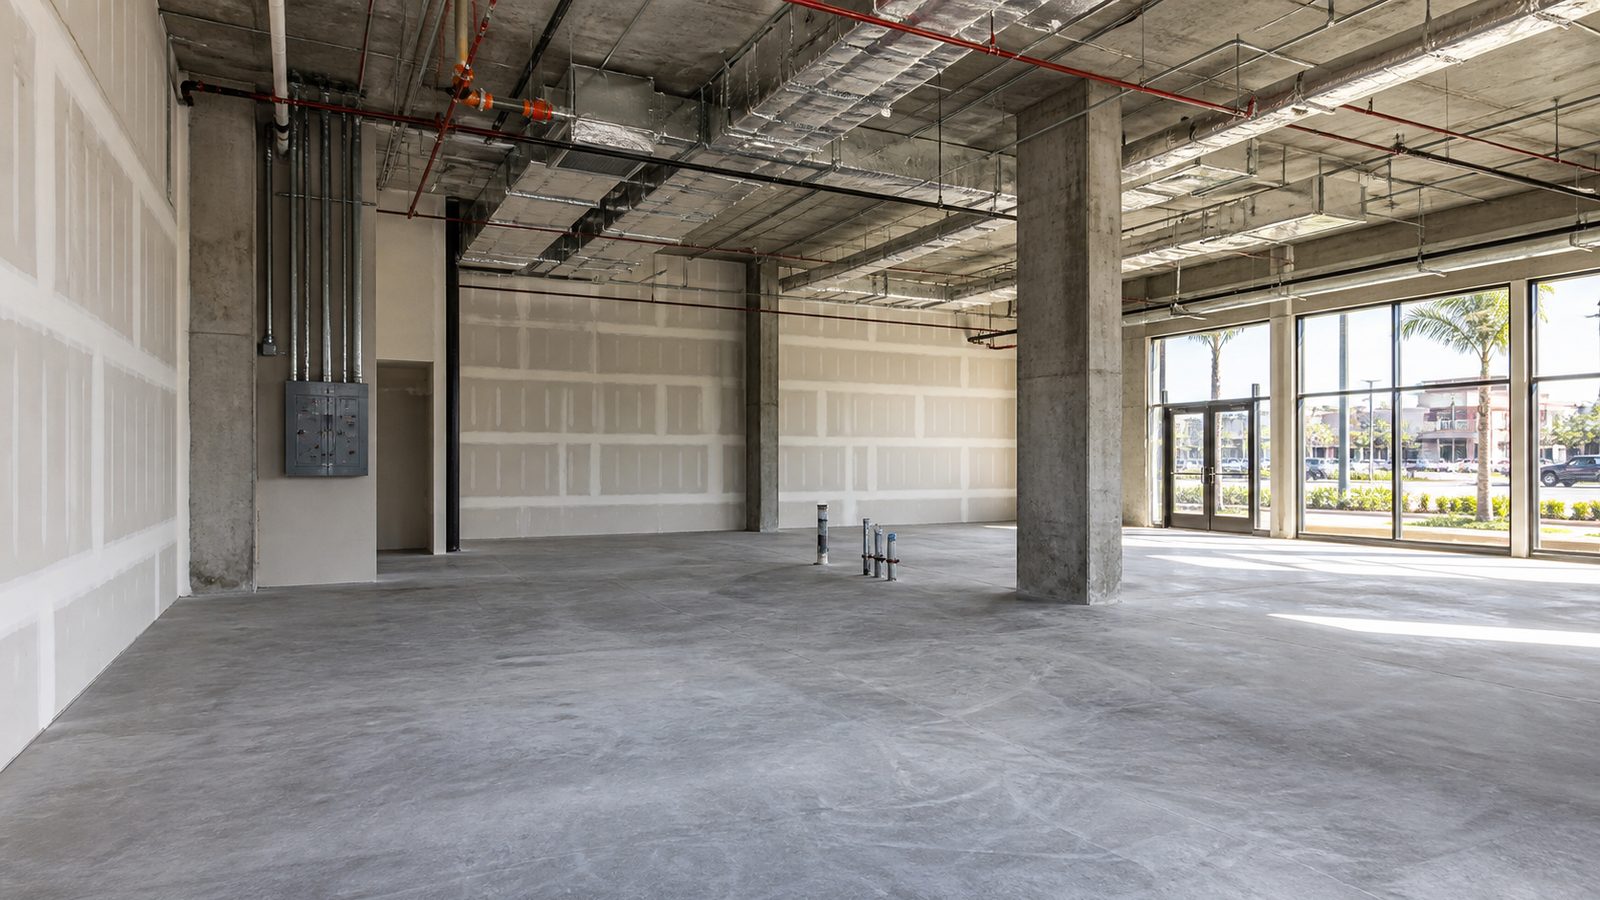
Step 1: Demolish Existing Conditions
Even in a vanilla box space, there is almost always demolition. Previous tenant improvements may not match the new tenant's floor plan. Ceiling grid, flooring, partitions, or MEP that were left in place from a previous occupancy must be removed before new work can begin.
Demolition produces three types of waste: general construction debris, materials that may be recycled (metal, concrete), and potentially hazardous materials. In buildings constructed before 1980, asbestos-containing materials (ACM) may be present in floor tile, ceiling tile, pipe insulation, or joint compound. A licensed asbestos inspector must survey before demolition in any pre-1980 building. Discovering ACM after demolition starts is a stop-work event.
Demolition also reveals the actual condition of the base building — where MEP stubs actually land versus where they were expected to be, what condition the existing slab is in, and whether the landlord's delivery standard was actually met. Document existing conditions before any new work starts.
Step 2: Framing and Interior Partitions
With the space cleared, framing begins. The sequence within framing:
- Layout on the slab using the permitted floor plan (laser or chalk line)
- Floor track installation
- Stud installation: perimeter and interior walls
- Ceiling track at the required ceiling height
- Blocking: backing for future millwork, grab bars, wall-mounted equipment — installed now while the wall is open
- Top-of-wall framing and slab-to-deck extension where required (fire-rated or acoustically rated partitions)
Blocking that is missed during framing is discovered during punch list when the millwork subcontractor arrives and finds no backing for cabinet hardware. Install blocking per a blocking plan prepared during preconstruction — not as field requests during finish work.
The framing phase also includes soffit framing (dropped areas over restrooms, kitchen equipment, or MEP chases) and any structural modifications needed for door openings or openings in existing demising walls.
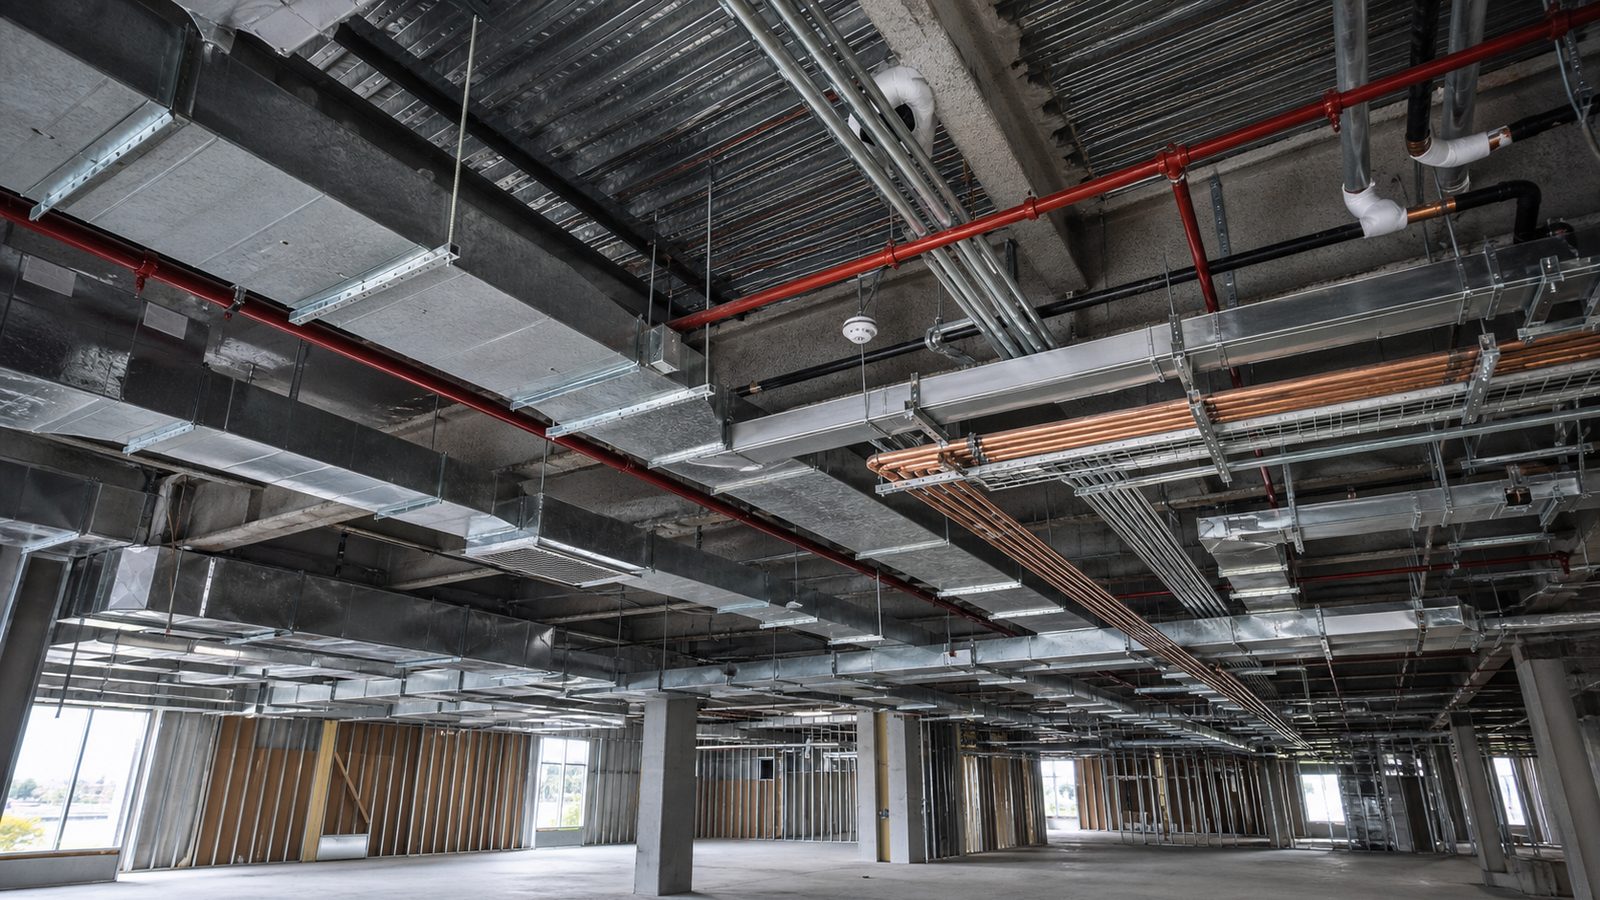
Step 3: Rough MEP (Plumbing, Electrical, HVAC Ductwork)
Rough MEP is the most sequencing-sensitive phase of a fit-out. All three trades are in the space simultaneously, and coordination failures here produce the most costly rework.
Plumbing rough-in: Drain lines are roughed in first because they are below-slab or at the lowest point in the wall assembly. New drain runs may require core-drilling through the slab if the existing stub-out locations do not match the new floor plan. Supply lines (hot and cold) are roughed into walls at fixture locations.
Electrical rough-in: Panel boards, conduit runs, junction boxes, and device boxes are installed after framing. Conduit is pulled through stud bays and along the ceiling structure. Lighting fixture boxes are located per the reflected ceiling plan. Data conduit (separate from power conduit) is roughed in at this stage.
HVAC ductwork: Ductwork is typically the last of the three to rough in because it is the largest and takes the most plenum space. The HVAC contractor works from the rooftop unit connection down through main duct runs to branch ducts to diffuser locations. Coordination with the electrical contractor is required to prevent conflicts in the plenum.
A coordinated MEP rough-in sequence — agreed by all three trades before any work starts — prevents the situation where the electrician runs conduit through the route the HVAC duct needs to occupy.
Step 4: Rough Framing and MEP Inspections
After rough MEP is complete, the Duval County building department inspects:
- Rough framing inspection: Stud spacing, blocking locations, fire blocking at specific locations (top of wall, around MEP penetrations in fire-rated walls), bracing
- Rough plumbing inspection: Pressure test the DWV (drain, waste, vent) system with water or air; inspect supply line rough-in
- Rough electrical inspection: Panel rough-in, conduit and wire, box installations, grounding
- Rough mechanical inspection: Ductwork, equipment connections, fresh air provisions
All four inspections must pass before the walls can be closed. In Jacksonville, scheduling these inspections requires 24–48 hours advance notice to the building department. A single failed inspection restarts the scheduling cycle — adding 3–5 days to the schedule.
The most common rough inspection failure: missing fire blocking. Every penetration through a fire-rated wall (MEP pipes and conduit through a demising wall) requires a UL-listed firestop assembly or approved fire block material. Inspectors check penetrations specifically.
Step 5: Insulation and Fire-Caulk
After rough inspections pass:
- Batt insulation in sound-rated partitions (exam room walls, conference rooms, demising walls)
- Fire-caulk at all penetrations through fire-rated assemblies — MEP penetrations through rated walls, around conduit, pipe, and duct at the rated plane
- Vapor barrier in exterior walls if not already present from the shell
Fire-caulk installation must be documented. Inspectors may ask for photos or a fire stop log showing the listing number, manufacturer, and installation configuration for each penetration.
Step 6: Drywall
Drywall installation follows insulation. The sequence:
- Hanging (screwing panels to studs and ceiling structure)
- Taping (covering all joints with joint tape)
- Mudding (multiple coats of joint compound over tape and fasteners)
- Sanding (smooth finish for paint)
- Skim coat on Level 5 surfaces (high-gloss paint, projection walls, or any surface where imperfections would be visible)
Standard commercial drywall is finished to Level 4 — taped, two coats of compound, sanded smooth. Level 5 (skim coat) is specified for areas with critical lighting or high-gloss paint.
JK Prestige self-performs drywall with our own crews. This eliminates the coordination gap between framing (which JK also self-performs) and drywall that generates delays when two different subcontractors are sequencing their work.
Step 7: MEP Trim-Out (Partial)
After drywall, MEP returns for devices, fixtures, and connections:
- Electrical: Outlets, switches, data jacks roughed in at boxes; panel wiring and breakers installed
- Plumbing: Lavatory rough trim, water closet rough trim, supply valve installation (fixtures installed later)
- HVAC: Diffuser locations confirmed, flex duct connections to diffusers
This is the first partial trim-out. Final trim-out (actual fixture installation) follows flooring and ceiling.
Step 8: Flooring
Flooring is installed before ceiling tile and finish painting to protect it from ceiling and painting debris.
- Concrete preparation: Grinding, patching, or leveling the slab surface before any flooring application
- LVP or hardwood: Flooring plank installation, transition strips at doorways
- Carpet: Tack strip, padding, carpet roll-out and stretch
- Ceramic or porcelain tile: Thin-set installation, grout (requires 24-hour cure before grouting, 72-hour cure before foot traffic)
- VCT: Applied over leveled concrete; requires skim-coat leveling if slab is uneven
Flooring must be protected after installation. Construction traffic over finished flooring without protection boards generates the single largest category of punch-list items on commercial fit-outs.
Step 9: Ceiling Grid and Tile
After flooring is protected:
- Main beams and cross-tees installed per the reflected ceiling plan
- Ceiling tile installed; cut at walls and around obstructions
- Light fixture cans or troffers set in grid before tile (LED fixtures typically clip into the grid)
- Sprinkler heads, diffusers, and smoke detectors at ceiling level — coordinated with the ceiling grid layout
The ceiling phase must be coordinated with MEP: sprinkler heads, diffusers, and detector bases must be positioned to fall within the grid module — not at a cross-tee. Off-module positions require cutting the grid or custom positioning, which is both expensive and visually obvious.
Step 10: Paint
Paint is applied after ceiling is in and flooring is protected — not before. Sequence:
- Prime new drywall (seals the surface for uniform finish coat coverage)
- First finish coat
- Second finish coat (most commercial spaces require two finish coats for uniform sheen)
- Trim paint (base, door frames, window surrounds)
Paint is the most visible finish trade. A roller-line at a corner, a missed patch behind a door, or a gloss differential between ceiling and wall paint are all punch-list items that require a return visit.
Step 11: Doors and Hardware
After paint:
- Door frames (if not already installed in the framing phase) set and shimmed plumb
- Door slabs hung: hinges mortised, doors hung and adjusted for even reveal
- Locksets, closers, push plates, and kick plates installed
- Coordinators on pairs of doors (ensures inactive leaf closes before active leaf)
- Door hardware keyed per the keying schedule
Hardware installation is the last moment to confirm that every specified item is present. A missing door closer or an incorrect lockset function is a punch-list item, not a CO-blocking item — but it adds a return visit.
Step 12: Millwork and Fixtures
Reception desks, break room or kitchen cabinetry, built-in shelving, and specialty millwork are installed after paint and flooring are complete. Millwork installation requires:
- Pre-installation blocking confirmed present in the wall
- Countertop templating (often done during rough carpentry and fabricated off-site)
- Countertop set after base cabinets are in place
Plumbing fixtures are set at this phase — lavatories connected to trim, toilets set, dishwasher connected.
Step 13: Final MEP Connections
After millwork and fixtures are in place, the MEP trades return for final connections and trim-out:
- Plumbing: Connect lavatory p-traps, supply connections to fixtures, hot water heater connections, confirm fixture function
- Electrical: Install outlet and switch covers, light fixture trim-out, panel labeling, GFCIs tested
- HVAC: Final diffuser installation, thermostat installation, controls wiring, equipment startup
- Fire suppression: Final sprinkler head installation (if concealed heads, escutcheons installed after ceiling and paint)
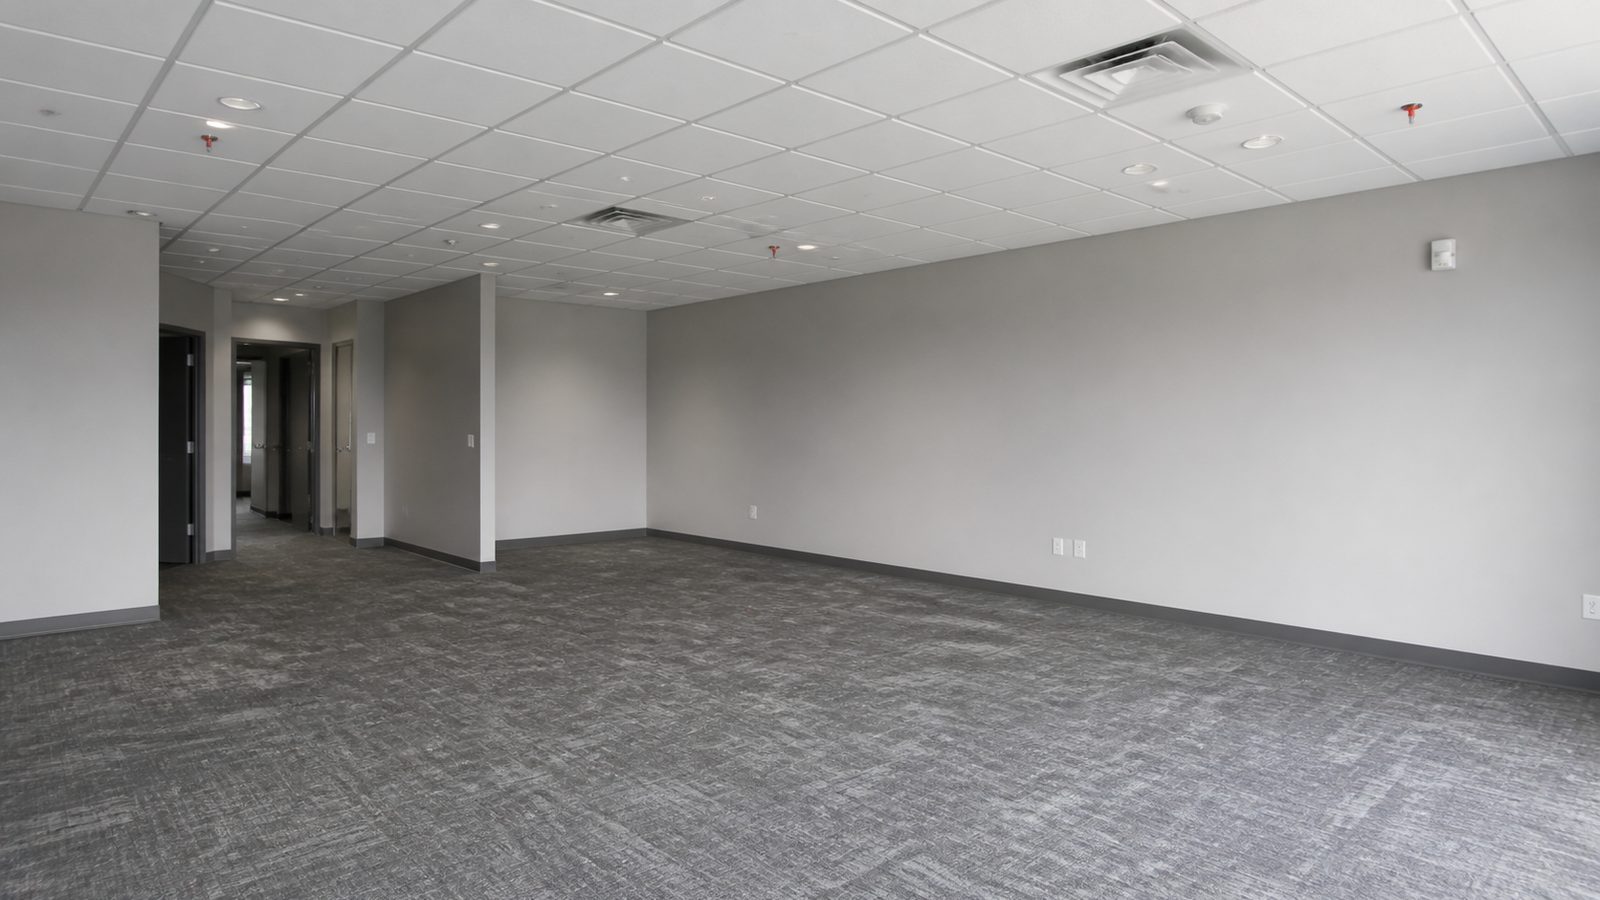
Step 14: Final Inspections
Duval County final inspections are scheduled in sequence:
- Final framing: Confirm all fire blocking and rated assembly requirements
- Final plumbing: Confirm all fixtures operational, no leaks, drain test
- Final electrical: Panel labeled, all circuits tested, GFCI/AFCI function confirmed
- Final mechanical: TAB (test and balance) complete, equipment operational, exhaust functional
- Fire marshal final: Exit signs, emergency lighting, fire alarm, sprinkler system, fire extinguishers
Each inspector is scheduled separately. In Jacksonville, scheduling all five finals in the same week is achievable with advance planning. A single failed inspection (most commonly fire marshal, for exit sign or emergency lighting deficiencies) pushes CO by 5–7 days while the item is resolved and re-inspected.
Step 15: Punch List
The punch list walkthrough follows final inspections, typically while CO is processing. The GC self-inspects and corrects identified items before the owner's walkthrough. The owner's walkthrough generates the official punch list. Standard resolution time: 30 days.
Step 16: Certificate of Occupancy
Duval County issues the CO after all final inspections have passed. Once the CO is in hand:
- Owner takes possession
- Retainage release process begins
- Warranty period starts (from date of substantial completion, typically)
Total timeline from permit issuance to CO for a 2,000–5,000 sqft commercial fit-out in Jacksonville: 10–14 weeks. Add 30–45 days for Duval County permit review before construction starts.
Learn more about JK Prestige's commercial renovation capabilities and the JK Way fixed-price delivery process.
No call center. No coordinator. A JK principal reviews every inquiry and replies with a real number, not a range, not a follow-up form.
Request Free Estimate →